FacultyOS — Department Head User Guide
Version 1.0+ — April 2026
Estara AI
What is FacultyOS?
↑FacultyOS is an academic team intelligence platform designed for department heads at university medical schools. It brings your faculty's publications, grants, clinical trials, and academic activities into a single, always-current view — so you can write letters, track promotion readiness, and manage your team without maintaining spreadsheets or searching PubMed manually.
Operating Modes
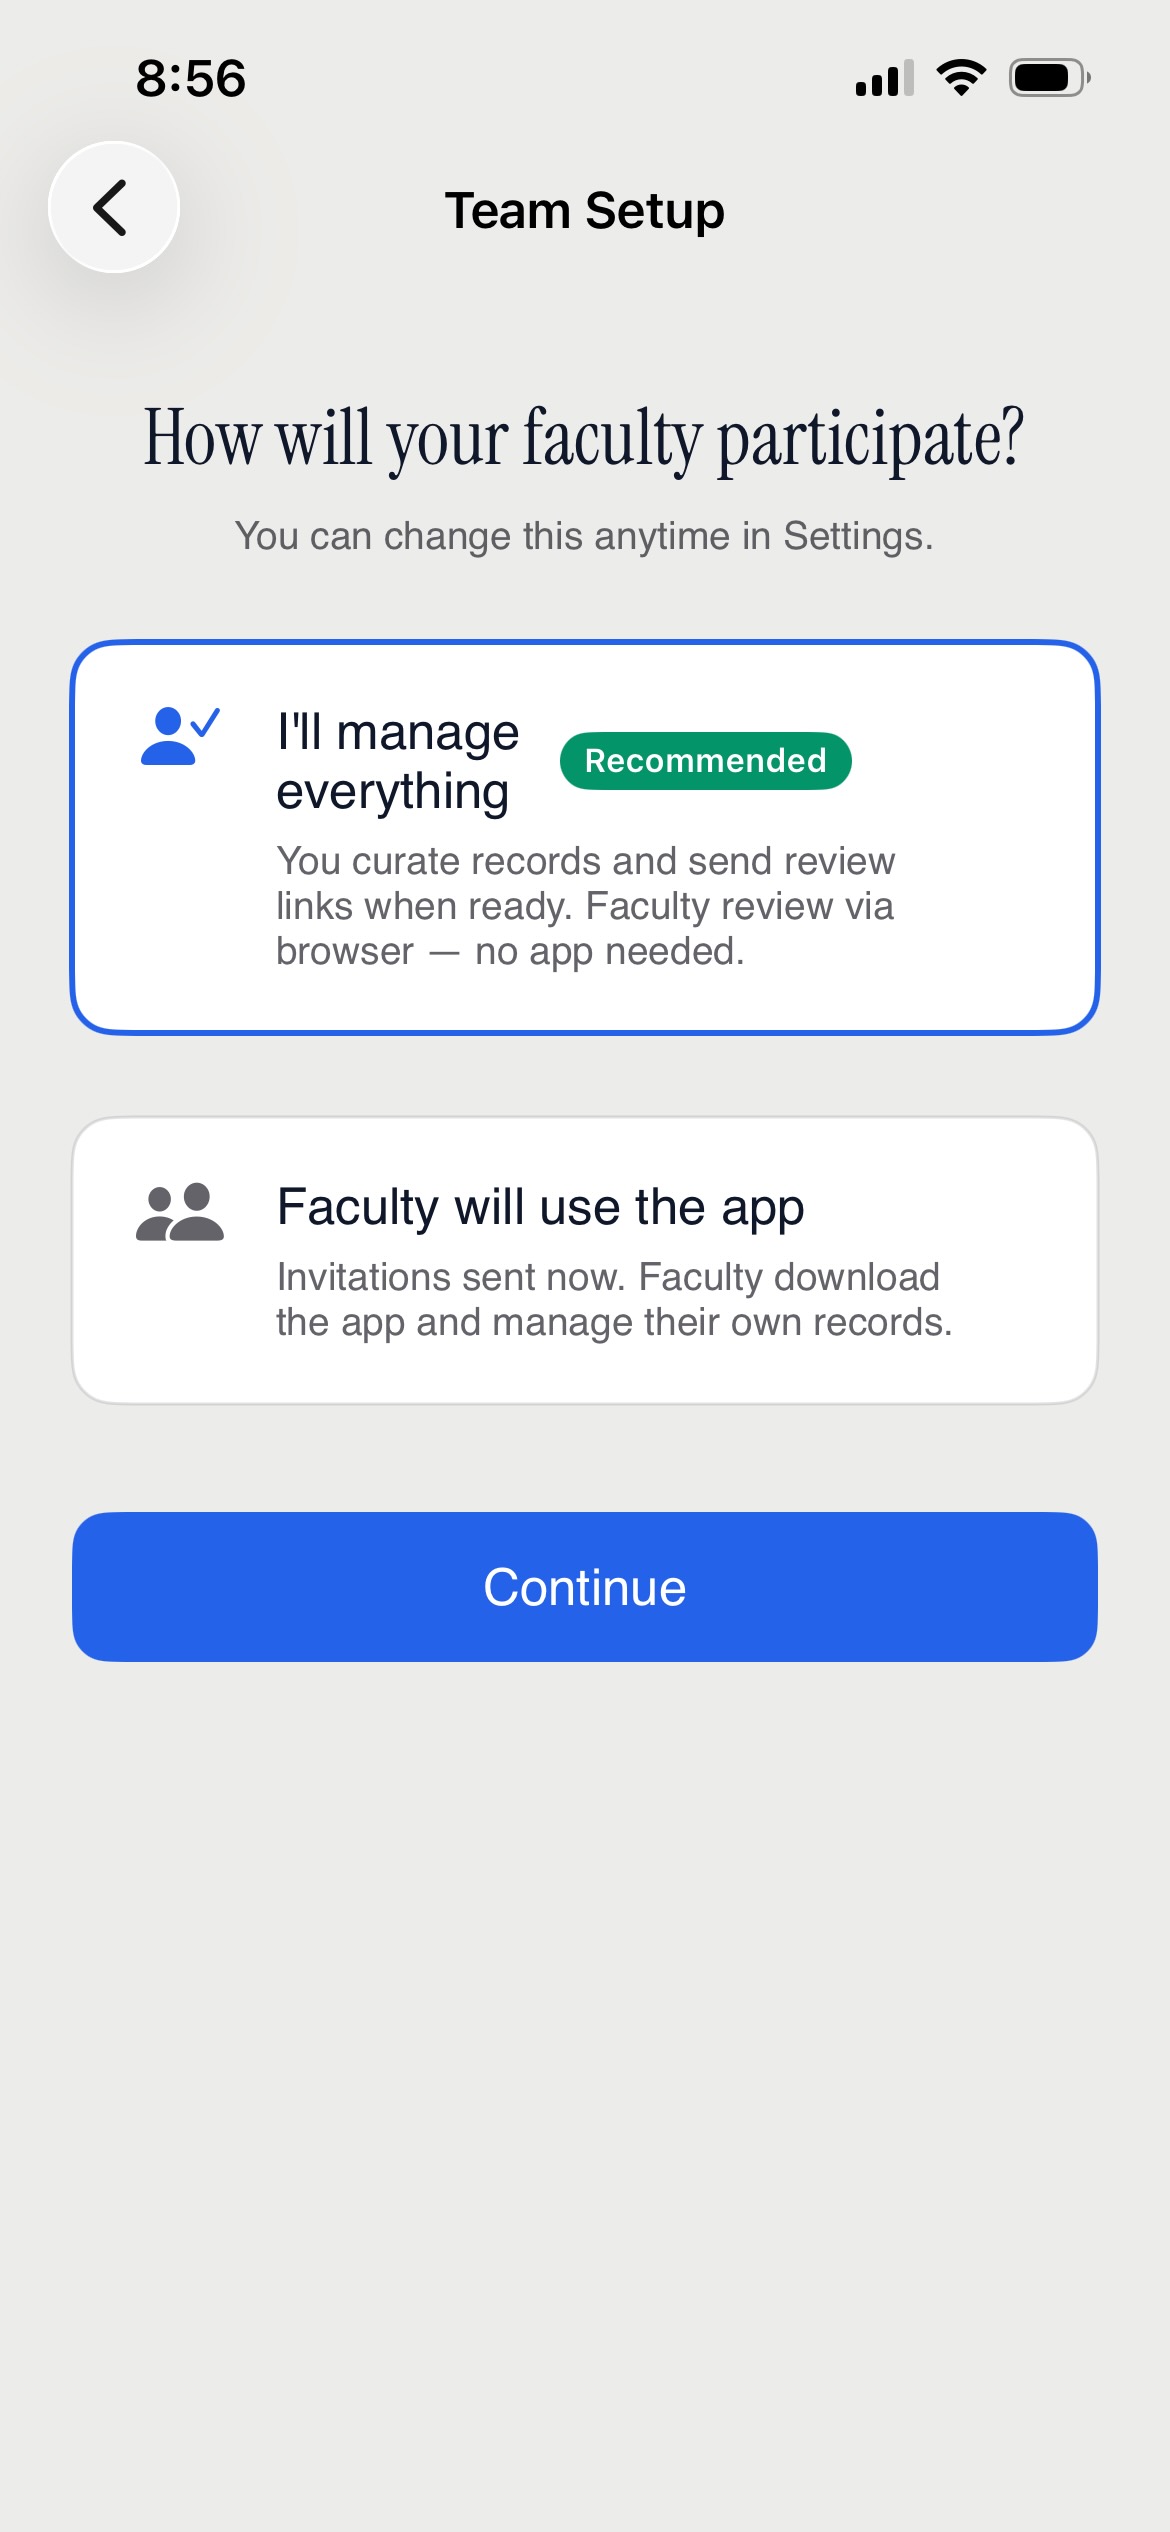
↑FacultyOS operates in one of two modes — standalone or collaborative — which you choose during onboarding and can change at any time.
| Mode | What it means |
|---|---|
| Standalone (default) | You manage everything. No invitations are sent to faculty. You build their records from public databases and your own documents, then send browser-based review links when records are ready. Faculty never need to install an app. |
| Collaborative | Invitation emails are sent to faculty when you add them. They download FacultyOS and manage their own records. |
Most departments start in standalone mode — it delivers full value immediately without requiring your faculty to adopt a new tool. Faculty can always participate later via a review link you send them, or install the app if they choose.
Getting Started
↑1. Create Your Account
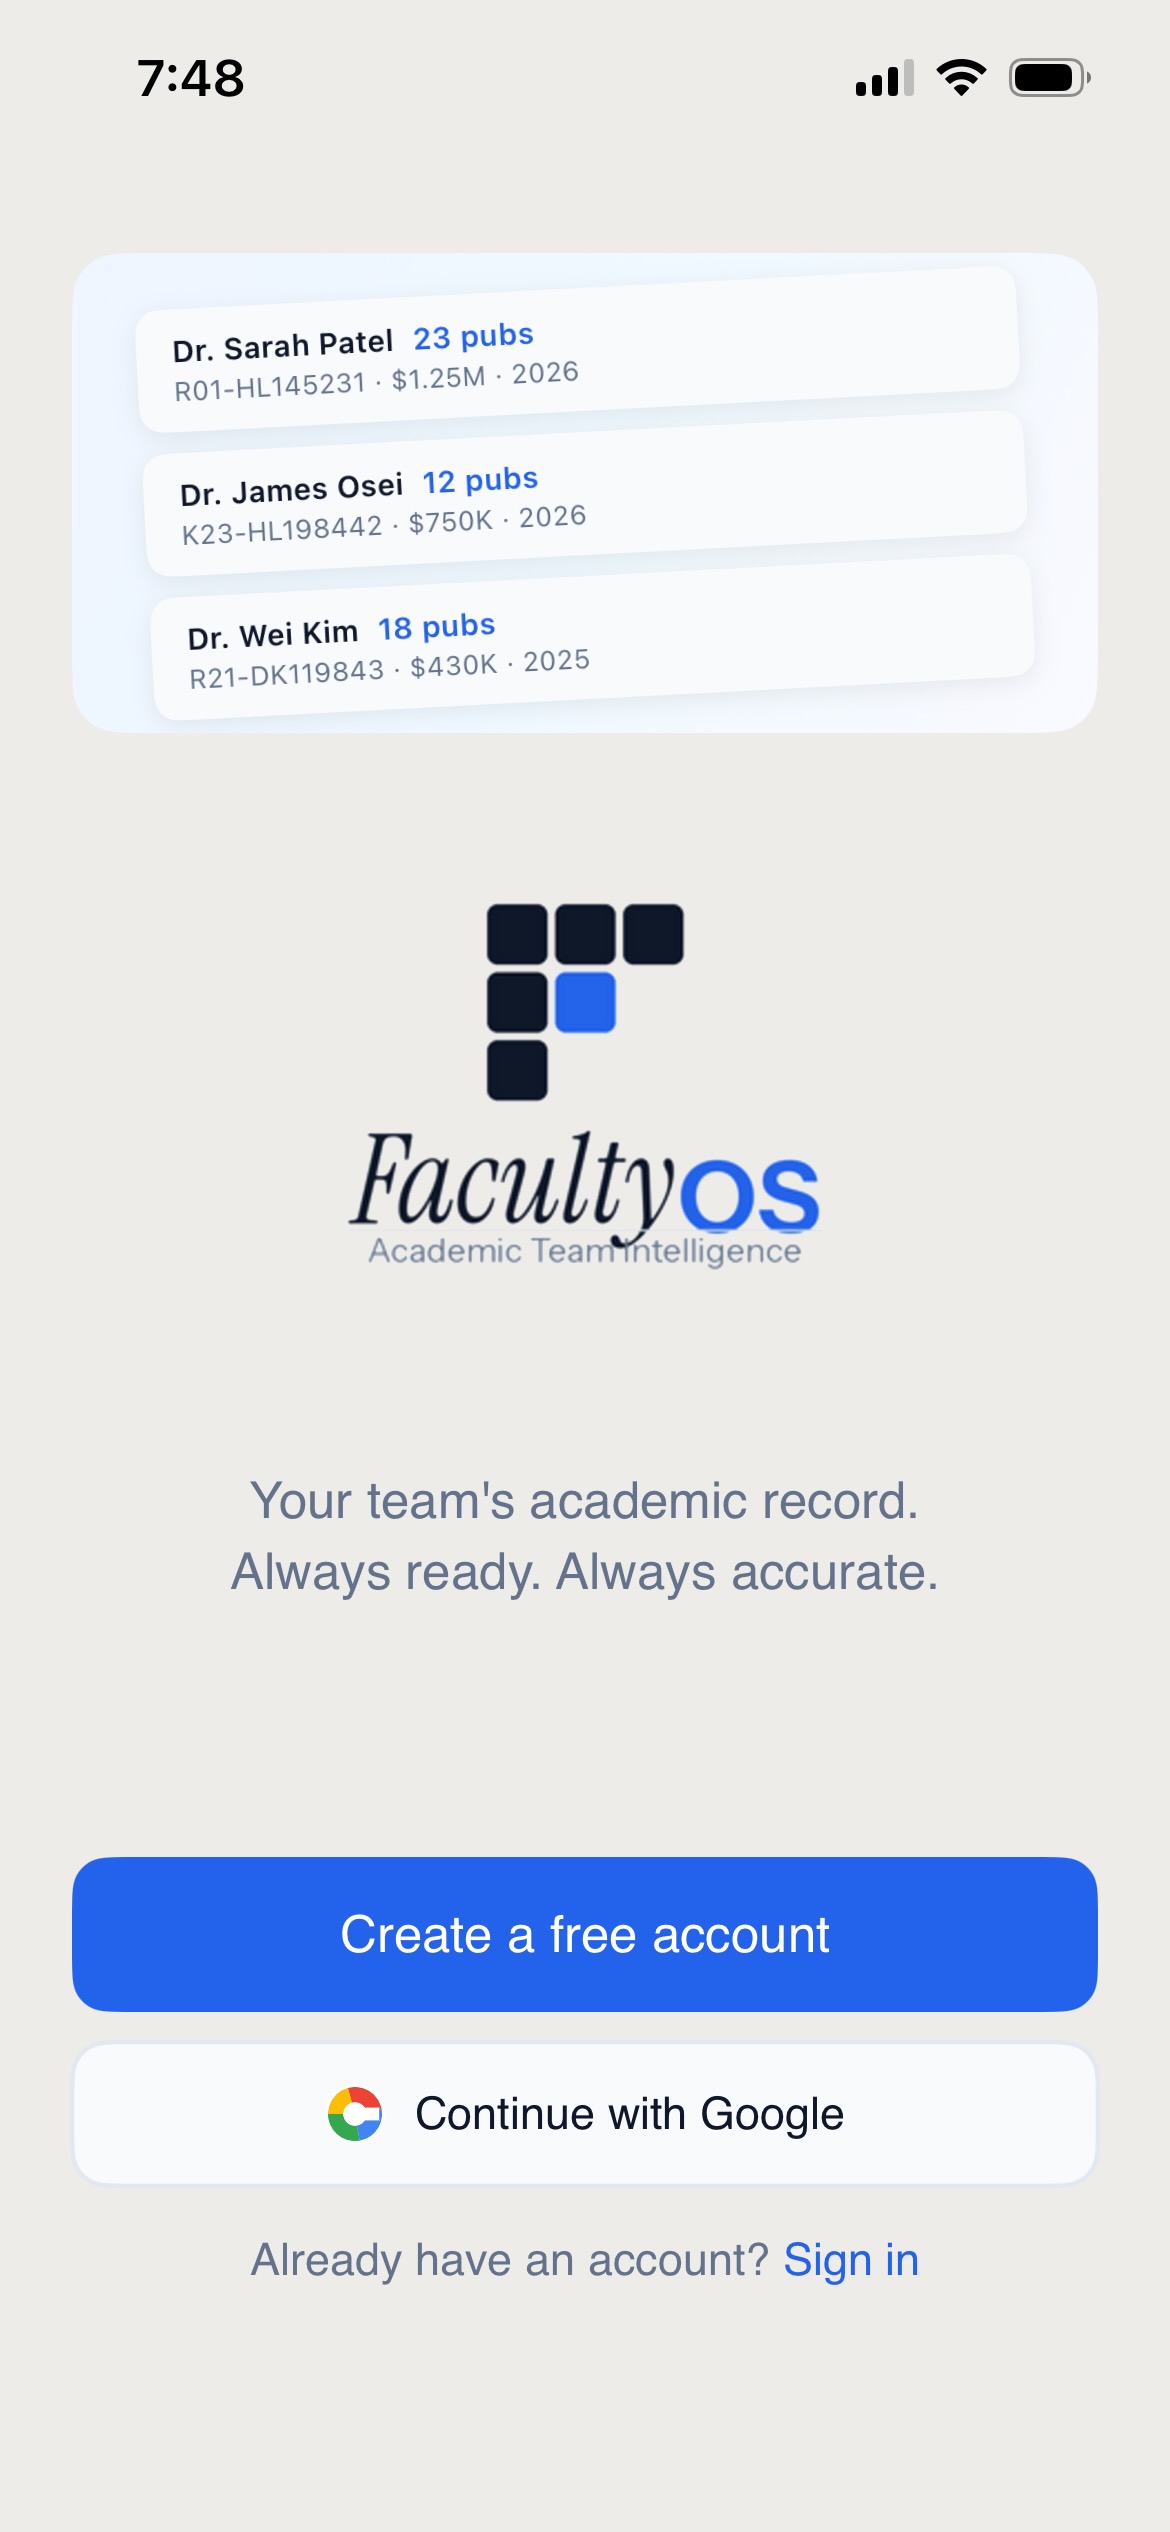
↑Download FacultyOS from the App Store on your iPhone or iPad. Open the app and tap Create a free account.
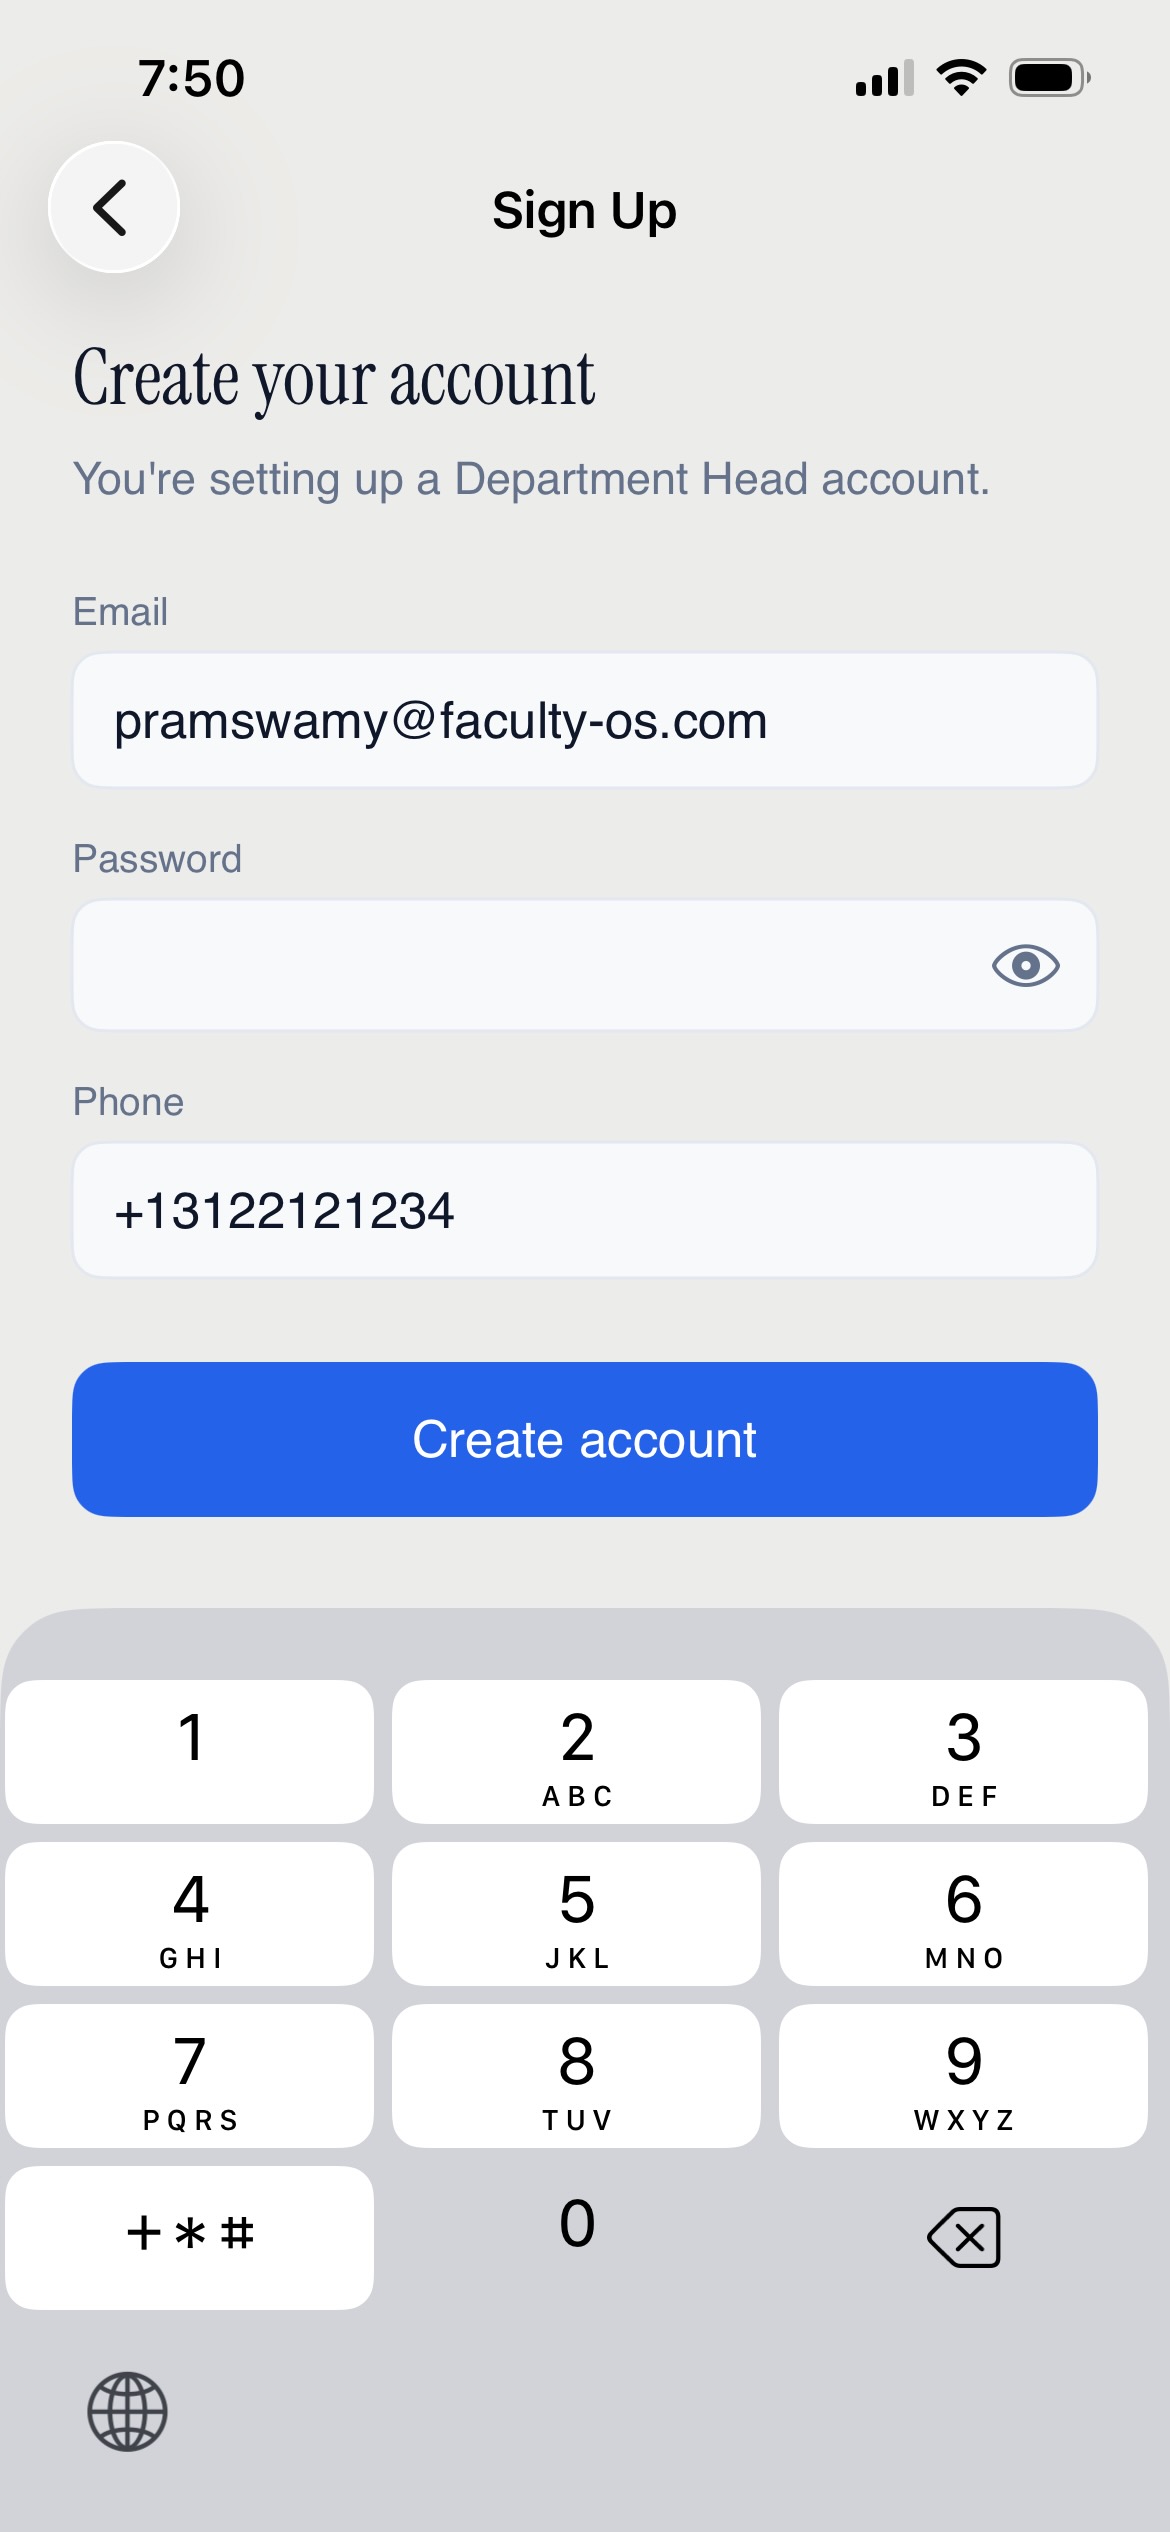
Enter your institutional email address and create a password. You'll also be asked for your phone number (used only for optional SMS 2FA verification).
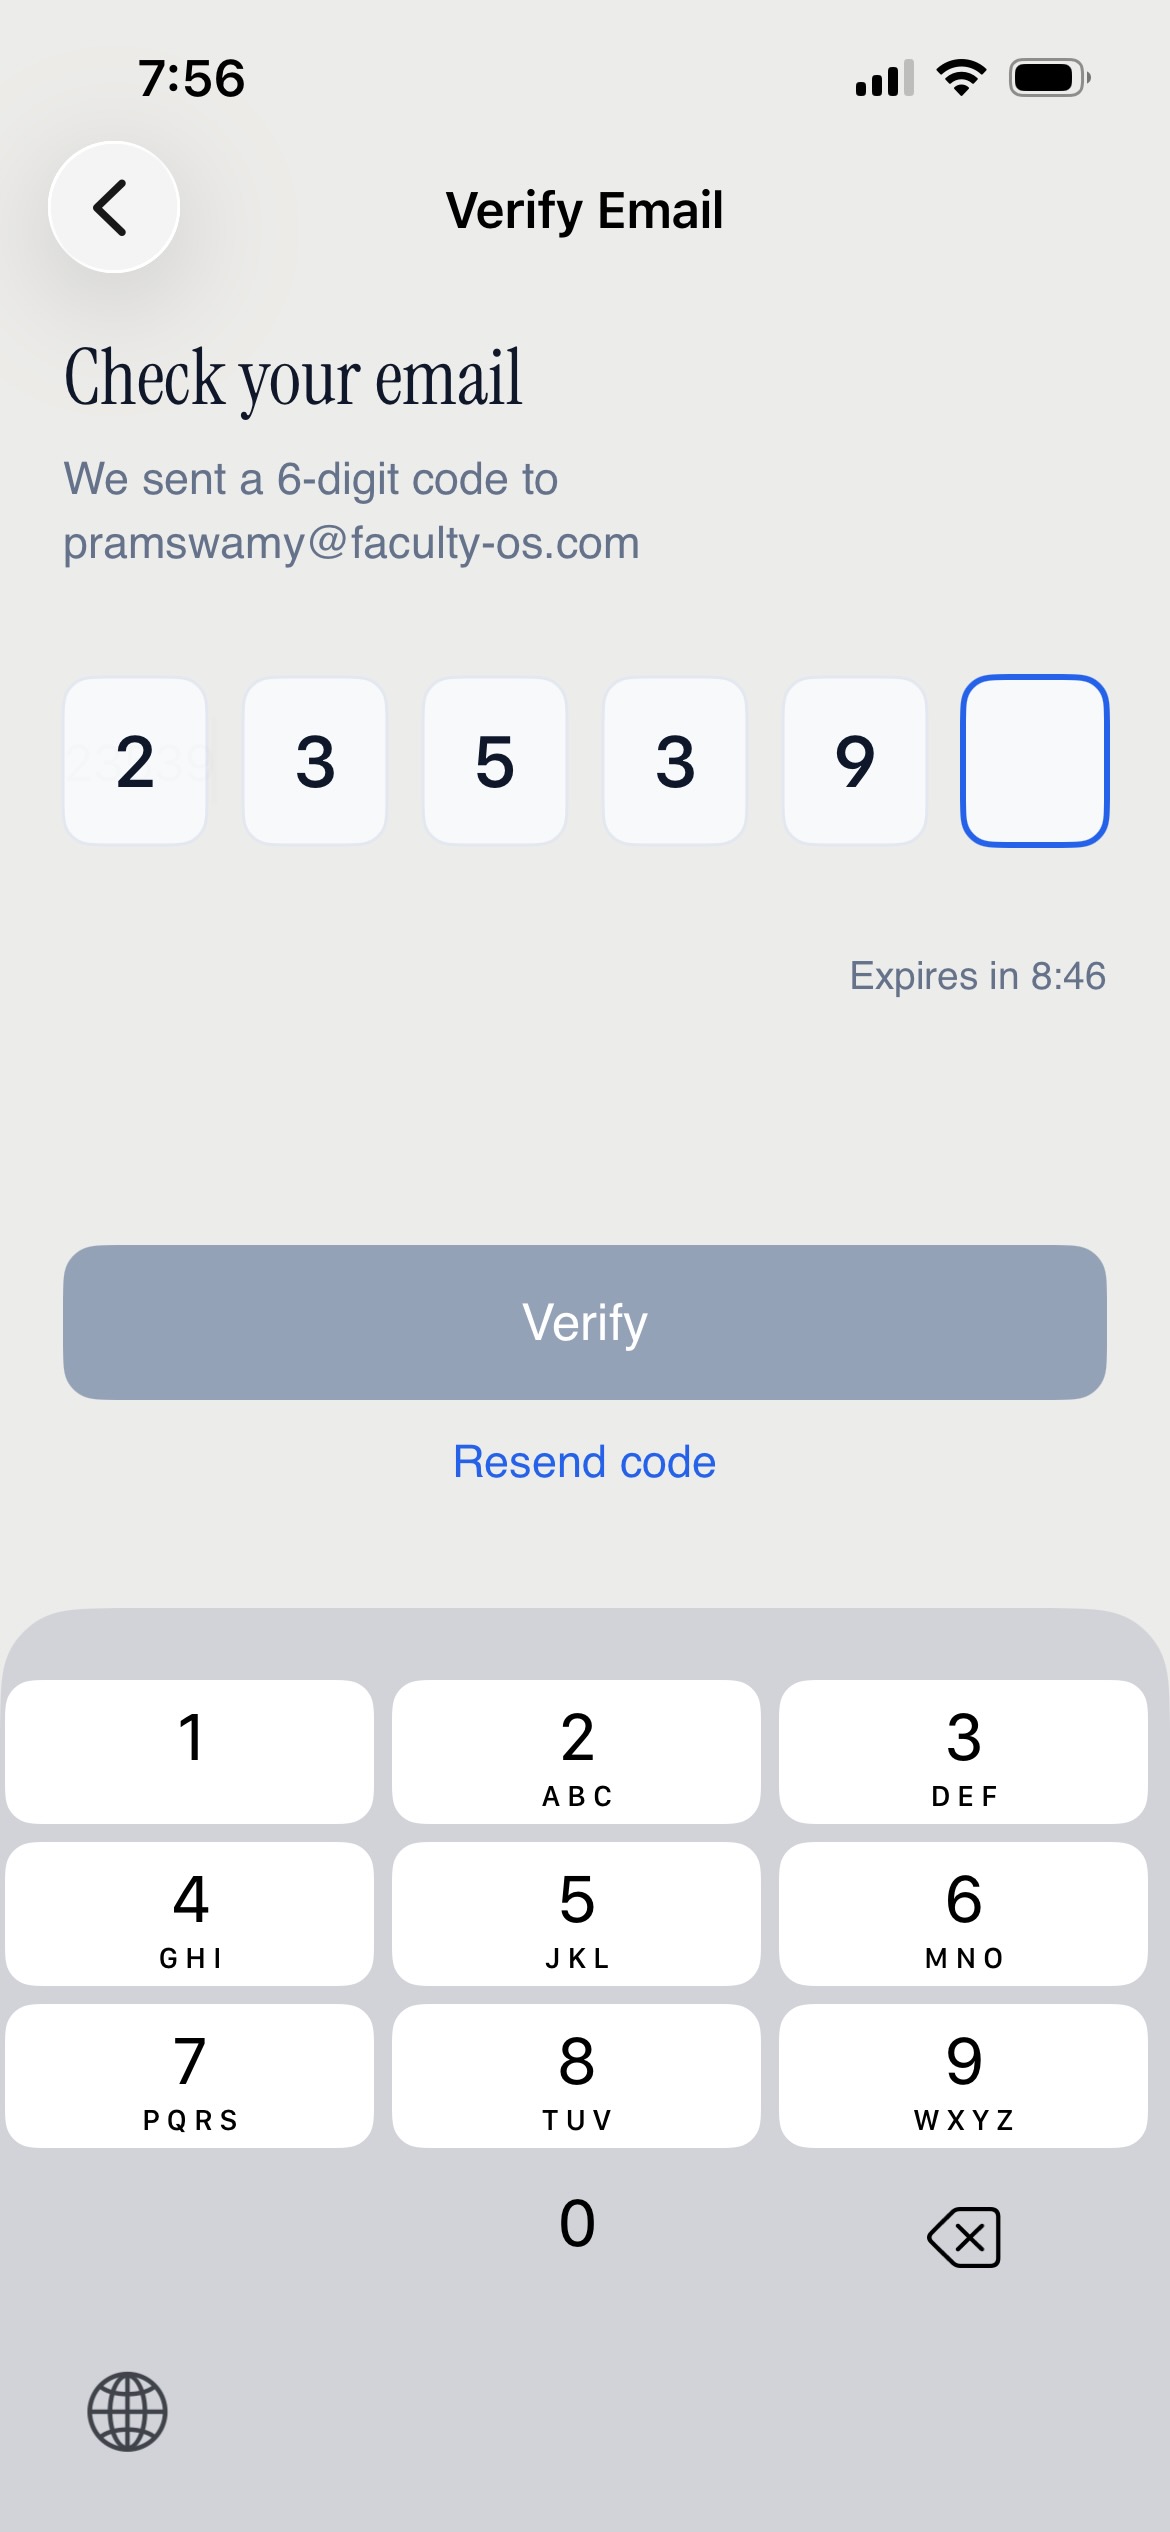
Email Verification: You will receive a 6-digit code by email. Enter it on the verification screen to activate your account. The code expires in approximately 10 minutes.

Your account includes a 60-day free trial with full access to every feature. No credit card is required to start.
2. Set Up Your Profile — "About You"
↑After email verification, FacultyOS asks about you and your department. You have two options:
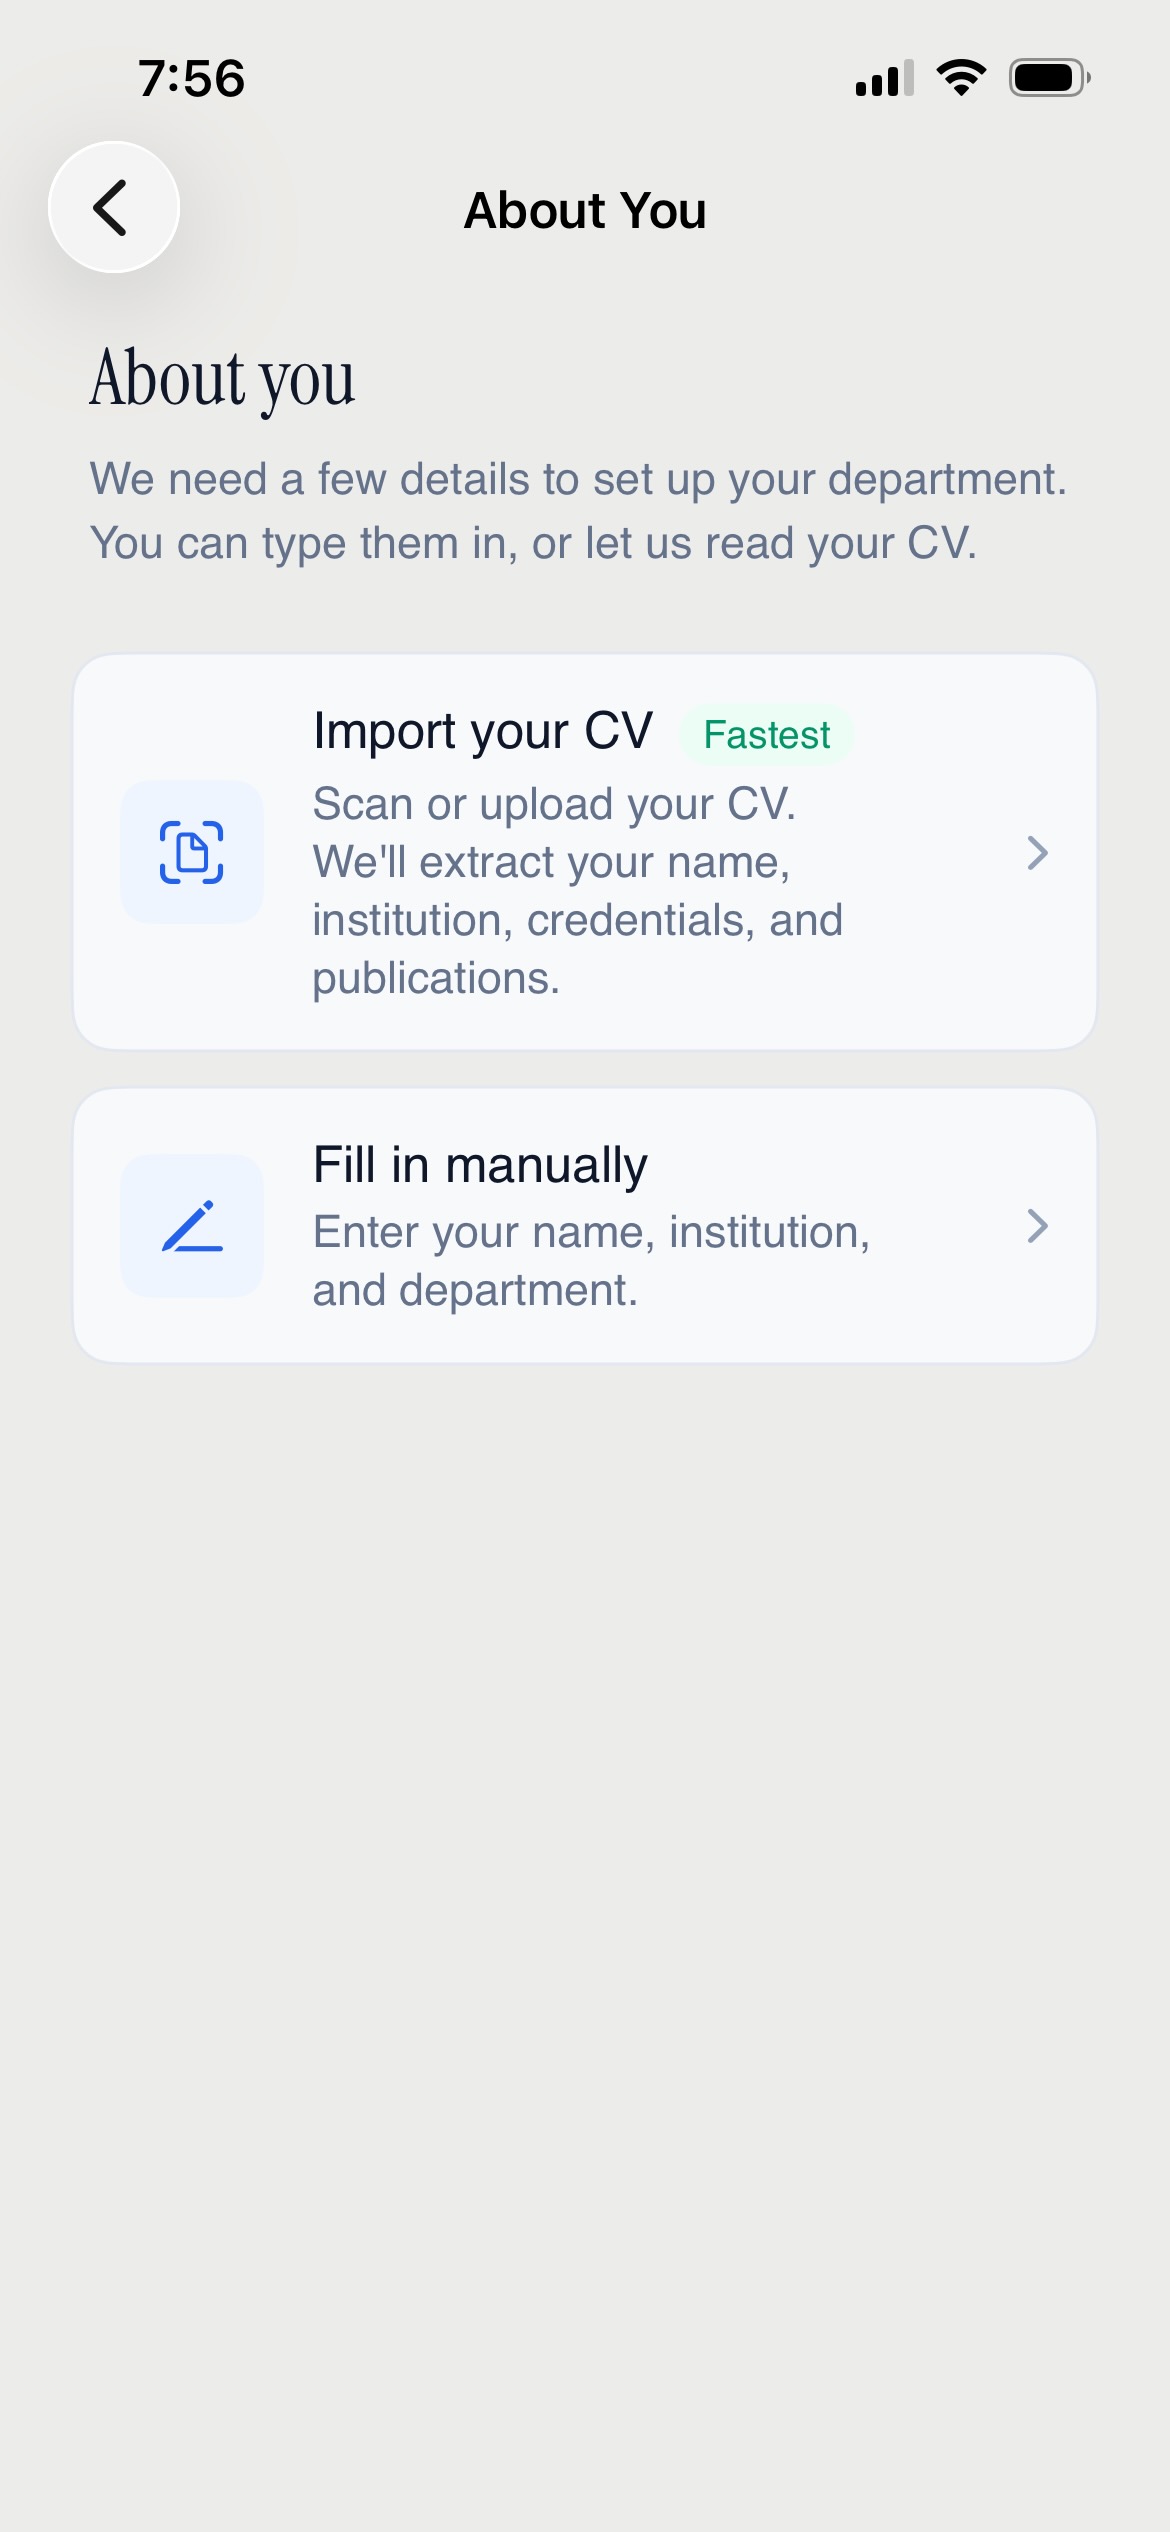
Option A — Import your CV (fastest, recommended):
- Tap "Import your CV" (marked "Fastest")
- Choose a source: Camera (photograph your CV pages), PDF file, or Photo library
- FacultyOS uses AI vision to read your CV and extracts your name, institution, department, title, credentials, publications, grants, clinical trials, and activities
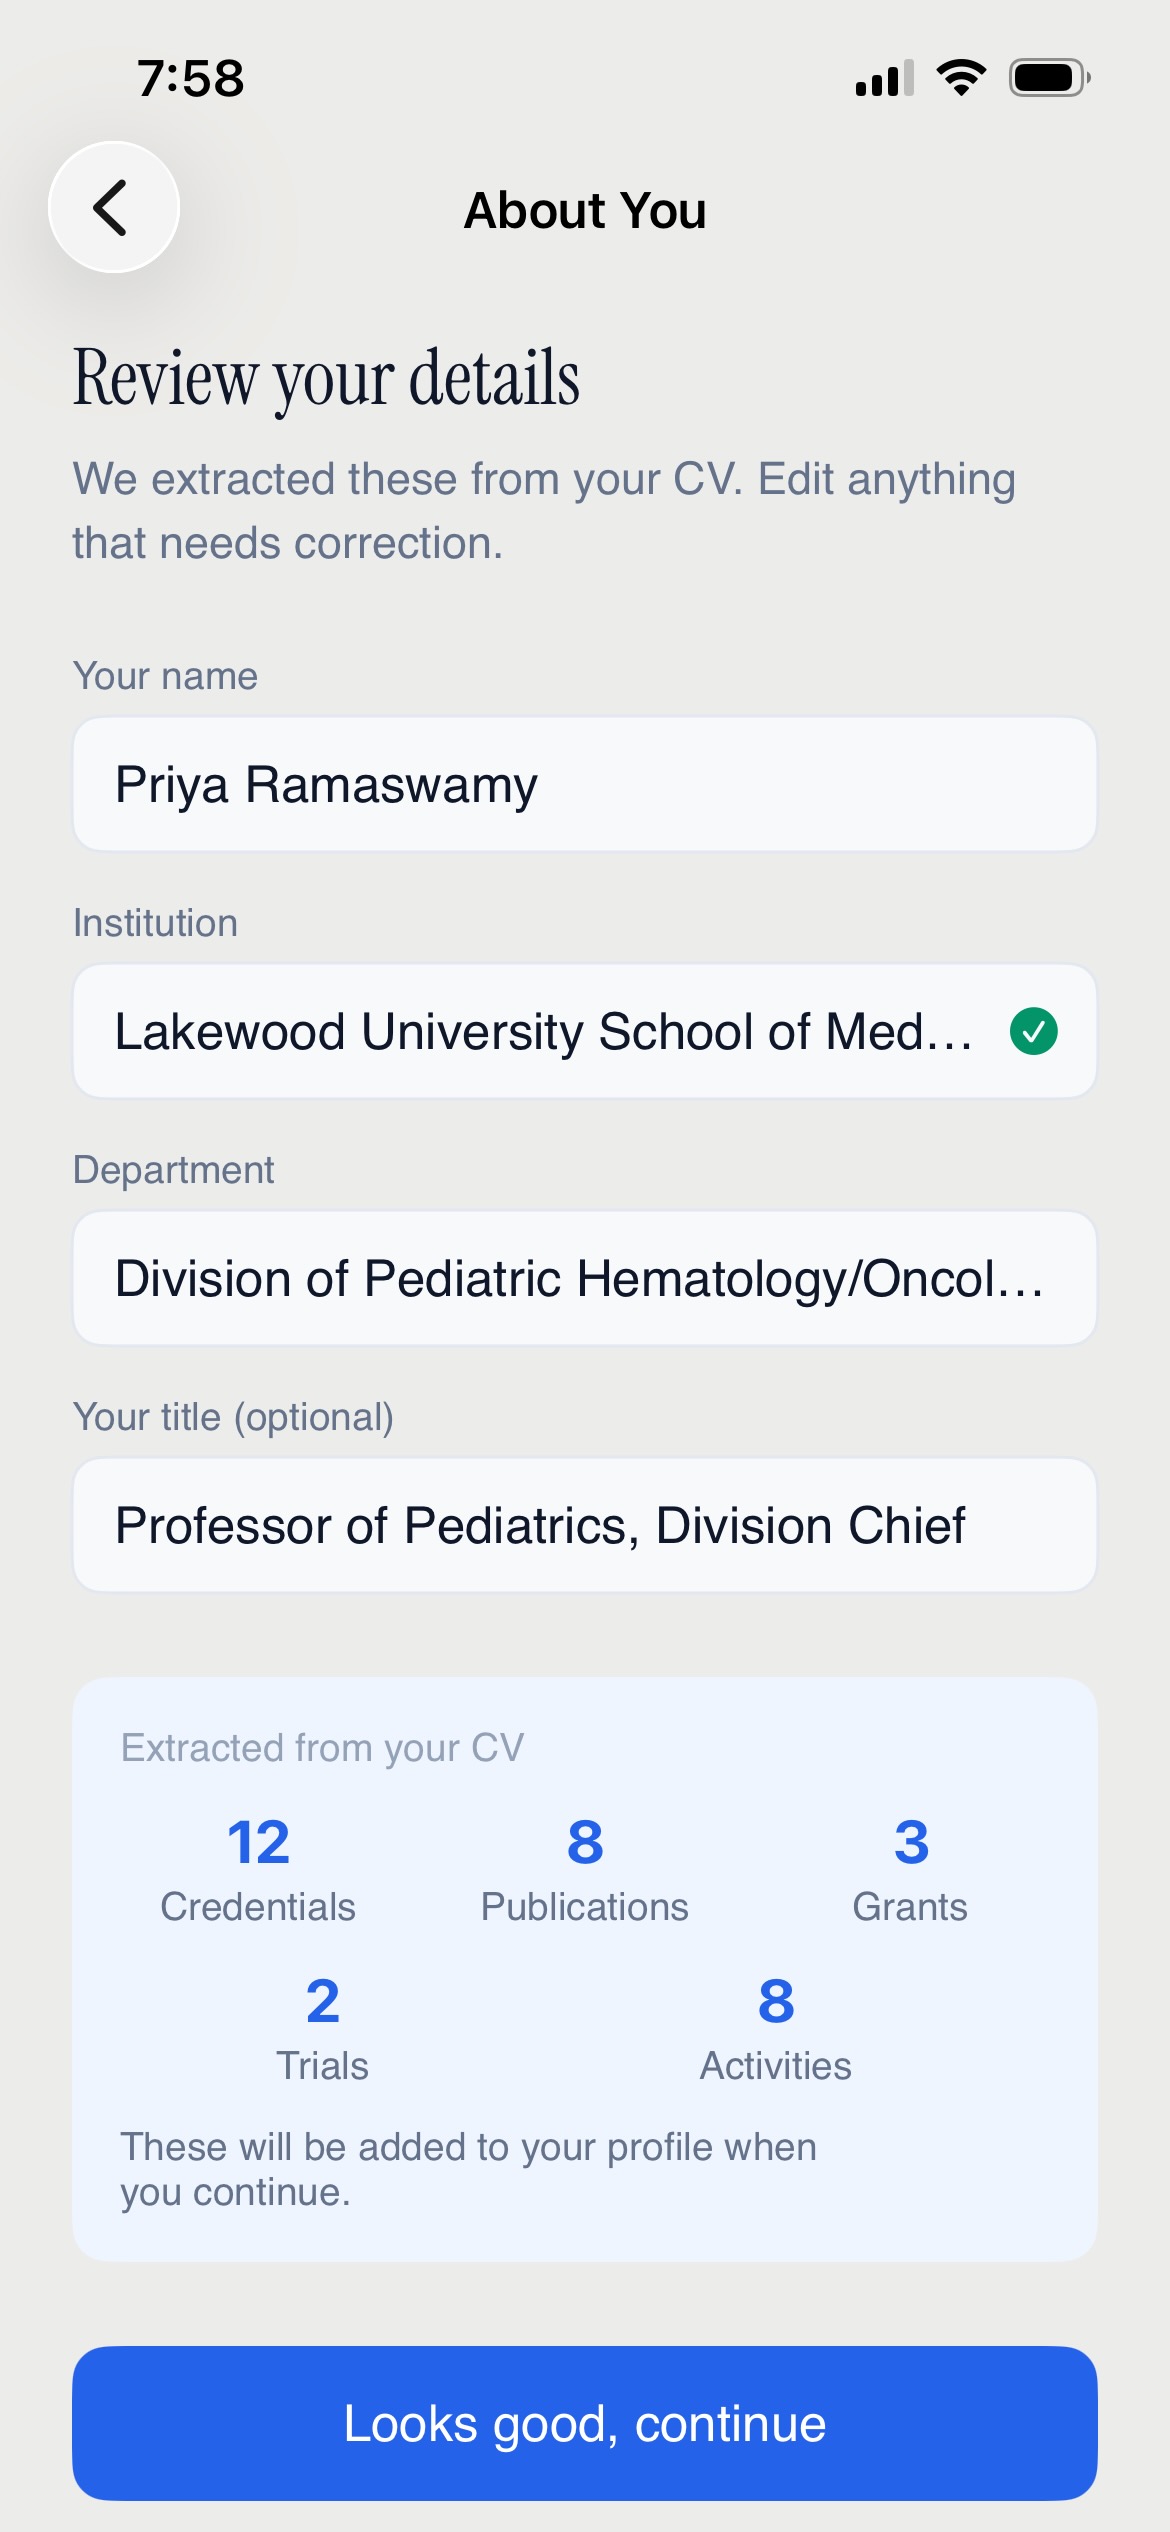
- Review the extracted results — edit anything that needs correction
- A summary card shows what was extracted (e.g., "12 Credentials, 8 Publications, 3 Grants")
- Tap "Looks good, continue"
Your entire academic profile is populated in one step.
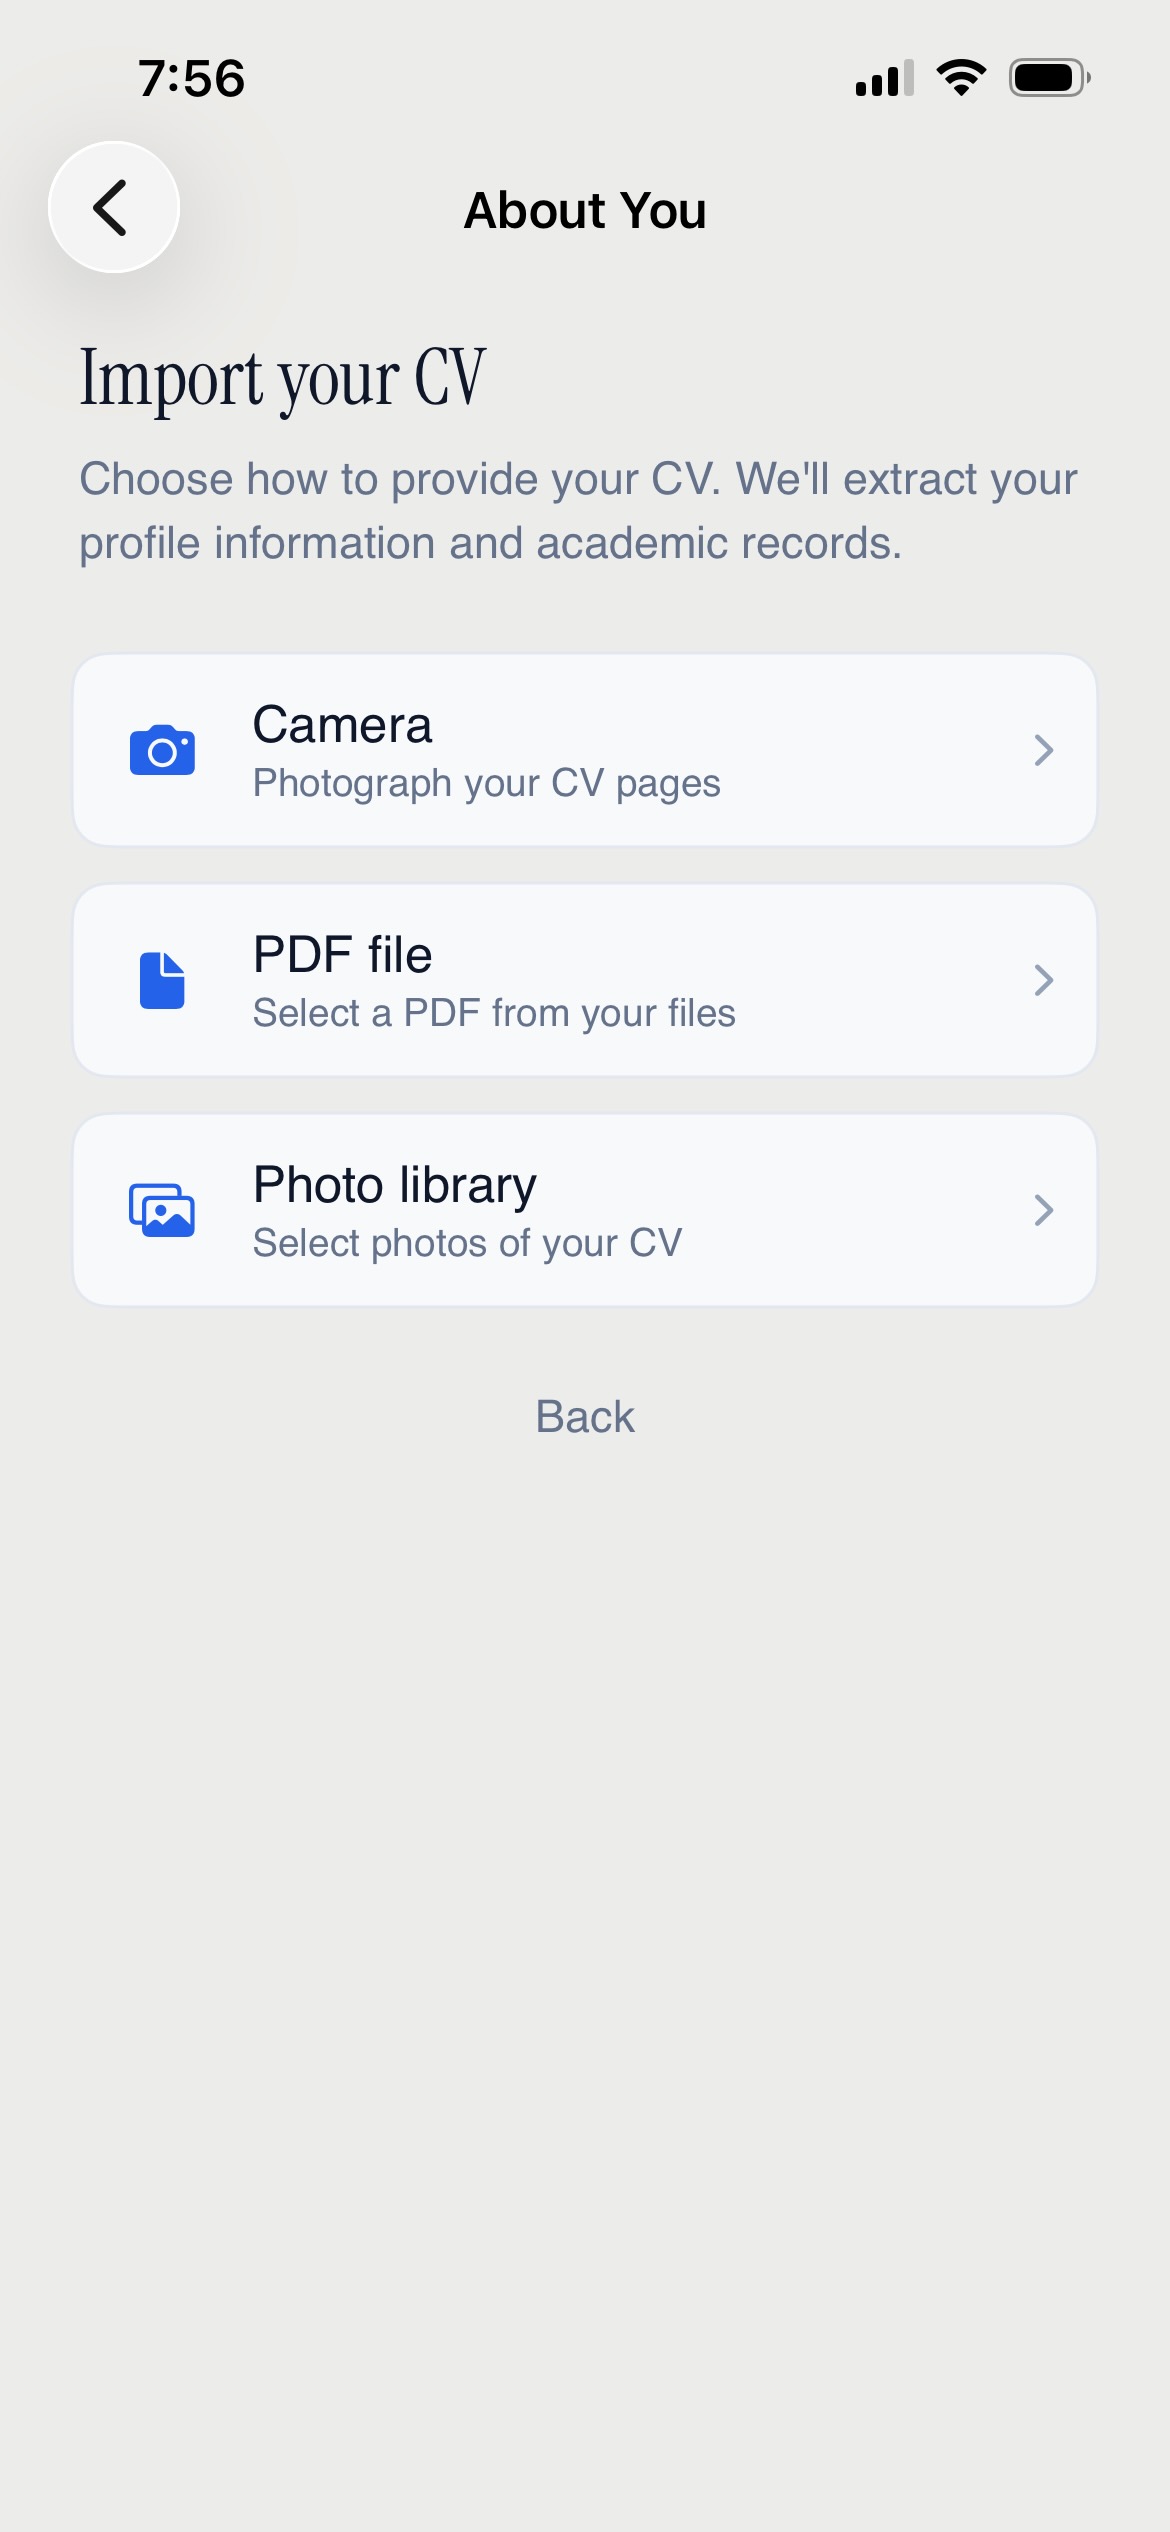
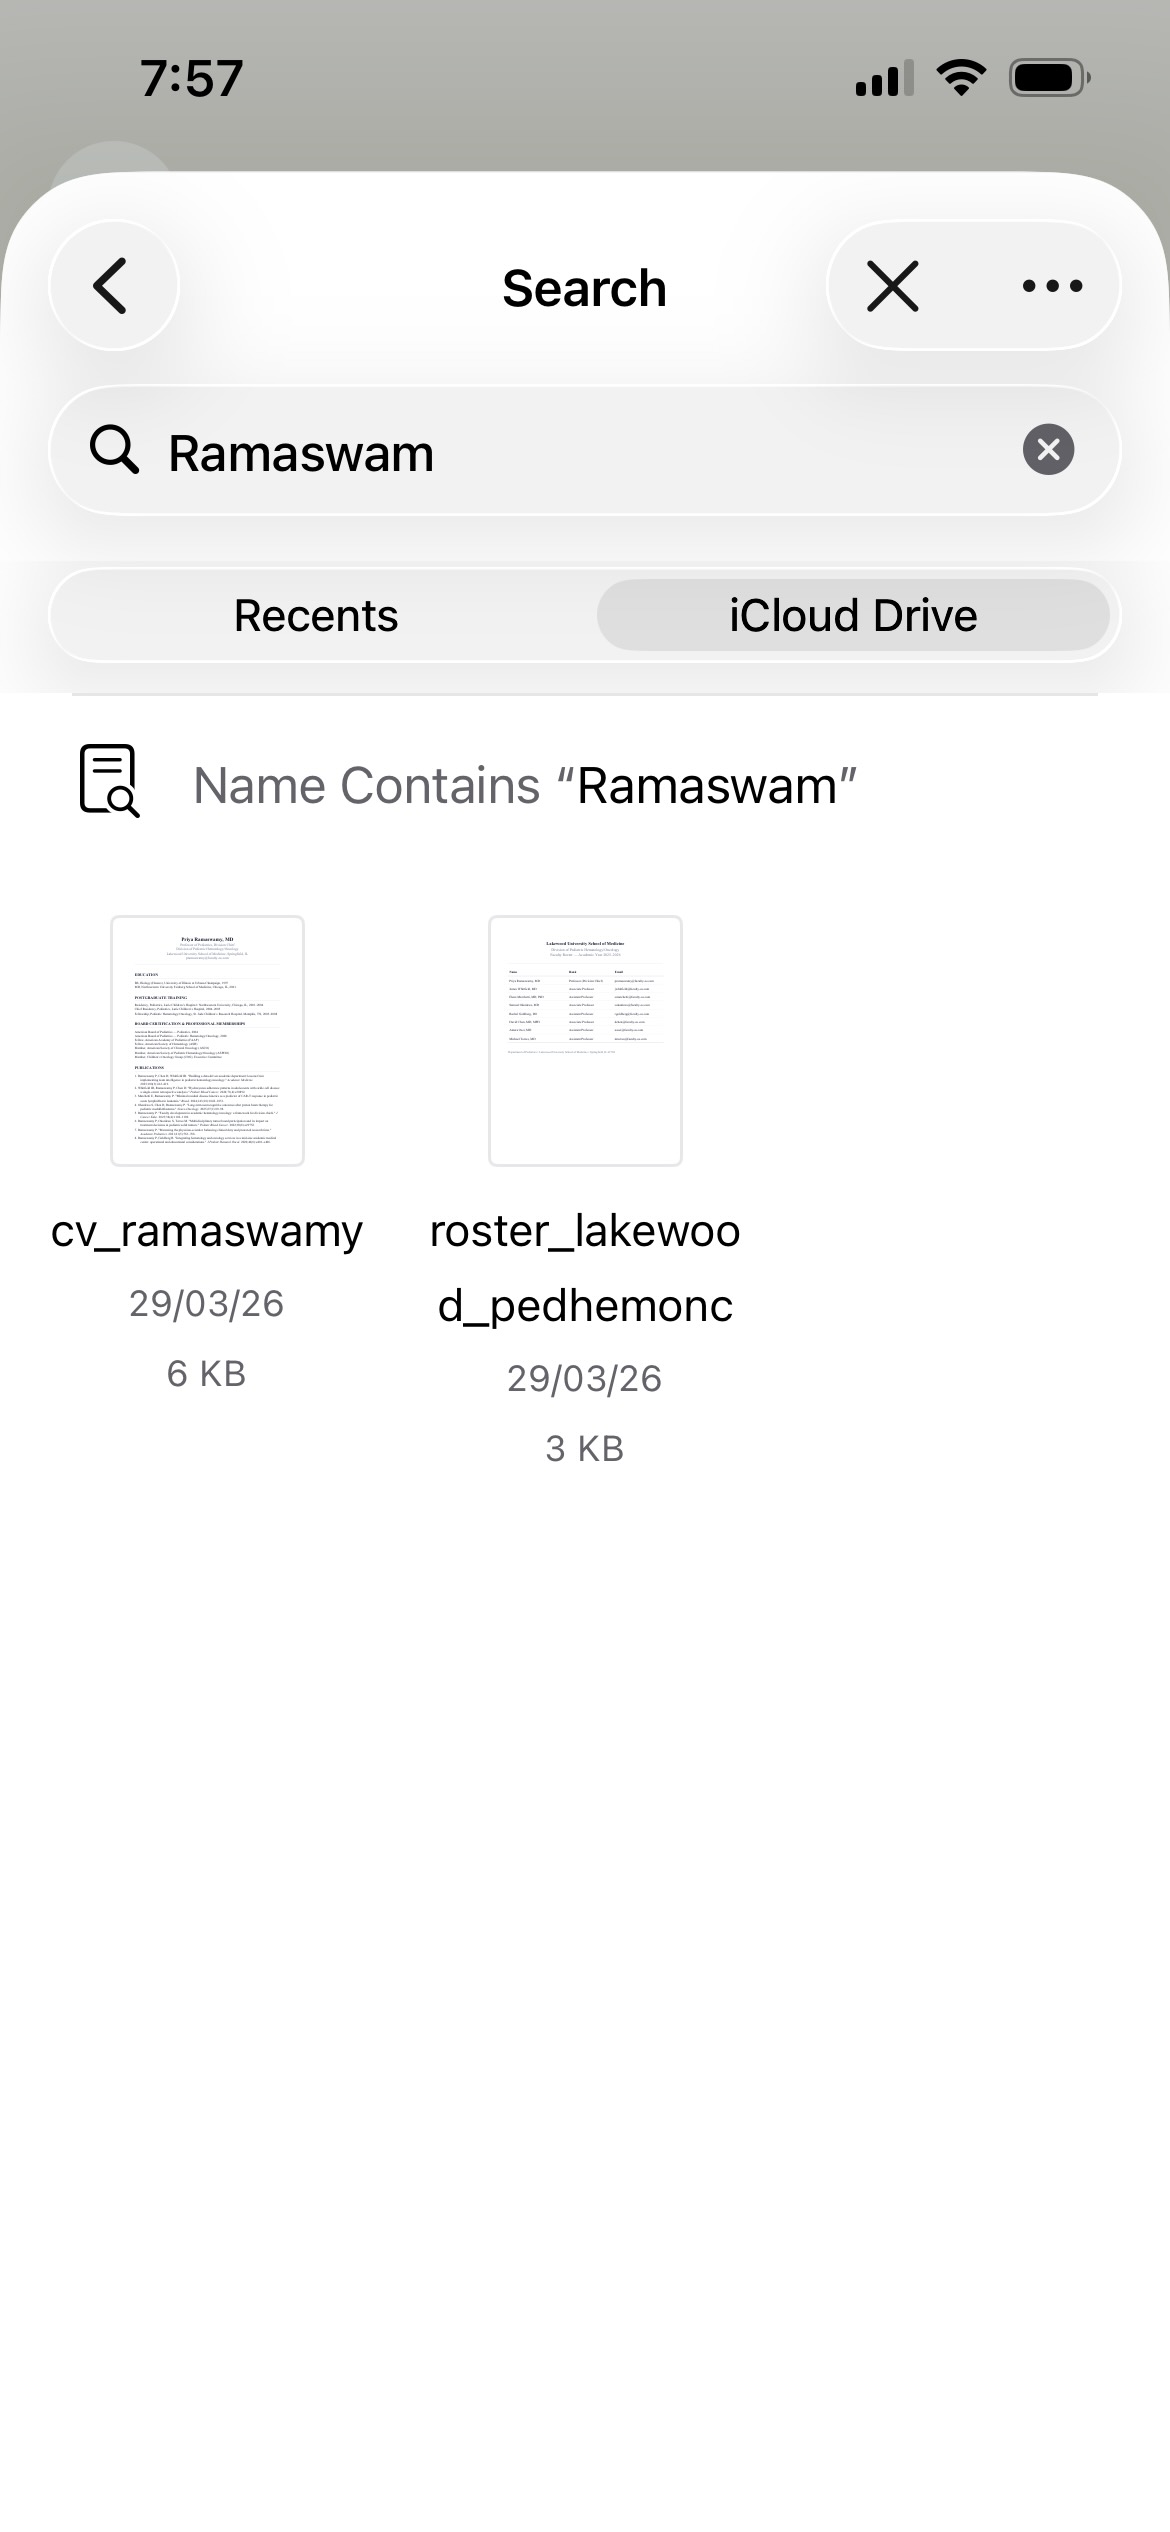
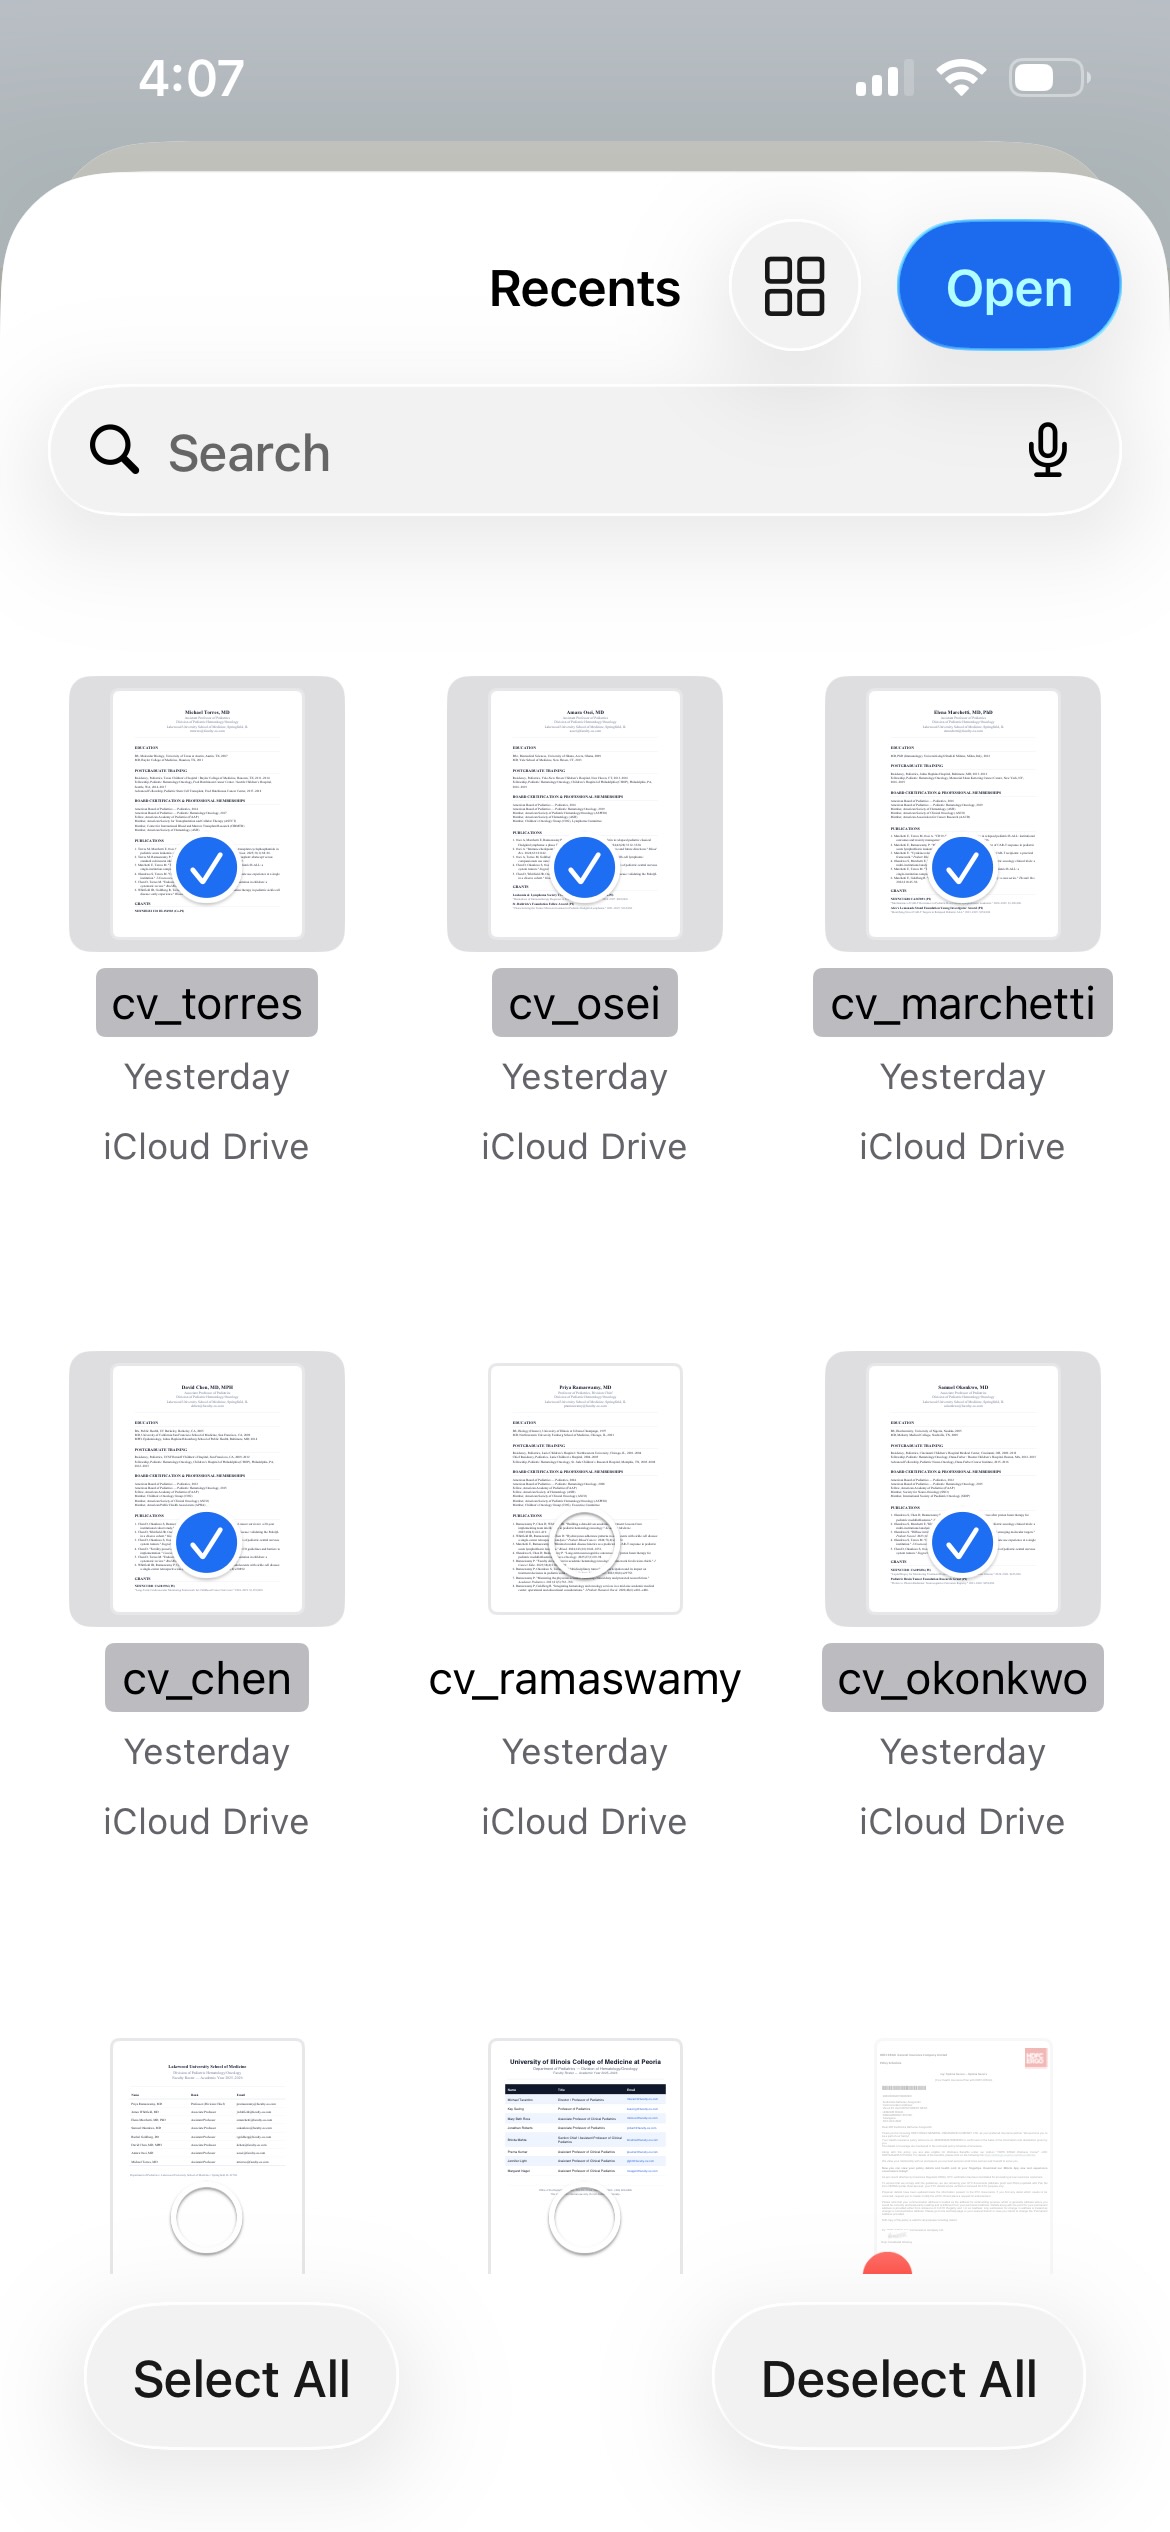
If you choose PDF file, a file picker opens showing your iCloud Drive and other locations. You can search by name to find your CV quickly.
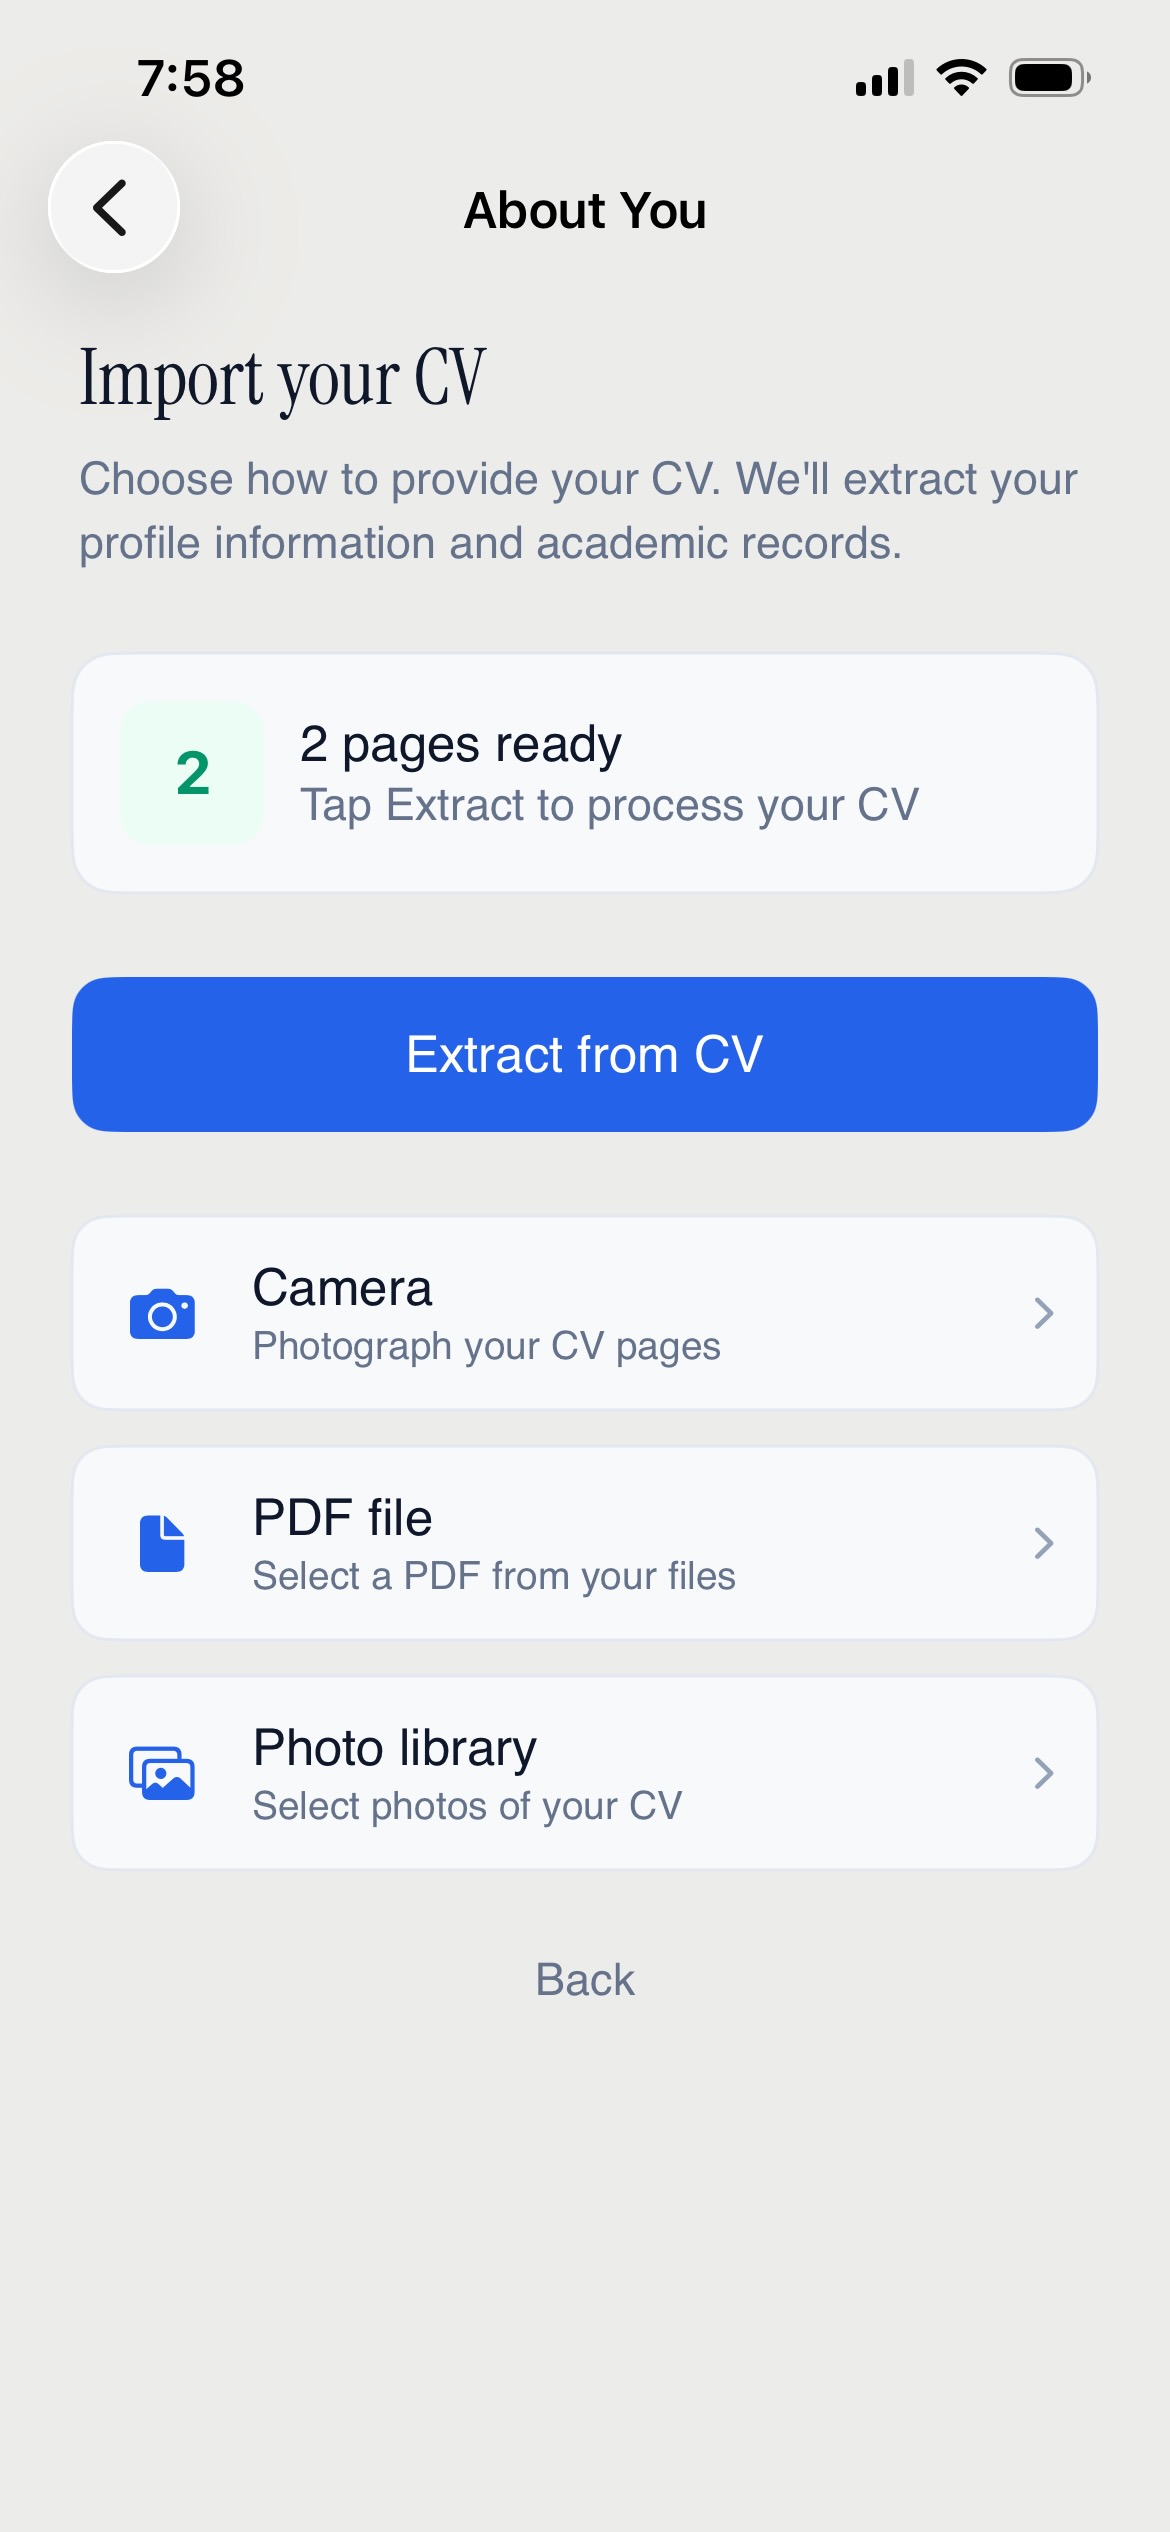
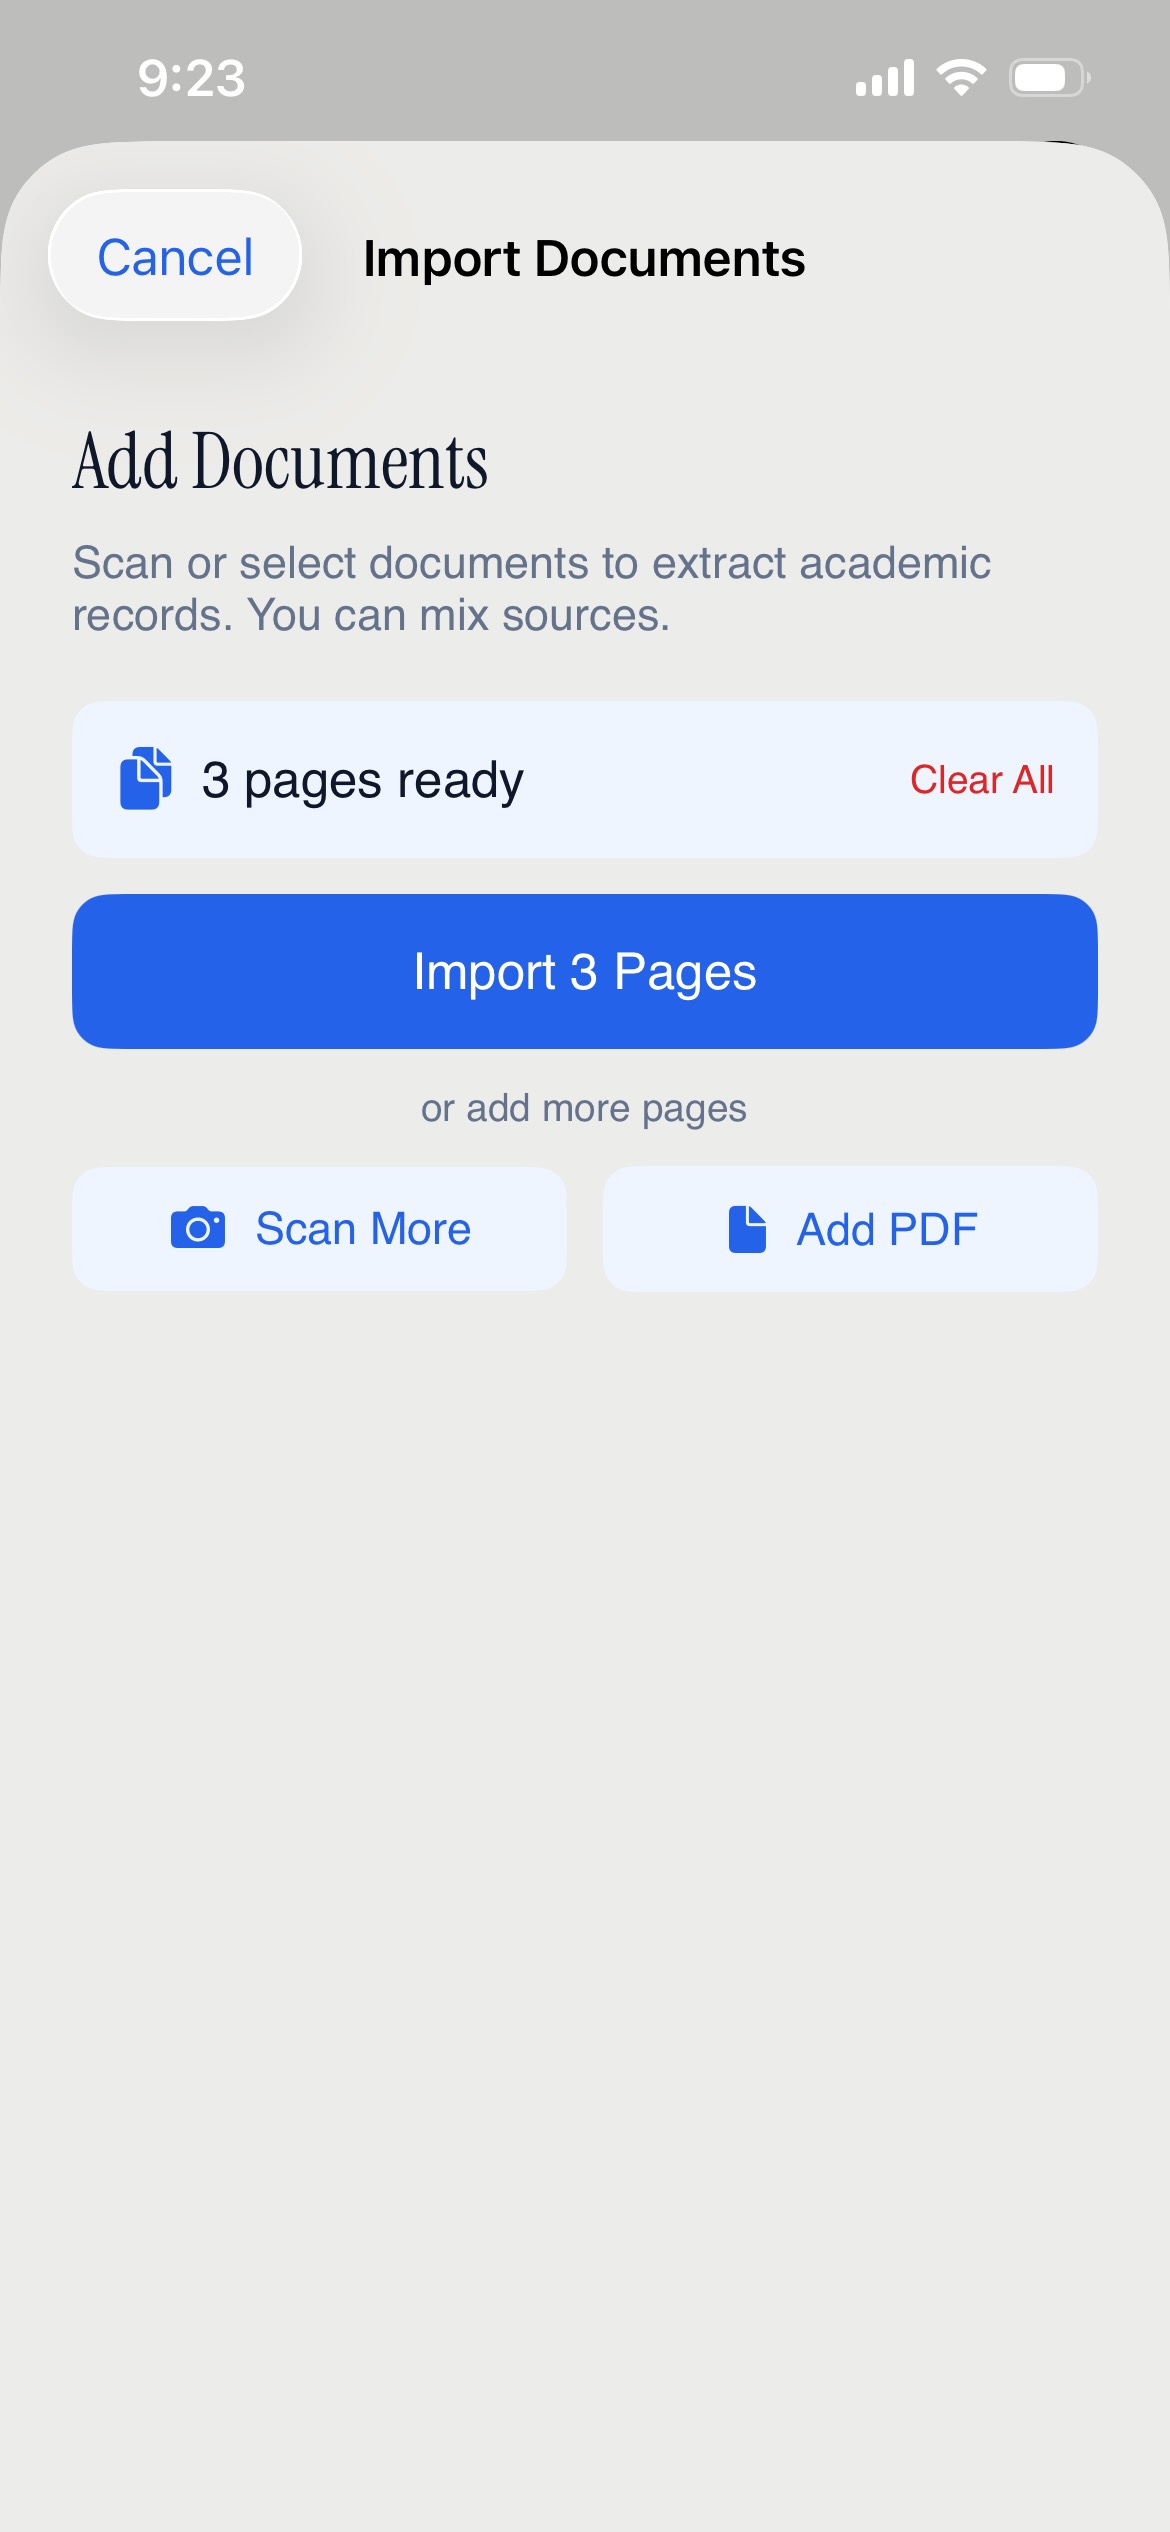
After selecting your file(s), FacultyOS shows how many pages are ready to extract. Tap Extract from CV to begin.
The extraction results show your auto-populated profile — review and edit anything that needs correction, then tap "Looks good, continue".
Option B — Fill in manually:
- Tap "Fill in manually"
- Enter your name, institution, department, and title (optional: your role)
- Tap Continue
You can always update your CV later from the My Profile tab using Update CV.
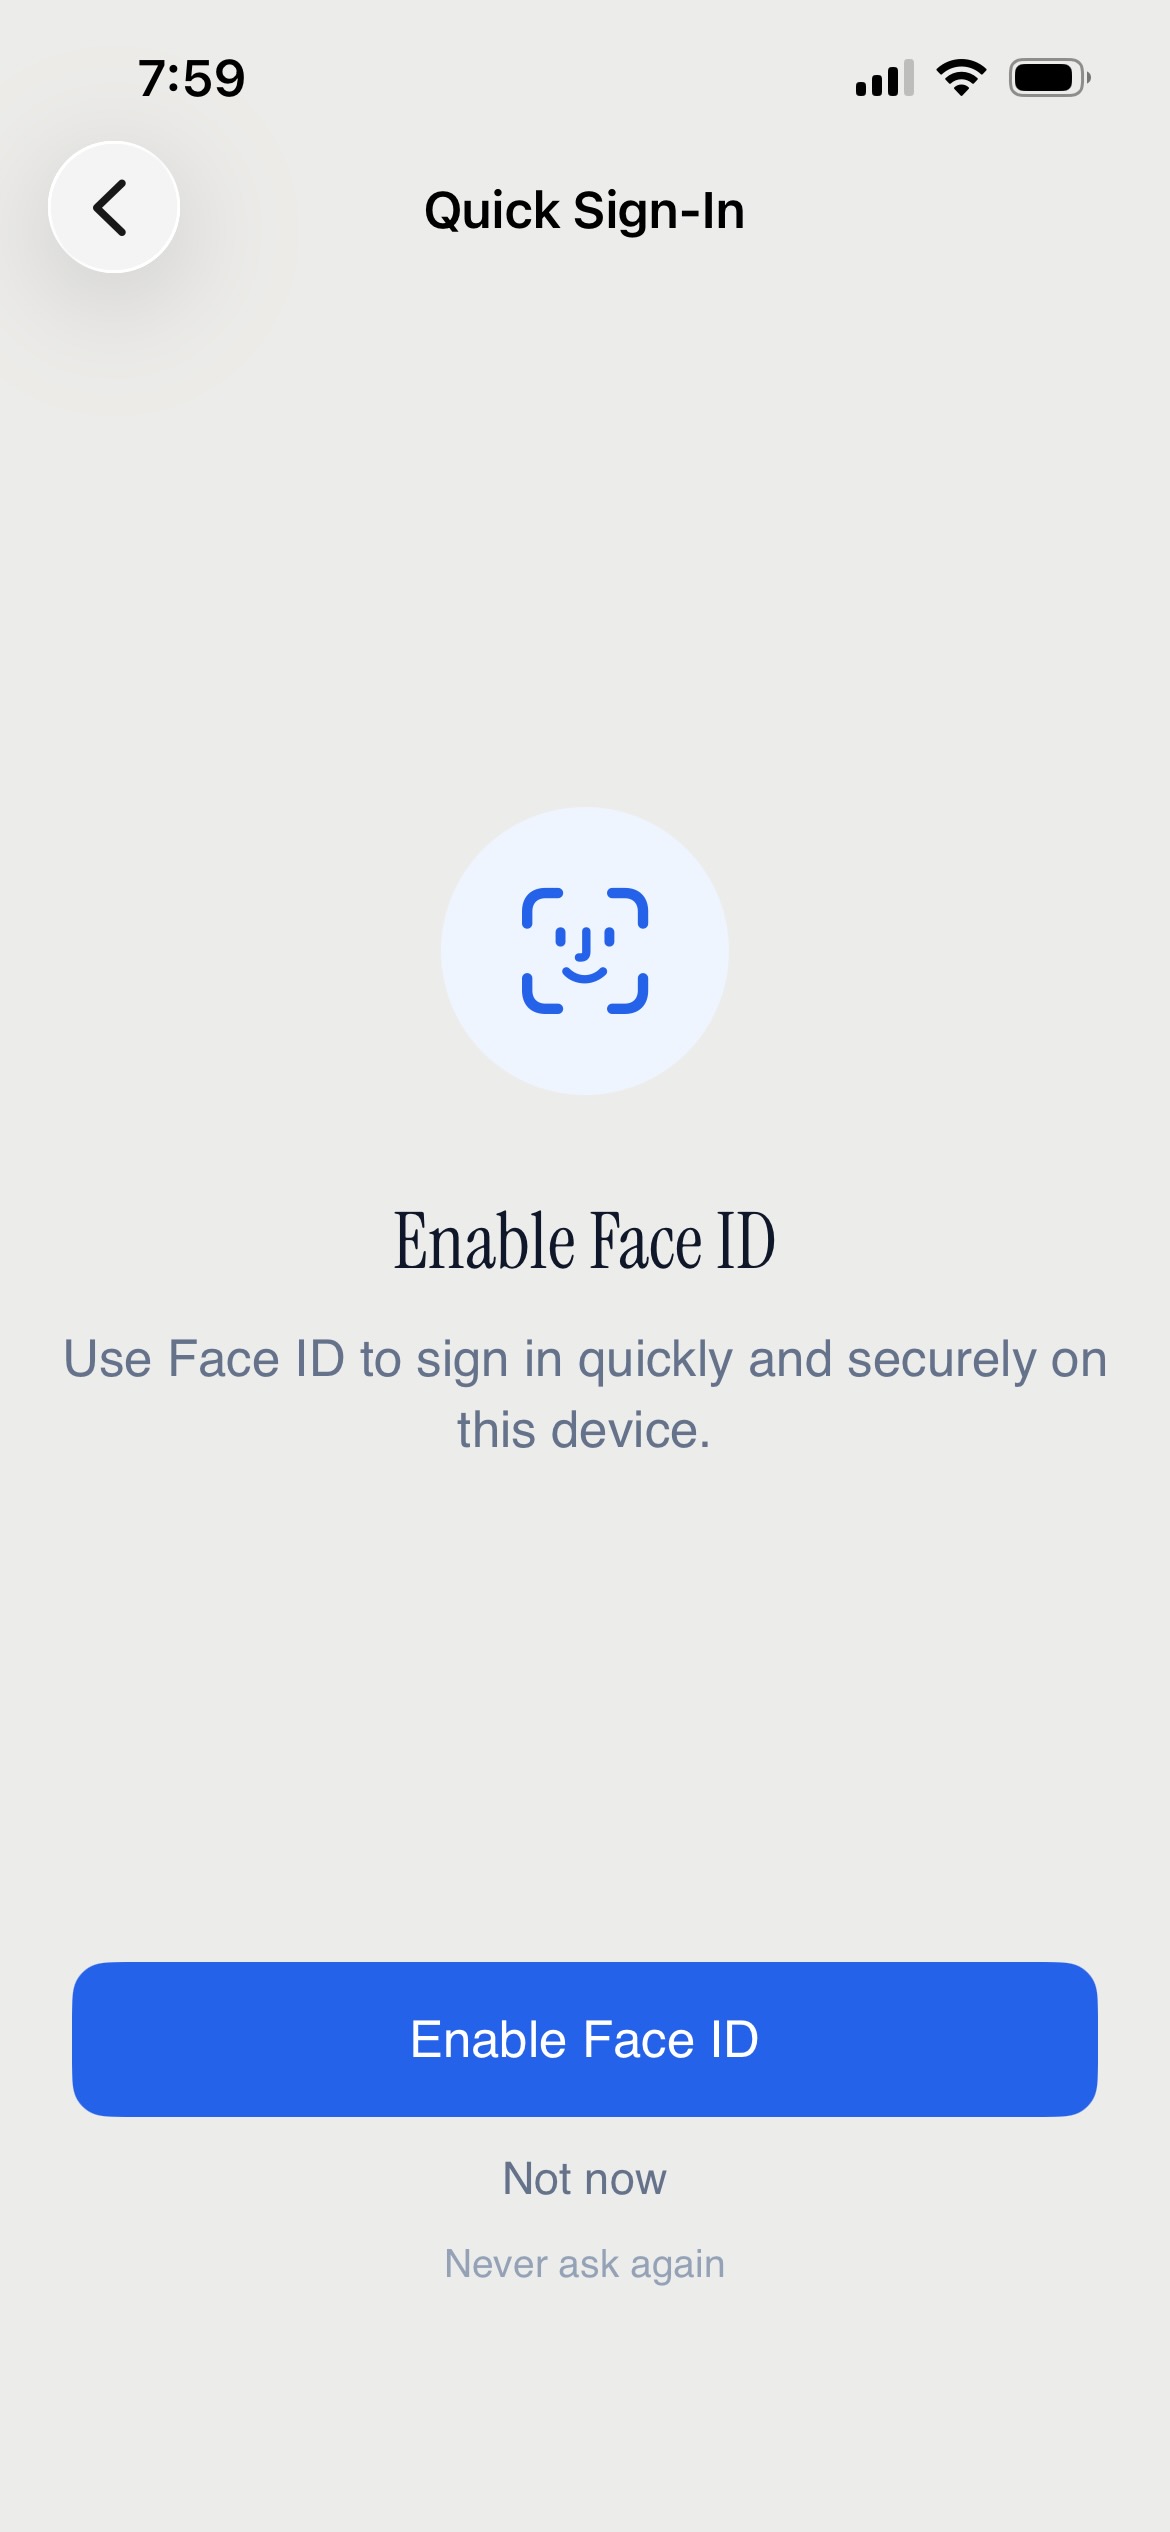
3. Quick Sign-In Setup
↑FacultyOS will prompt you to enable Face ID (or Touch ID on earlier devices). This is optional but recommended — it keeps your faculty data secure while making daily access effortless.
4. Set Up Your Team
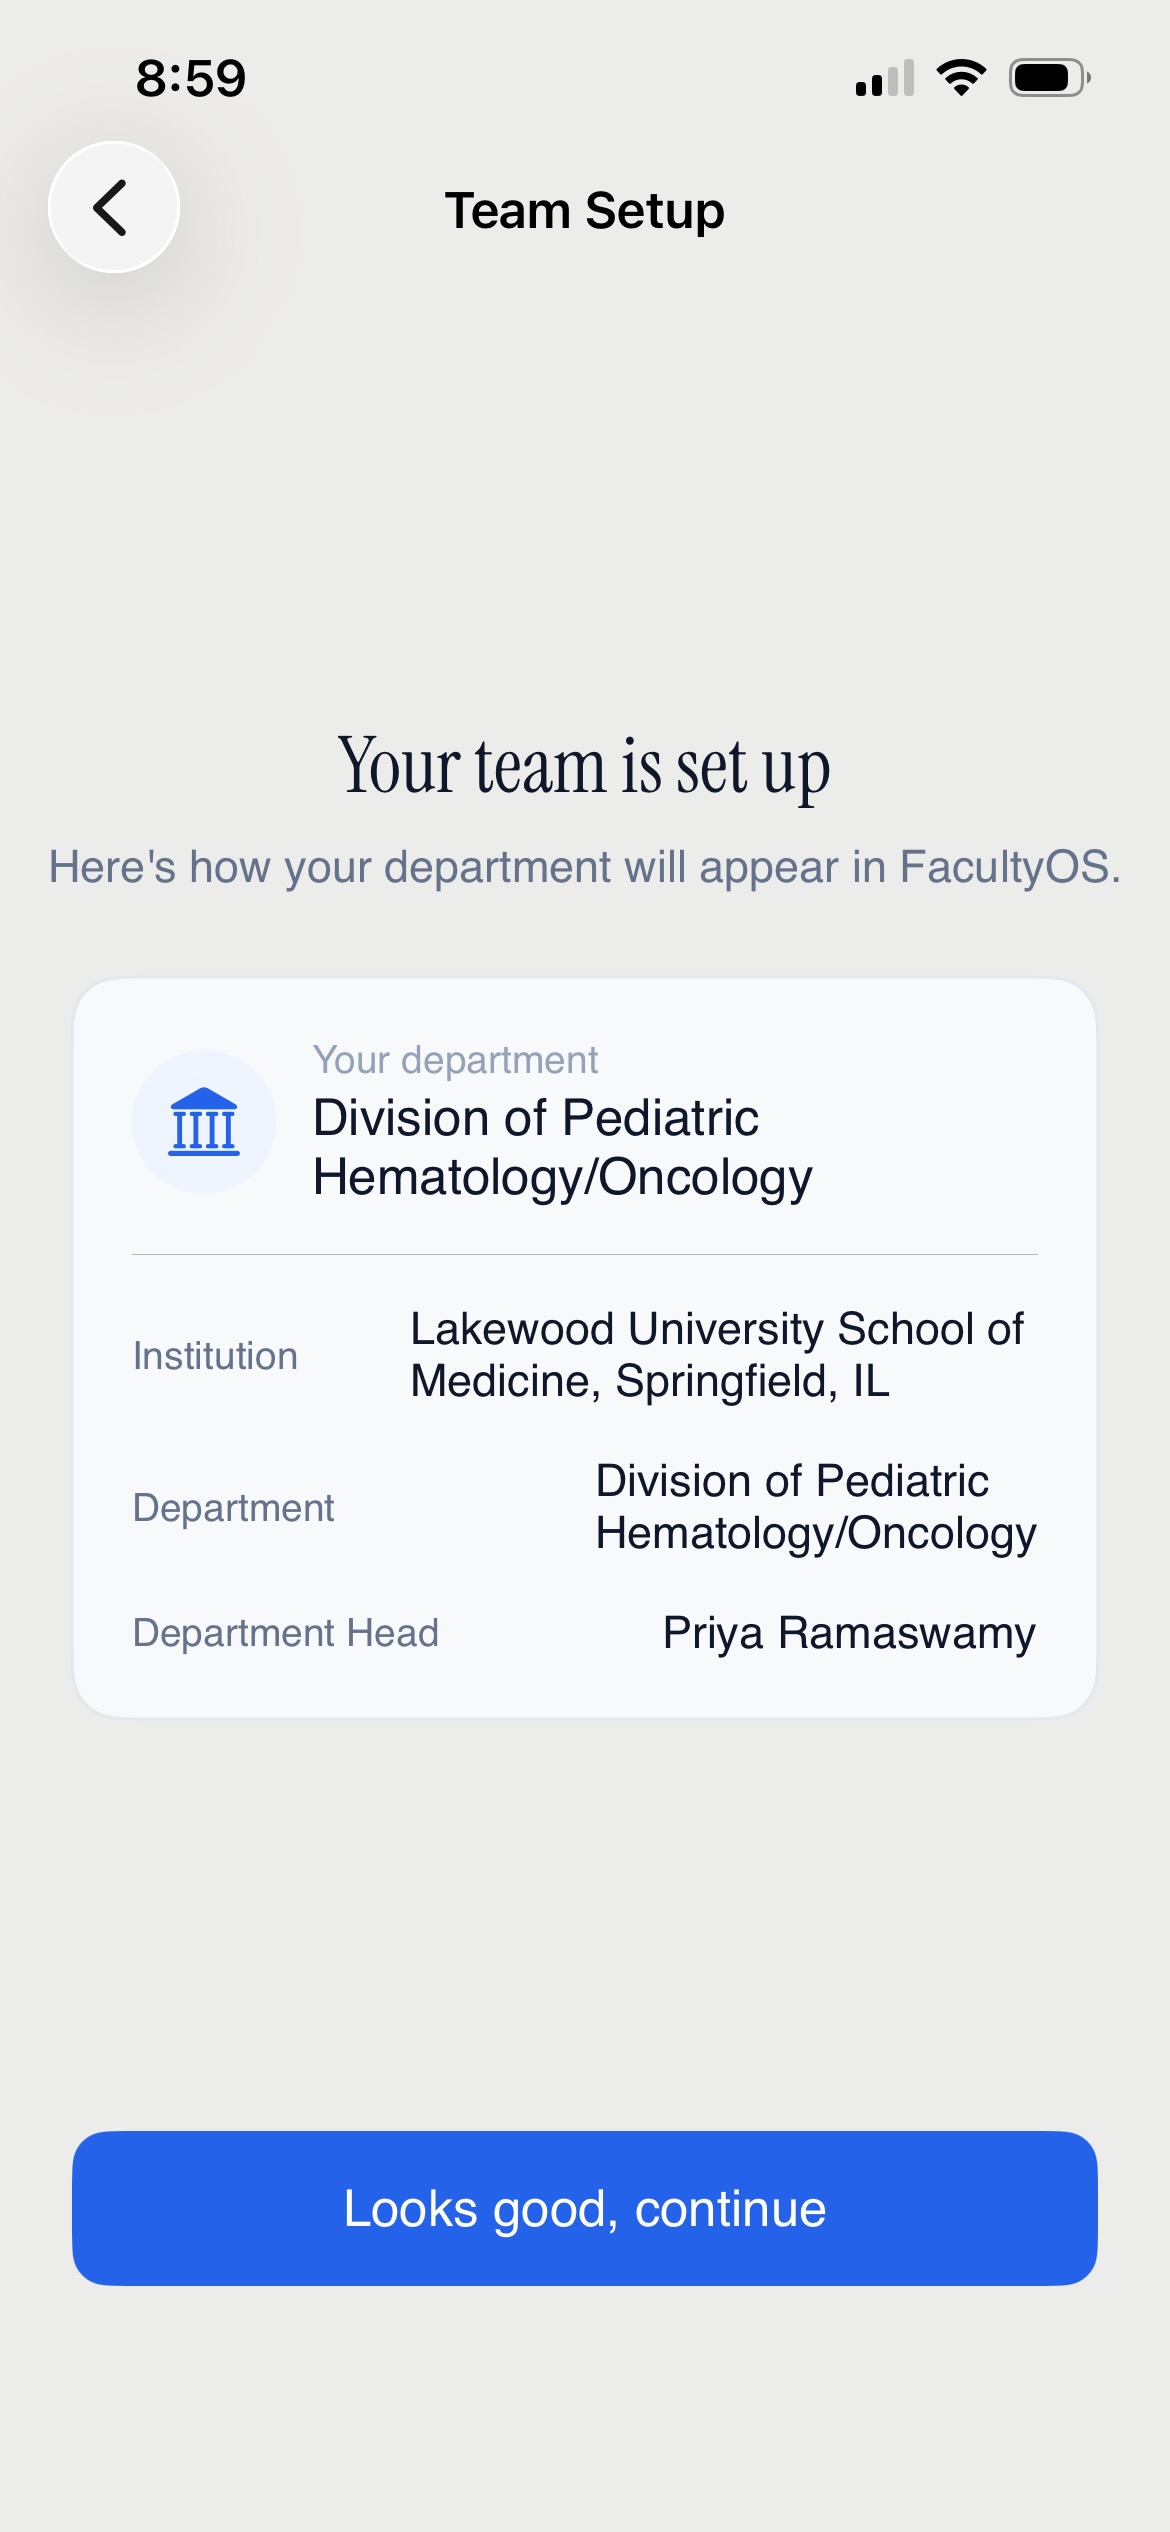
↑Before you see the main dashboard, FacultyOS confirms your department details. Review your institution name, department, and your role.
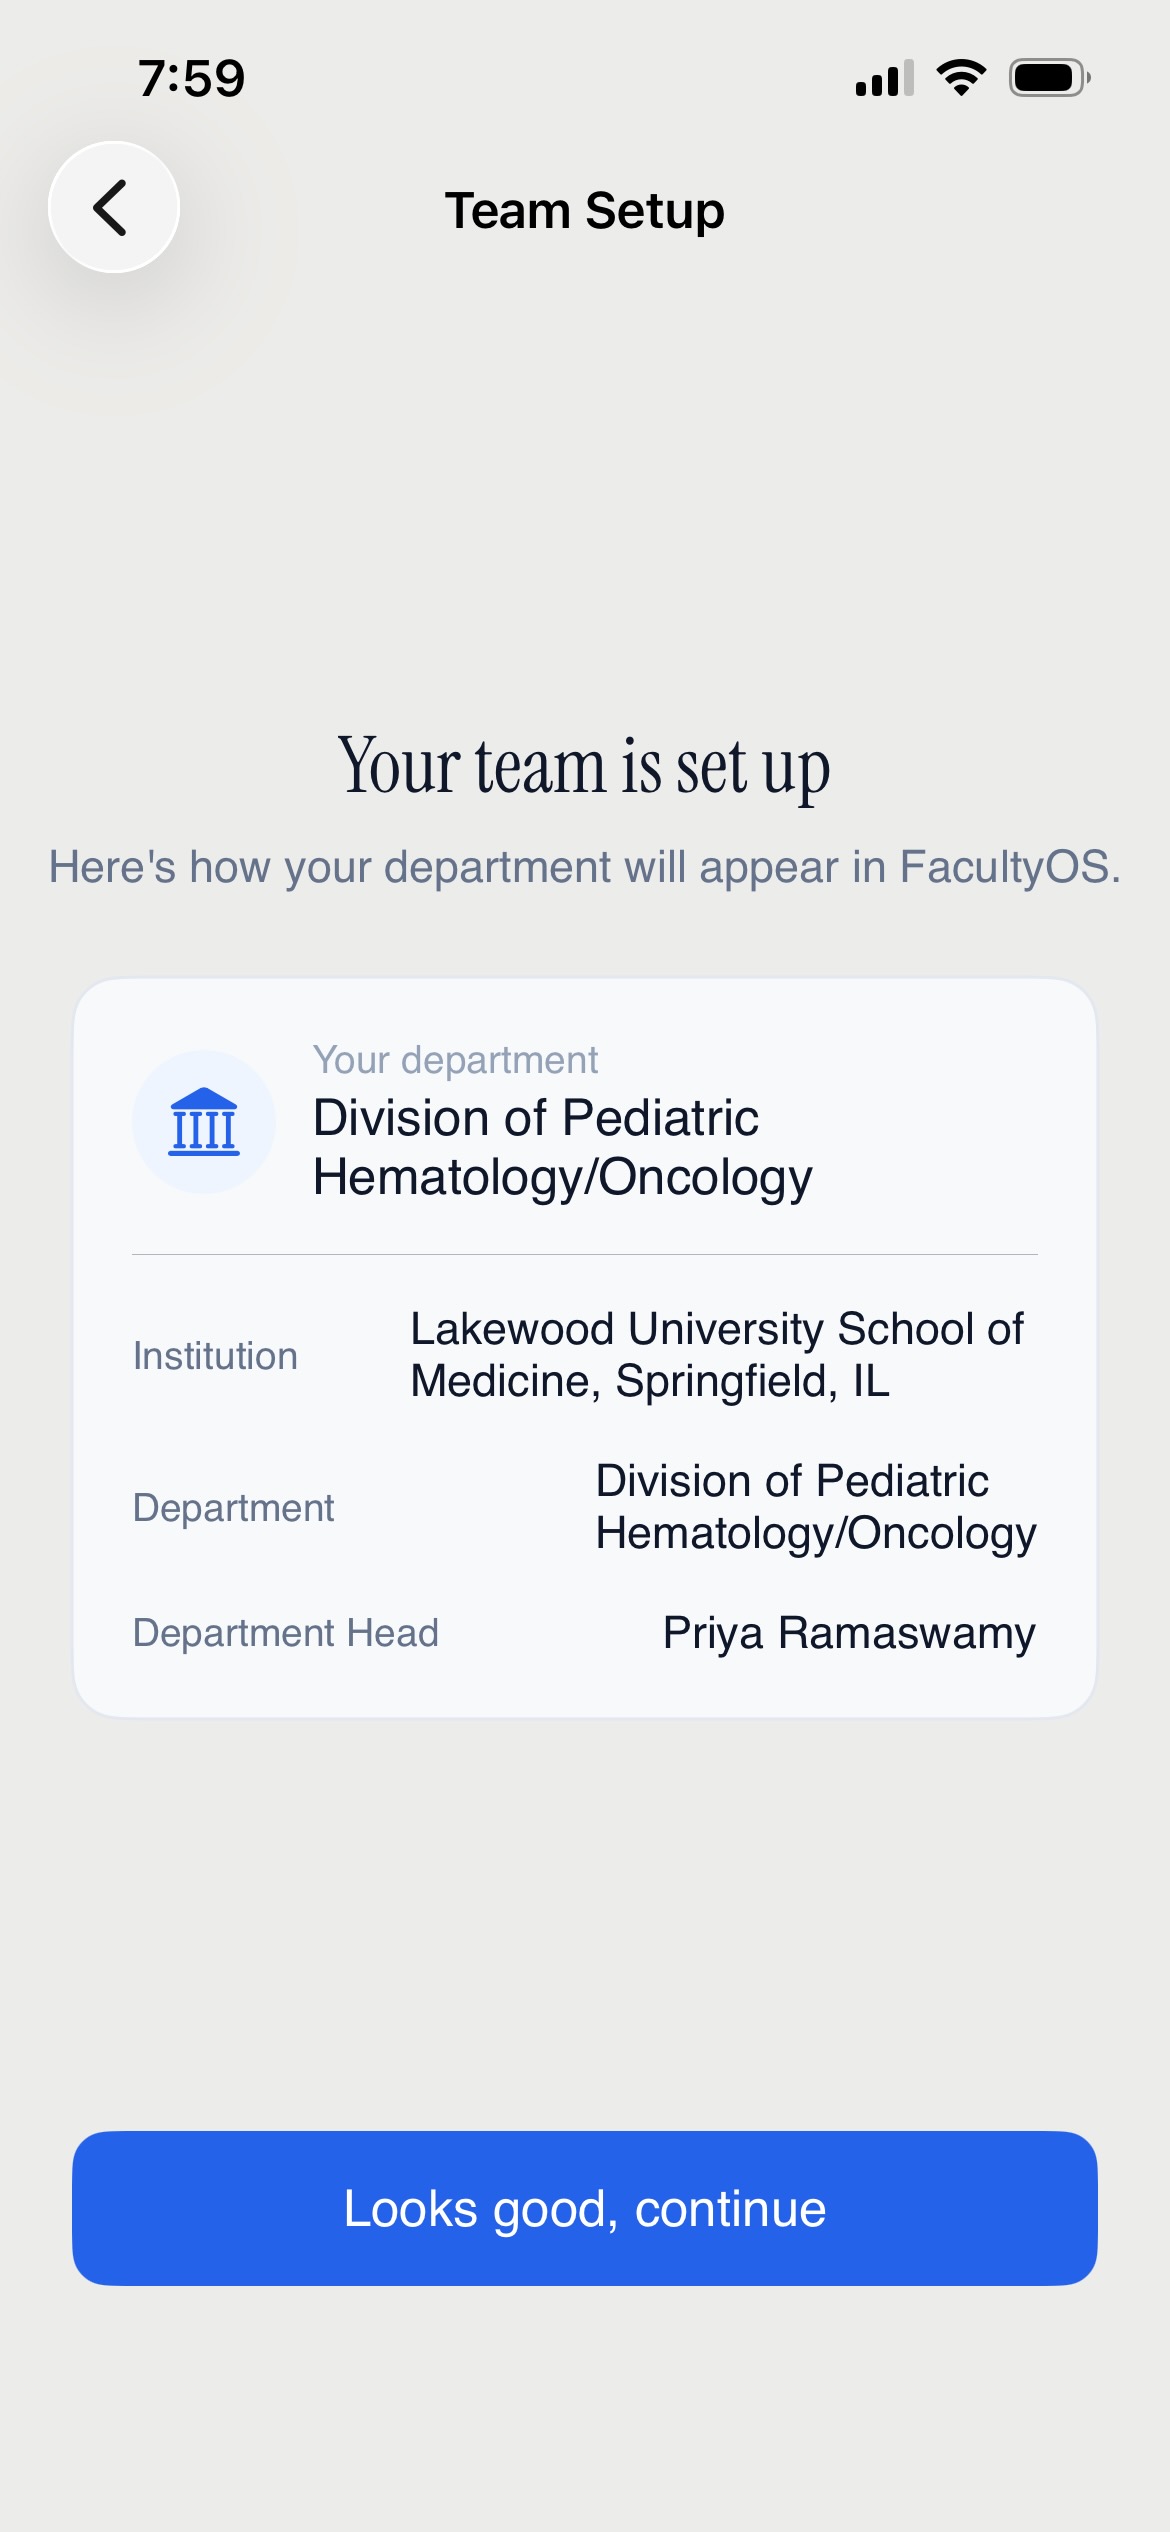
Tap "Looks good, continue" to proceed.
5. The Home Screen
↑After setup, you'll see four tabs at the bottom of the screen:
| Tab | Purpose |
|---|---|
| Team | Your primary dashboard — all faculty members, their records, and team actions |
| My Profile | Your own academic record (publications, grants, credentials, calendar syncs) |
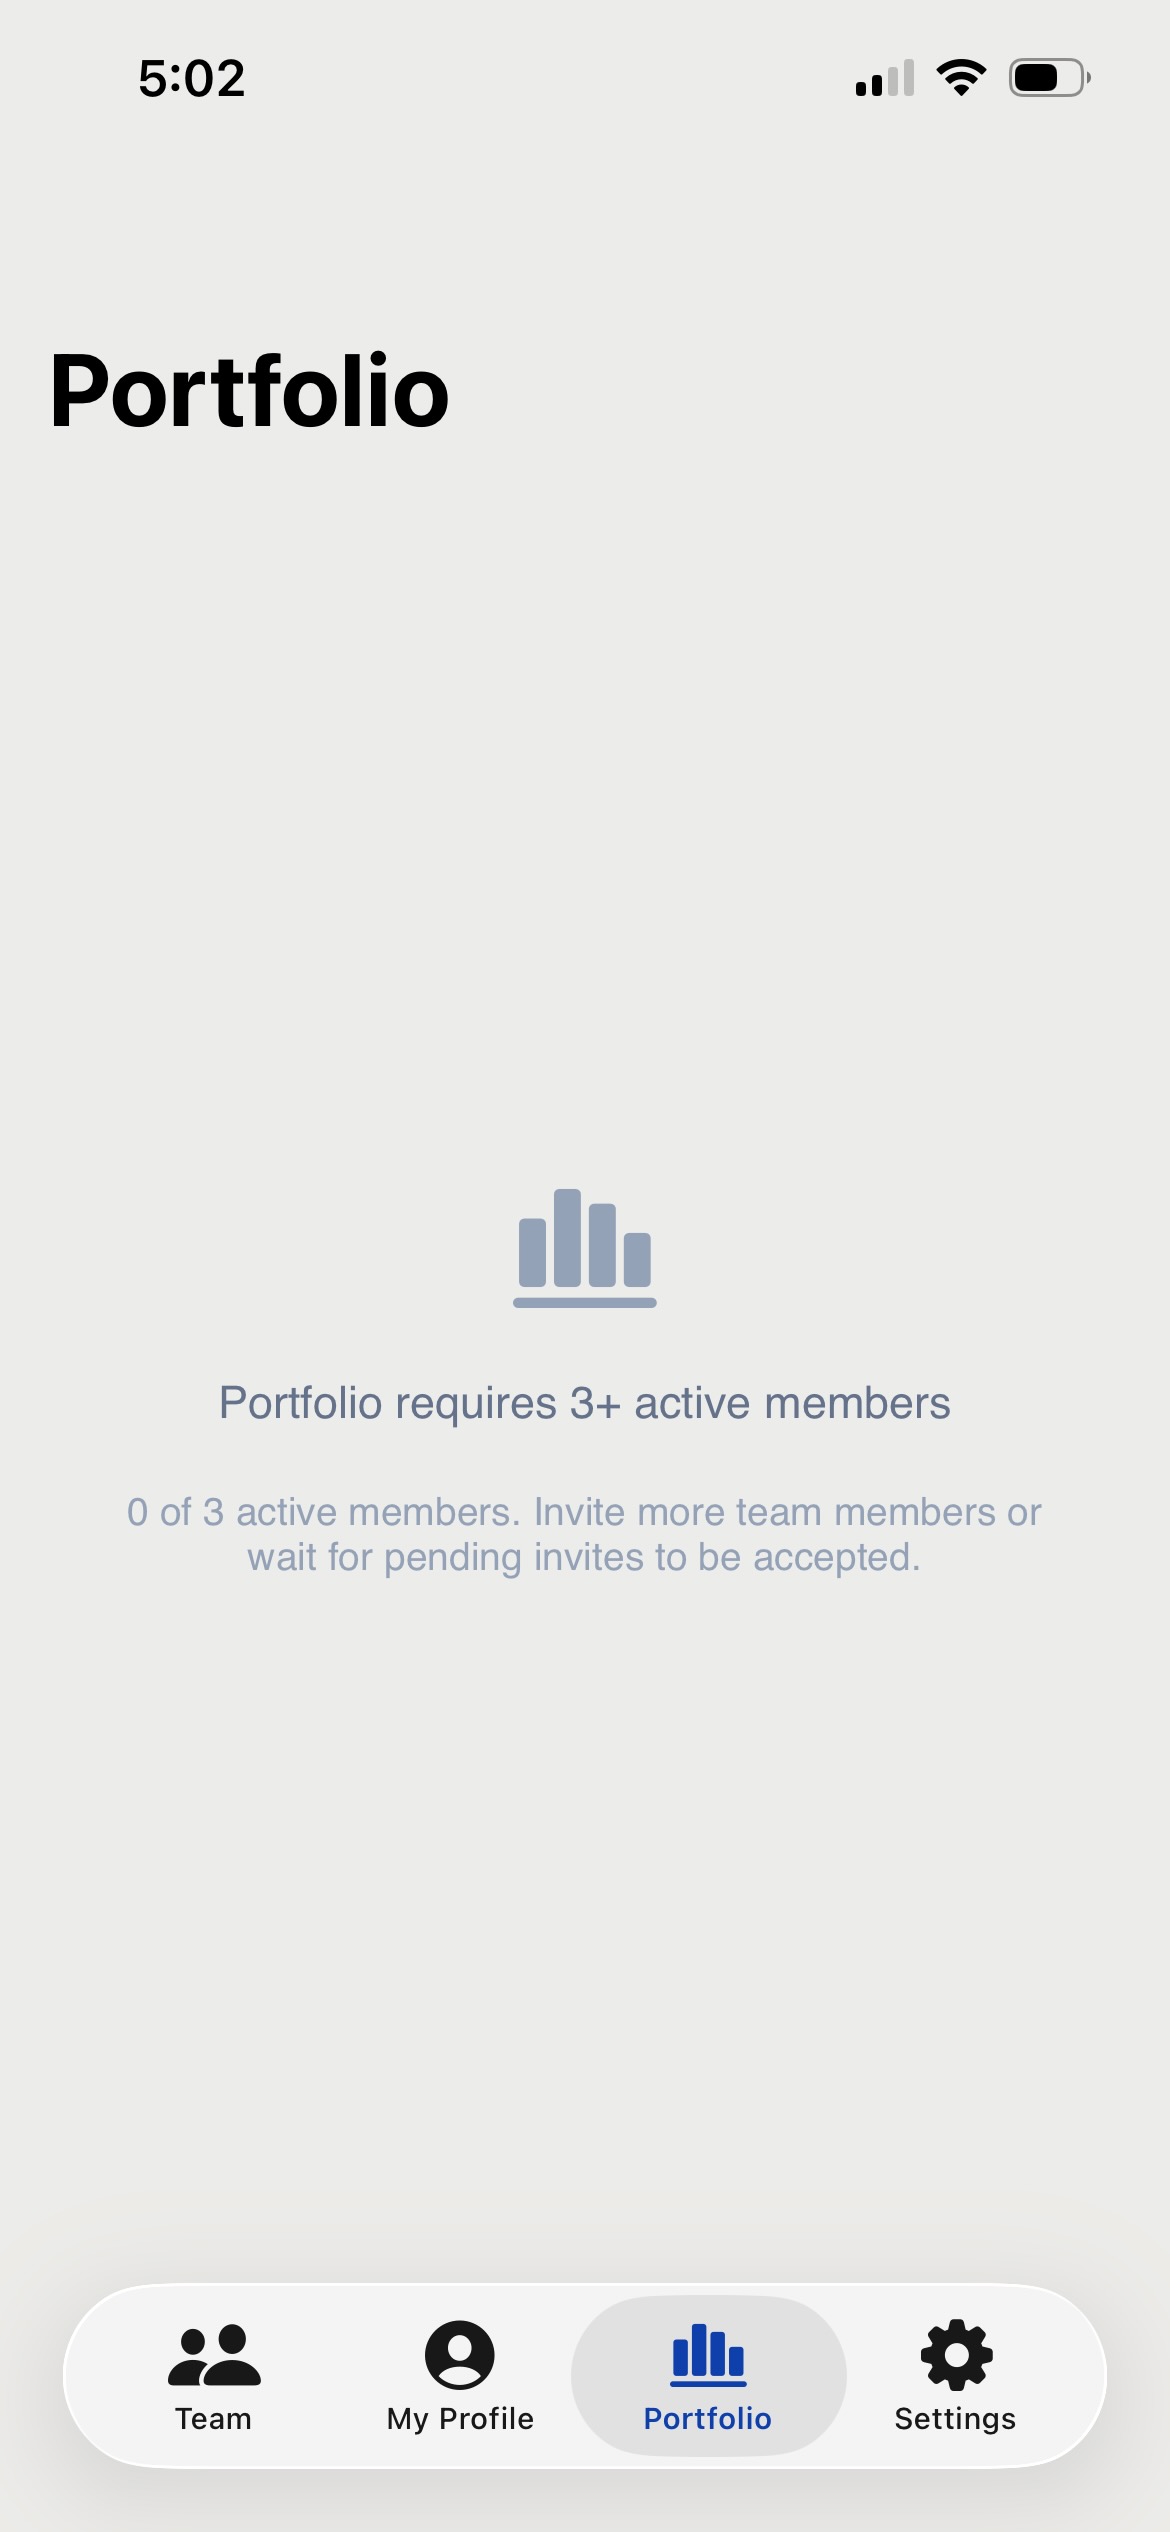
| Portfolio | Aggregate department-level academic output (available once 3+ faculty have confirmed records) |
| Settings | Account, subscription, preferences, promotion tracks, and team configuration |
Building Your Team
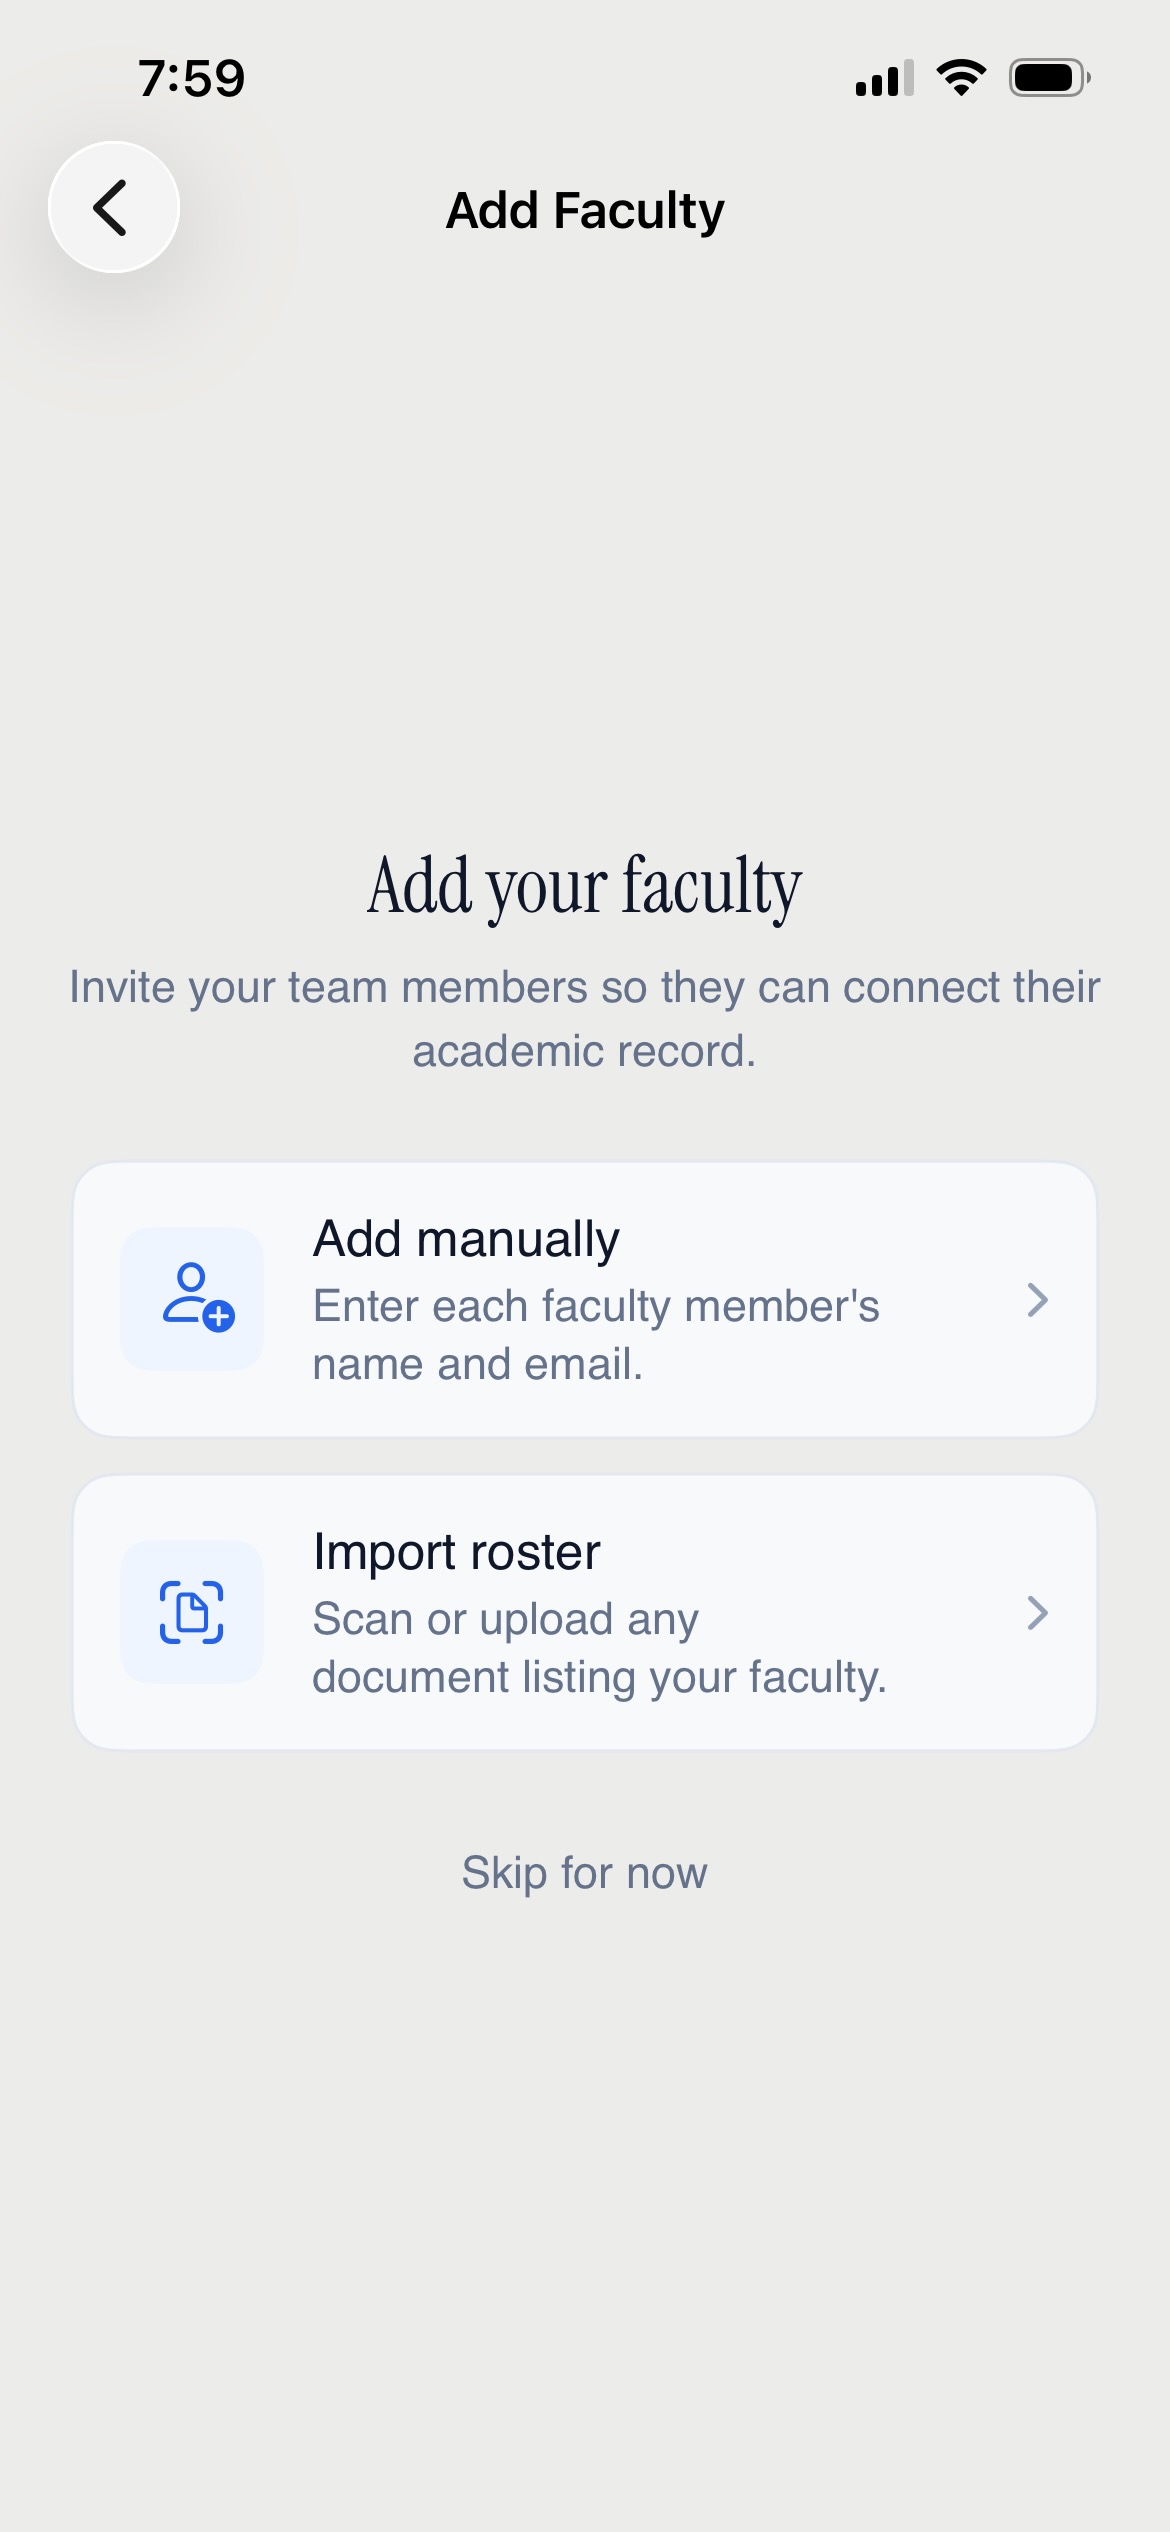
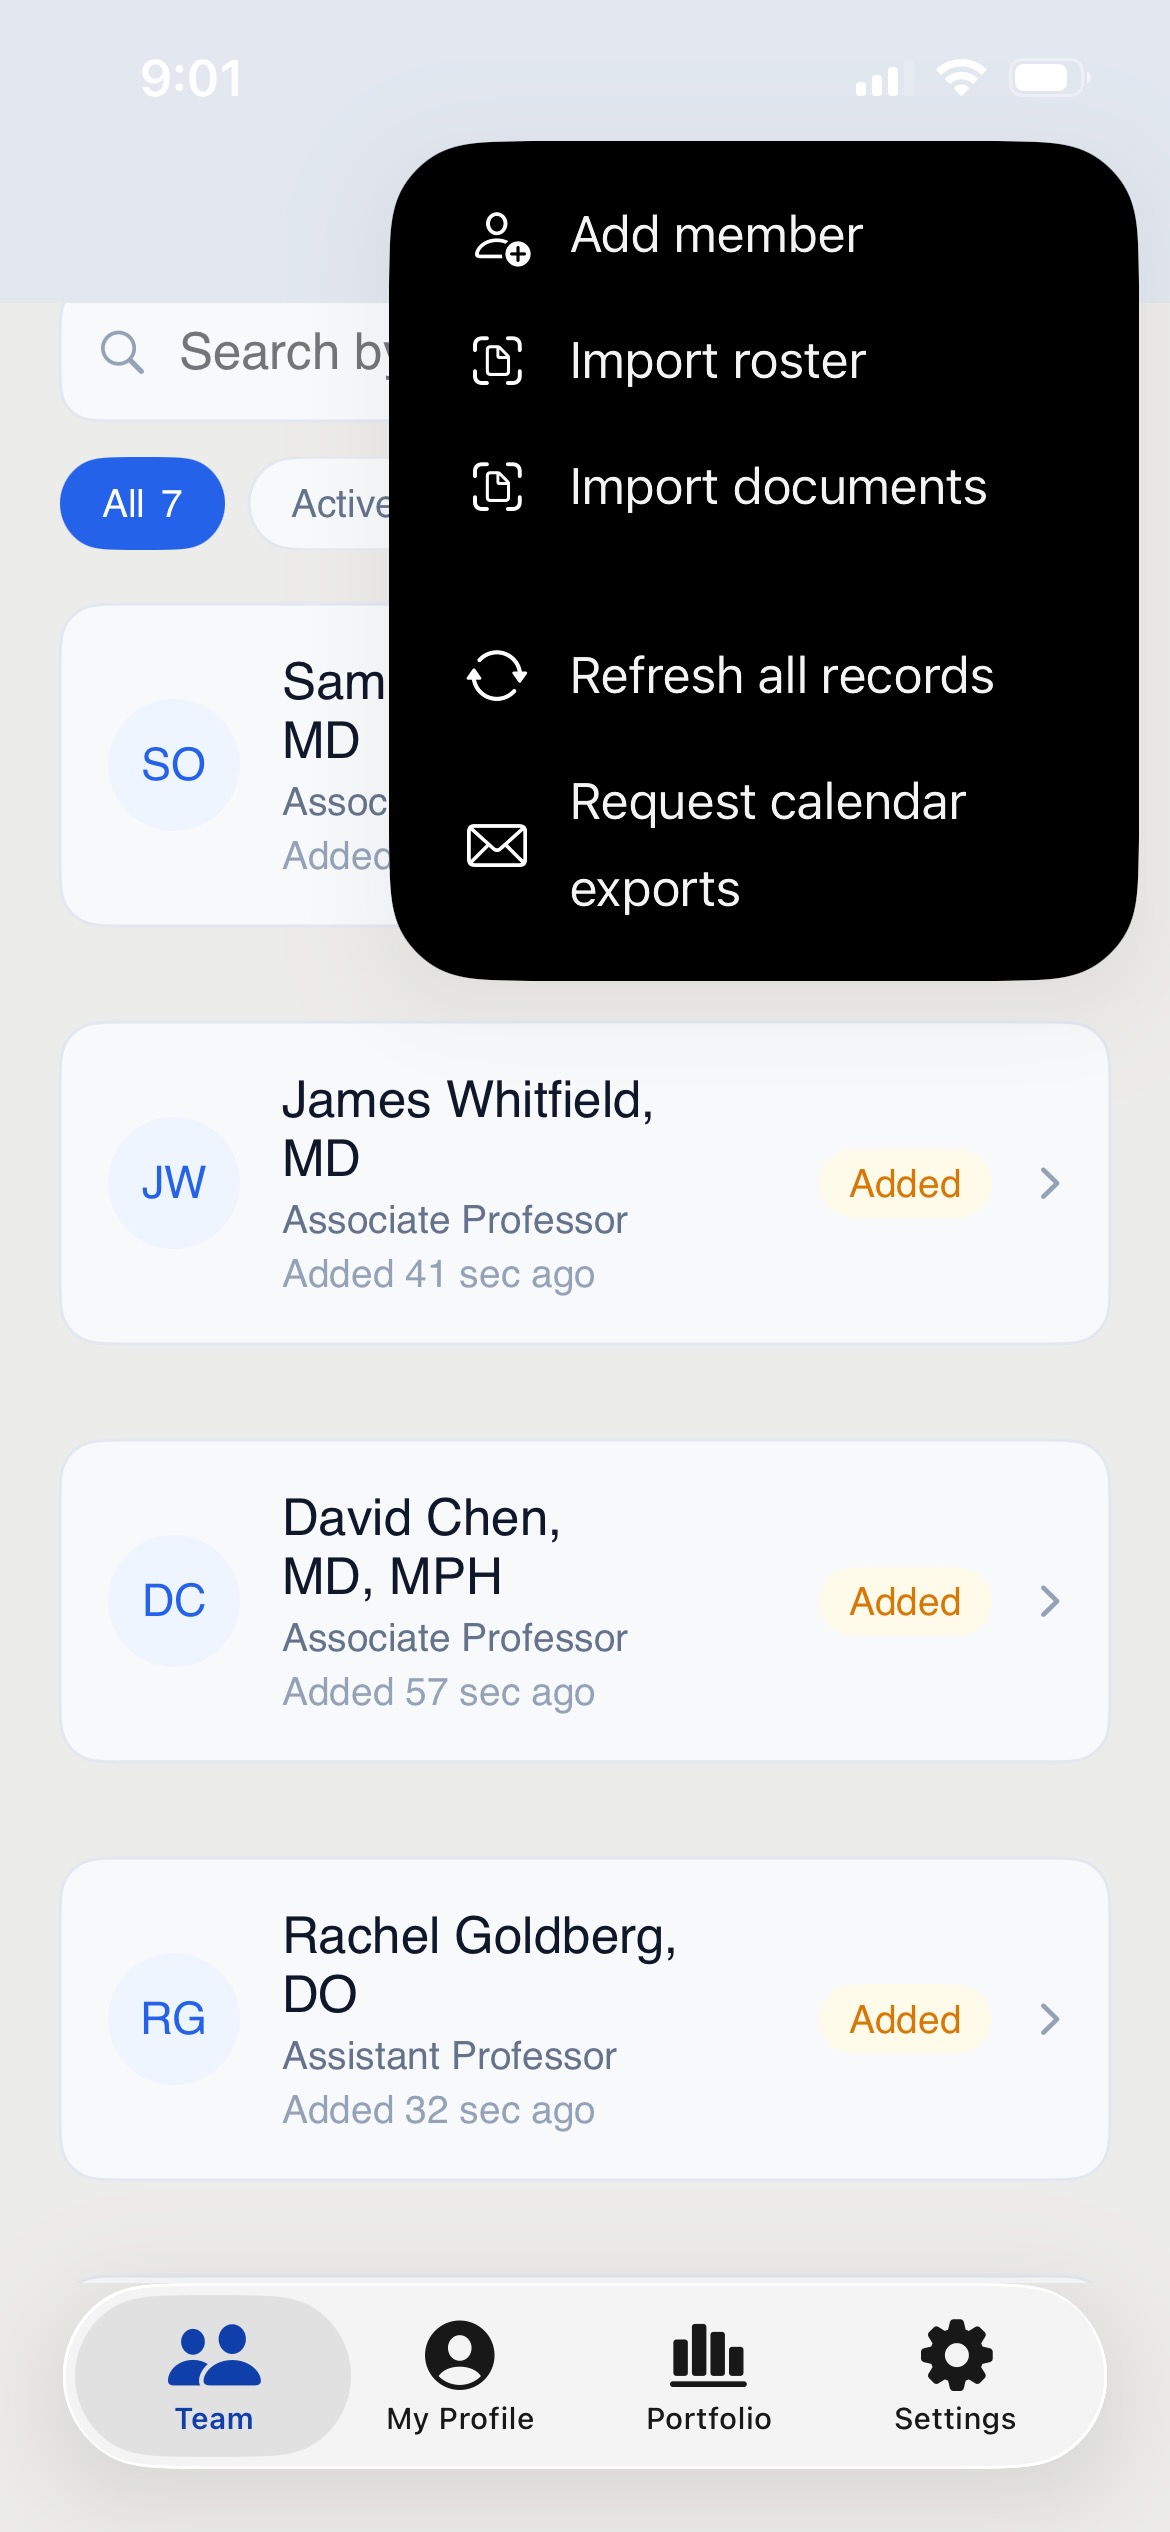
↑Your first step on the Team tab is to add your faculty members. You have three ways to do this:
| Option | Use when... |
|---|---|
| Add manually | You want to add a single faculty member by name and email |
| Import roster | You have a document listing your faculty (printed roster, department directory, spreadsheet, org chart) |
| Import documents | You have academic records to extract (CVs, annual reports, activity sheets) — adds records to existing people, not new people |
Adding a Single Faculty Member
↑Tap Add Faculty → Add manually. Enter each faculty member's:
- Full name
- Email address
- Title (optional)
Voice dictation: The name field supports voice input — tap the microphone icon to dictate instead of typing. Useful when adding multiple members quickly.
When you save, FacultyOS immediately begins searching PubMed, OpenAlex, NIH Reporter, and ClinicalTrials.gov for publications and grants matching that person's name and your institution. This search happens automatically in the background.
Standalone mode: No invitation email is sent. The faculty member is added to your roster. FacultyOS builds their records from public databases and documents you scan, and you can send them a review link when records are ready.
Collaborative mode: An invitation email is sent to the faculty member's address immediately. They will receive a prompt to download FacultyOS and create an account.
Importing a Roster
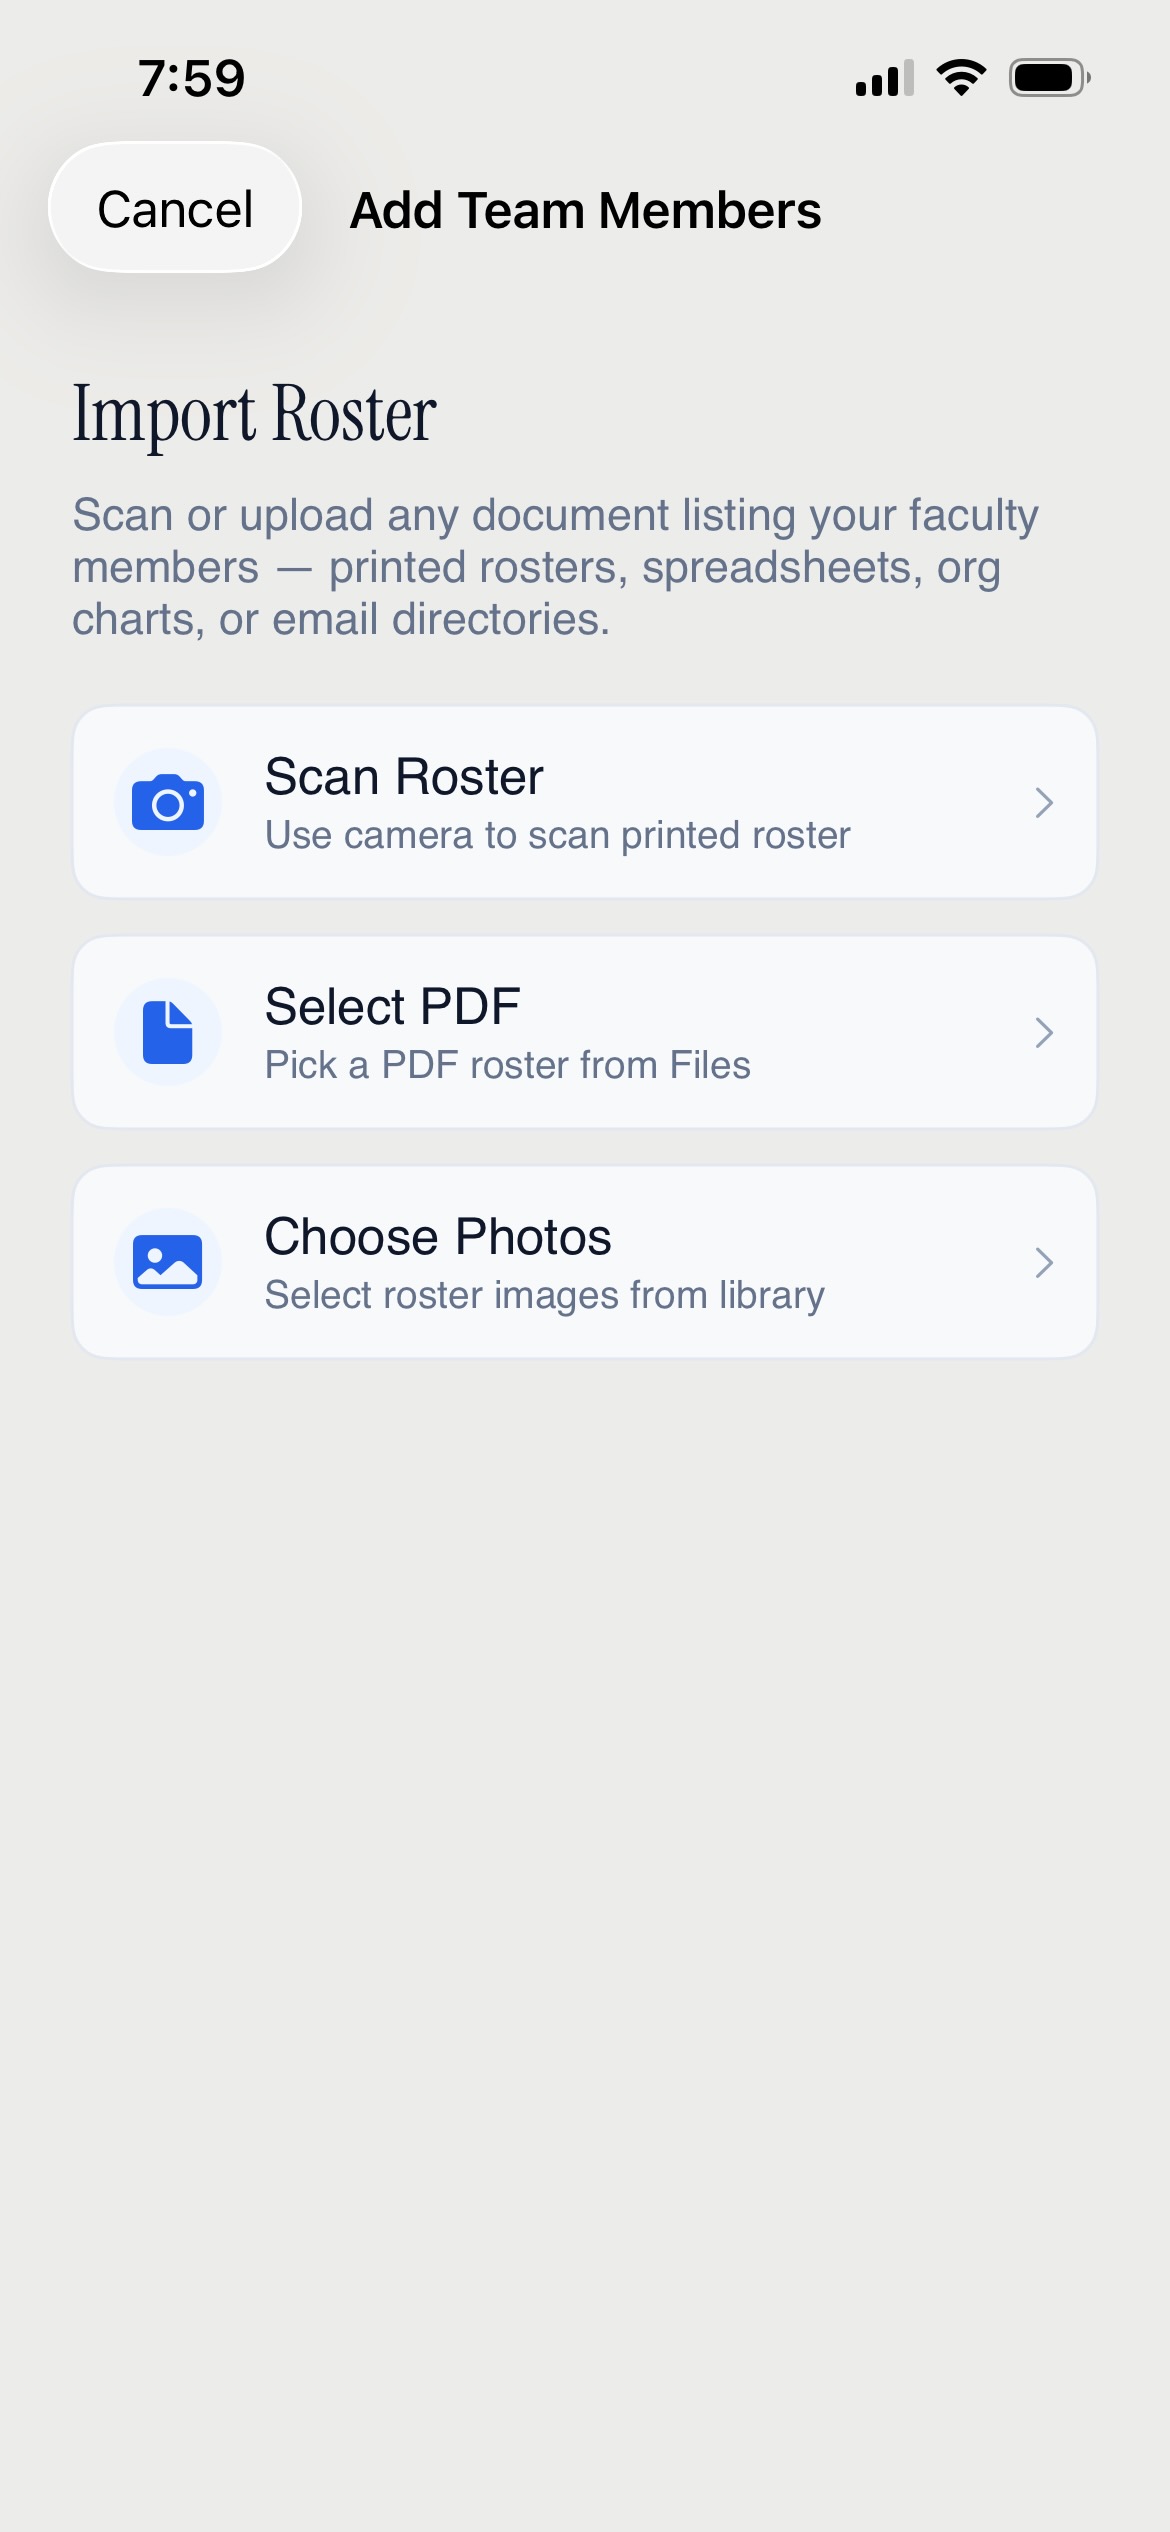
↑If you have a document listing your faculty — a printed department roster, a PDF directory, a spreadsheet, or a photo of a posted list — you can import it all at once instead of entering names one by one.
Tap Add Faculty → Import roster
Choose your source:
- Scan Roster — use your camera to photograph a printed roster, directory page, or posted list. You can capture multiple pages.
- Select PDF — pick a PDF from your Files app
- Choose Photos — select photos of roster documents from your photo library
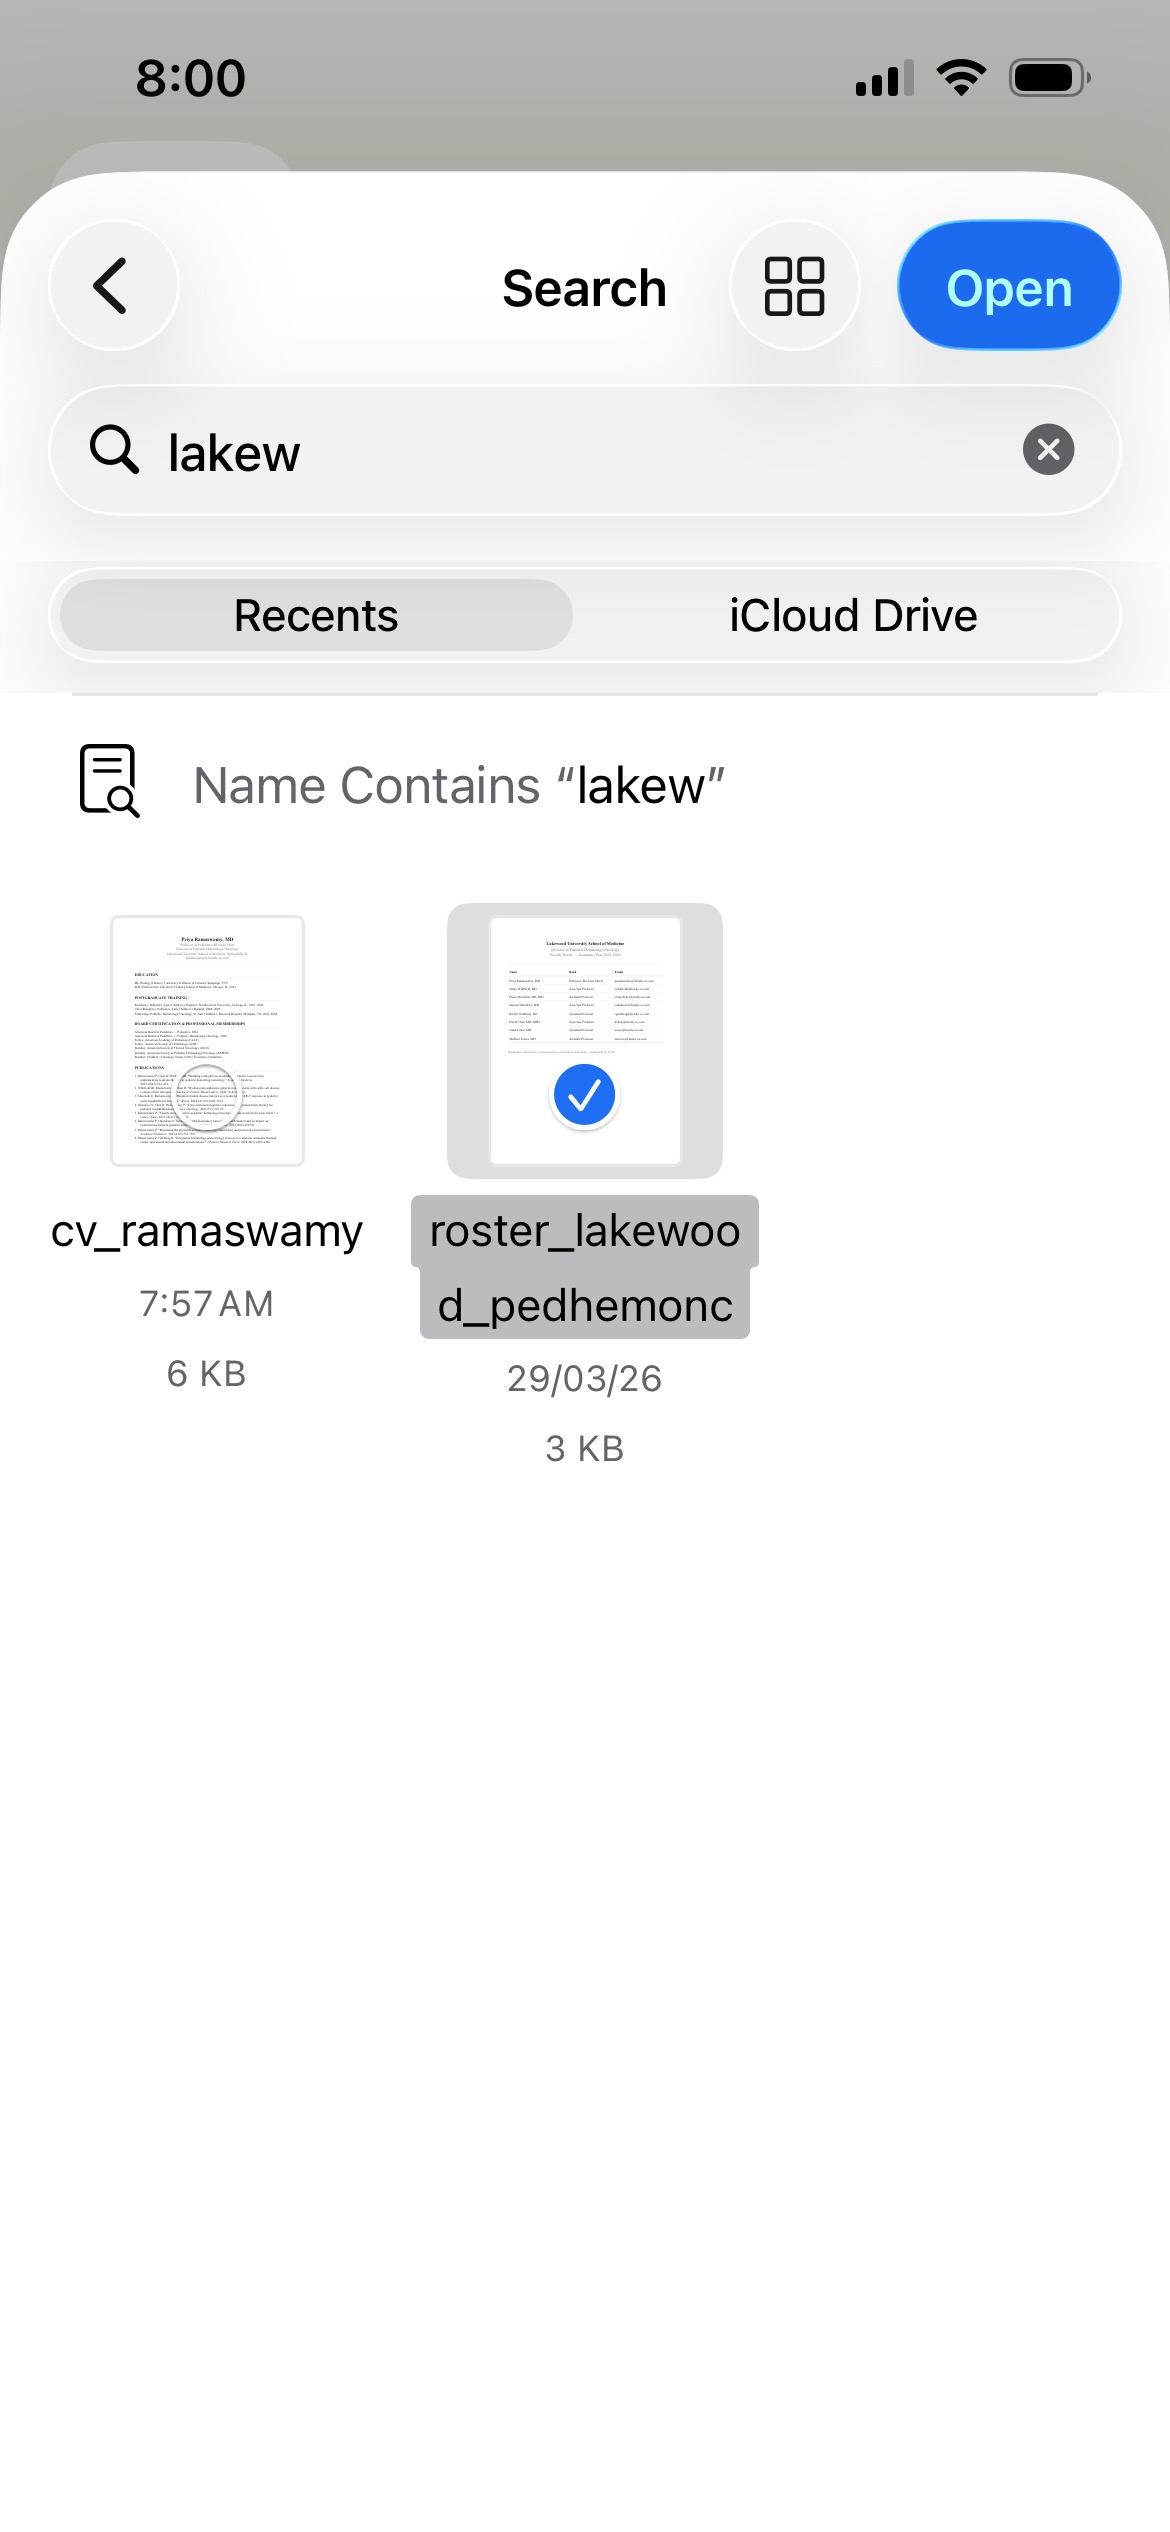
If you choose Select PDF, a file picker opens. Search by name to locate your roster document quickly. Tap the file to select it (blue checkmark), then tap Open.
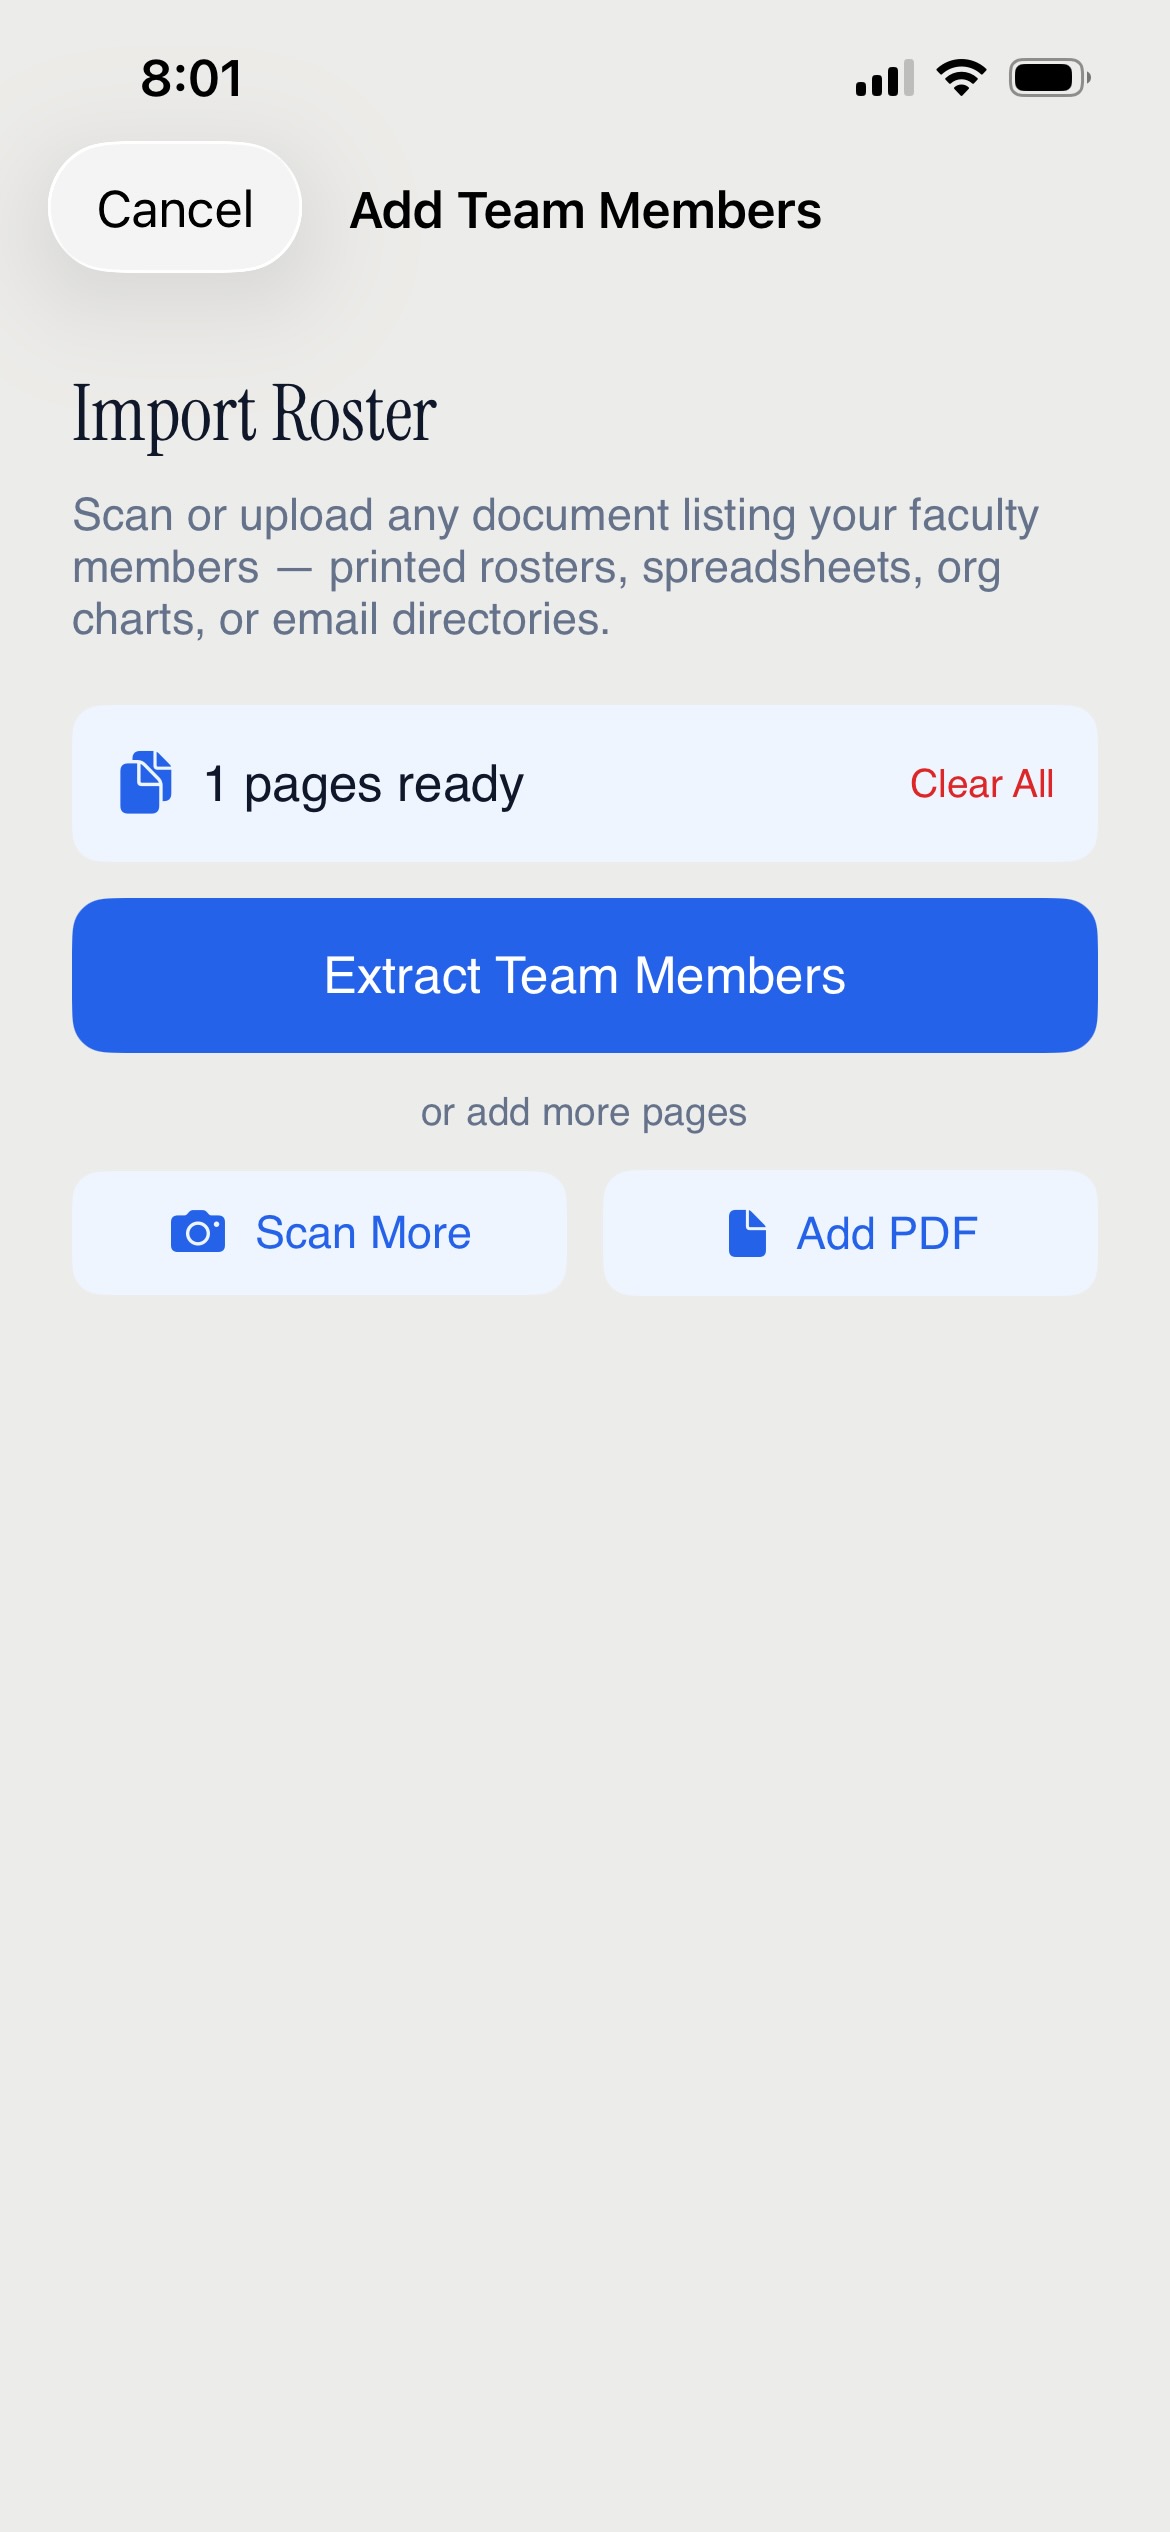
FacultyOS shows how many pages are ready. Tap Extract Team Members to begin — or tap Scan More / Add PDF if you want to add more pages first.
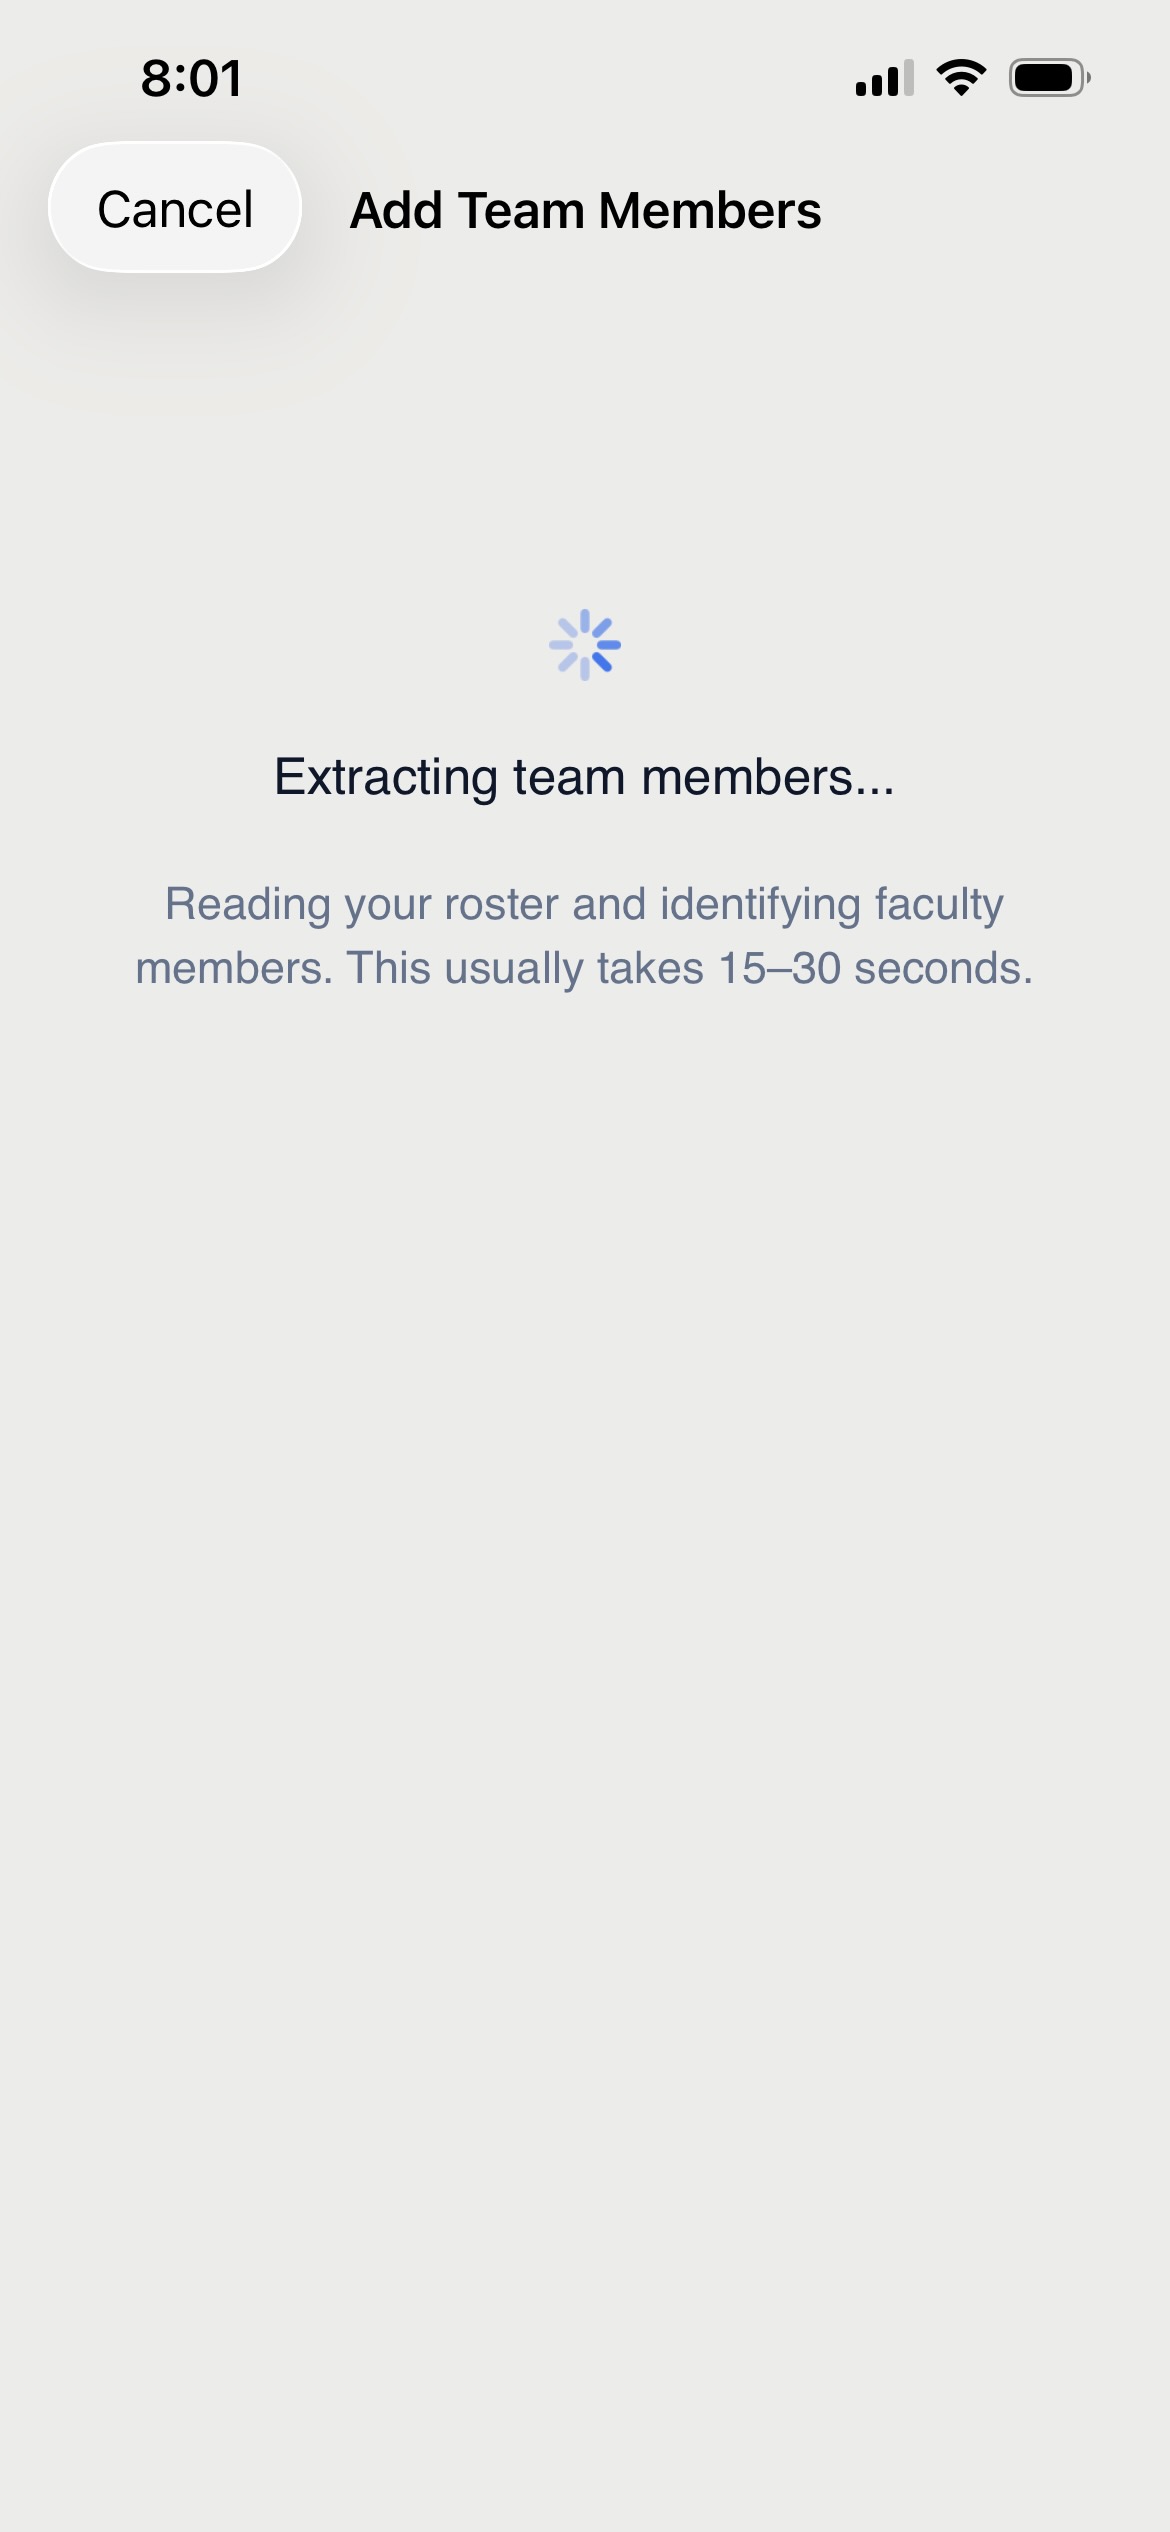
FacultyOS processes the pages and uses AI vision to extract faculty names and email addresses
While extracting, you'll see a loading screen:
Review the extracted roster in the Review Team Members screen — each person appears as a card. Tap the checkbox next to each person to confirm they should be added.
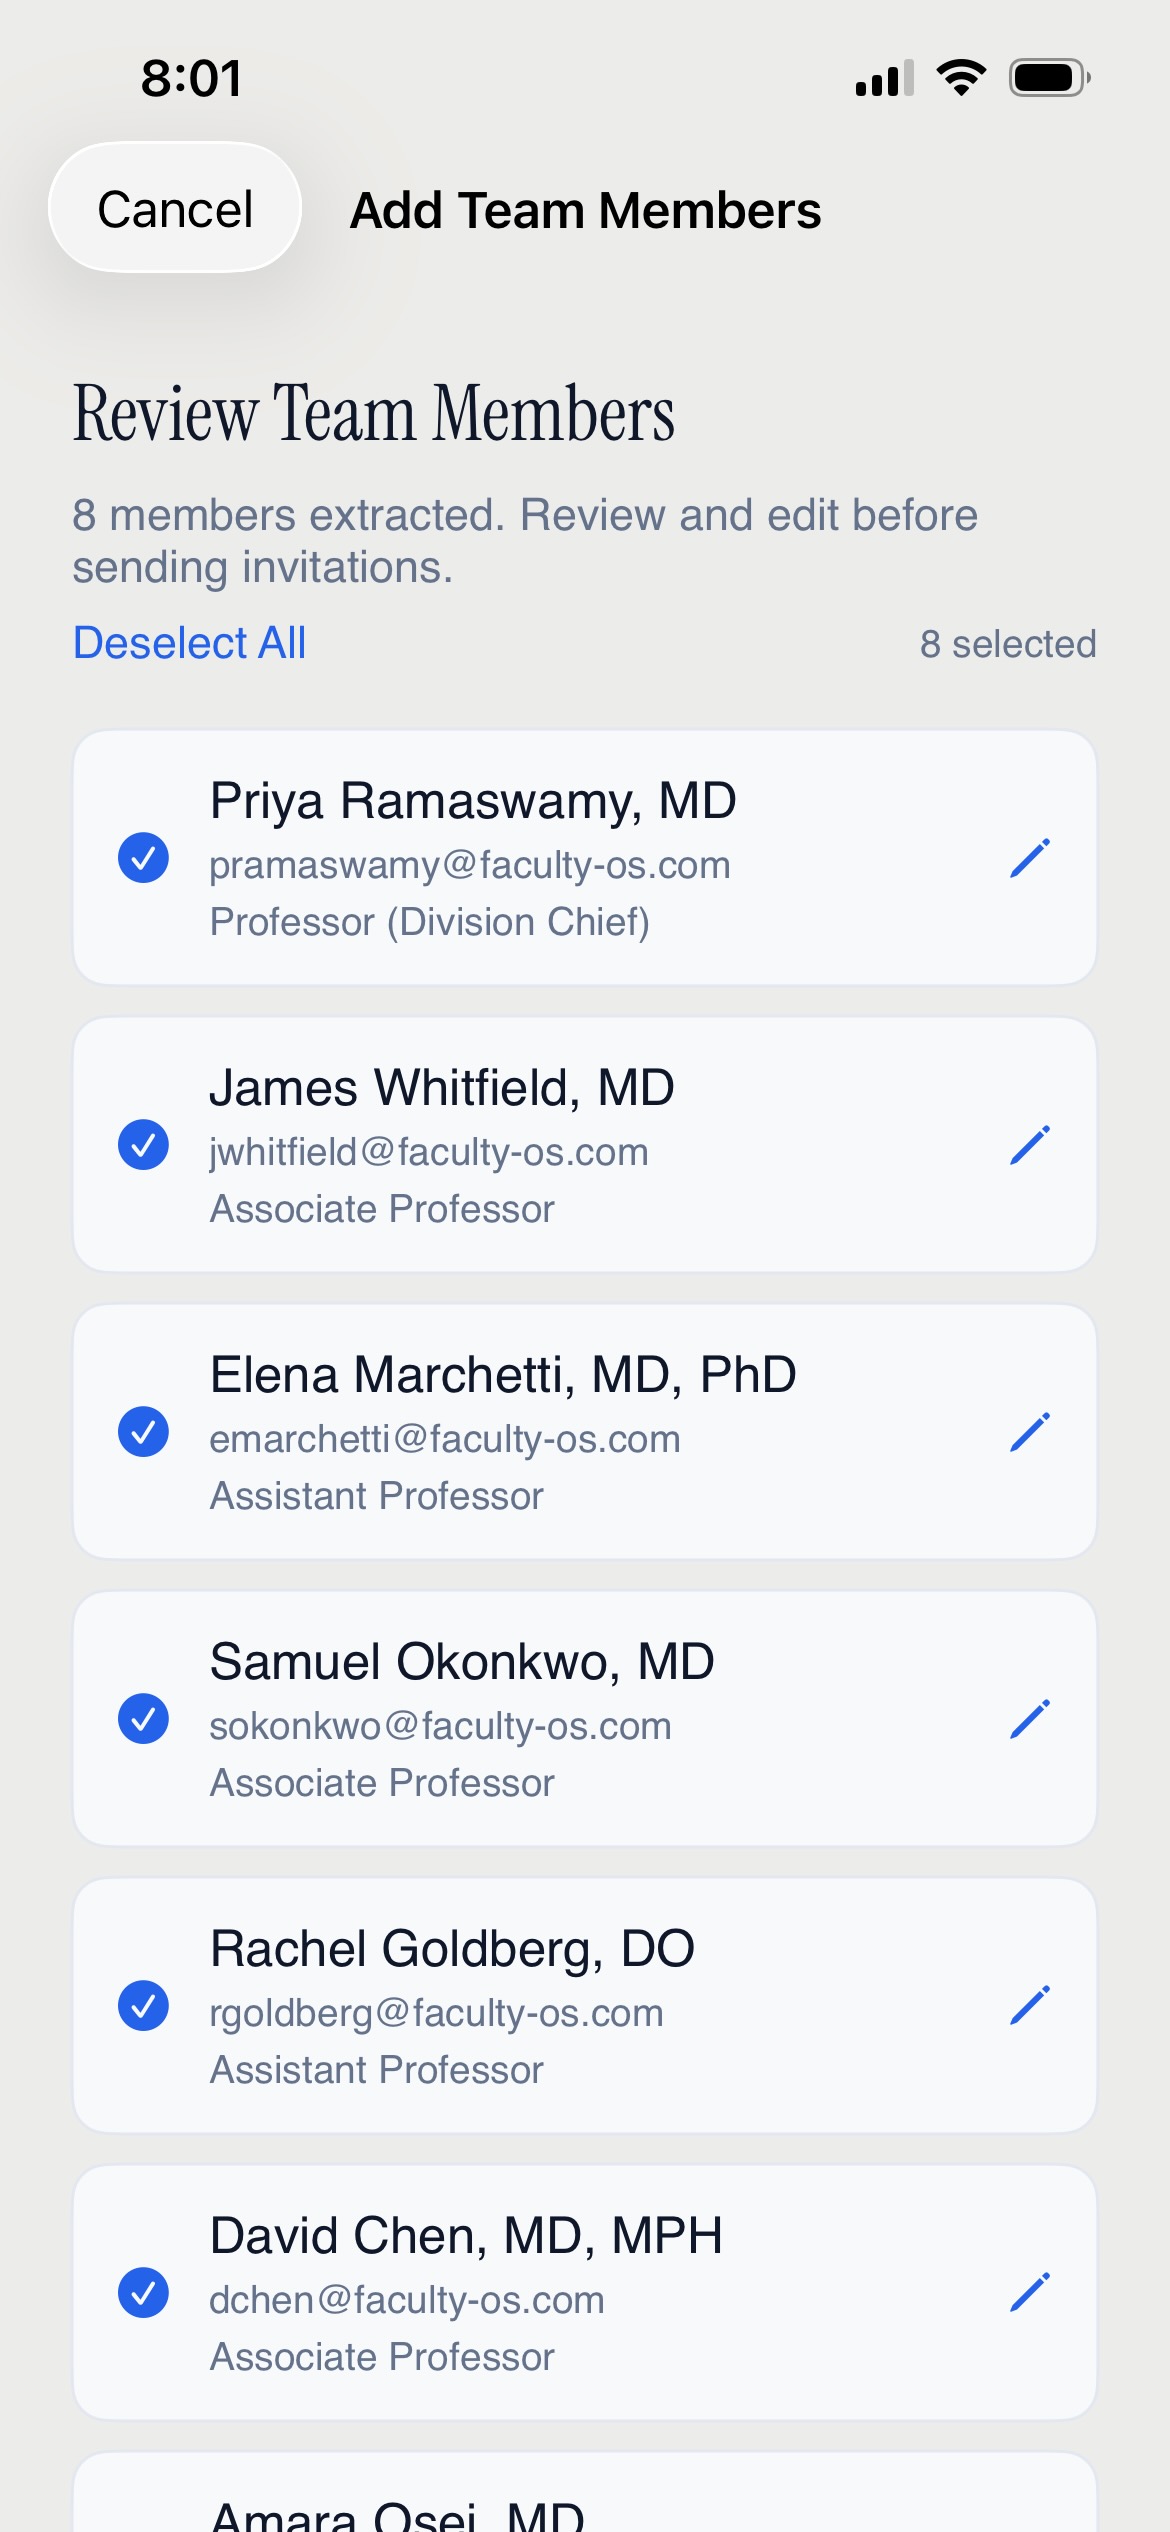
Tap Confirm to add all selected members. A completion screen confirms how many members were added.
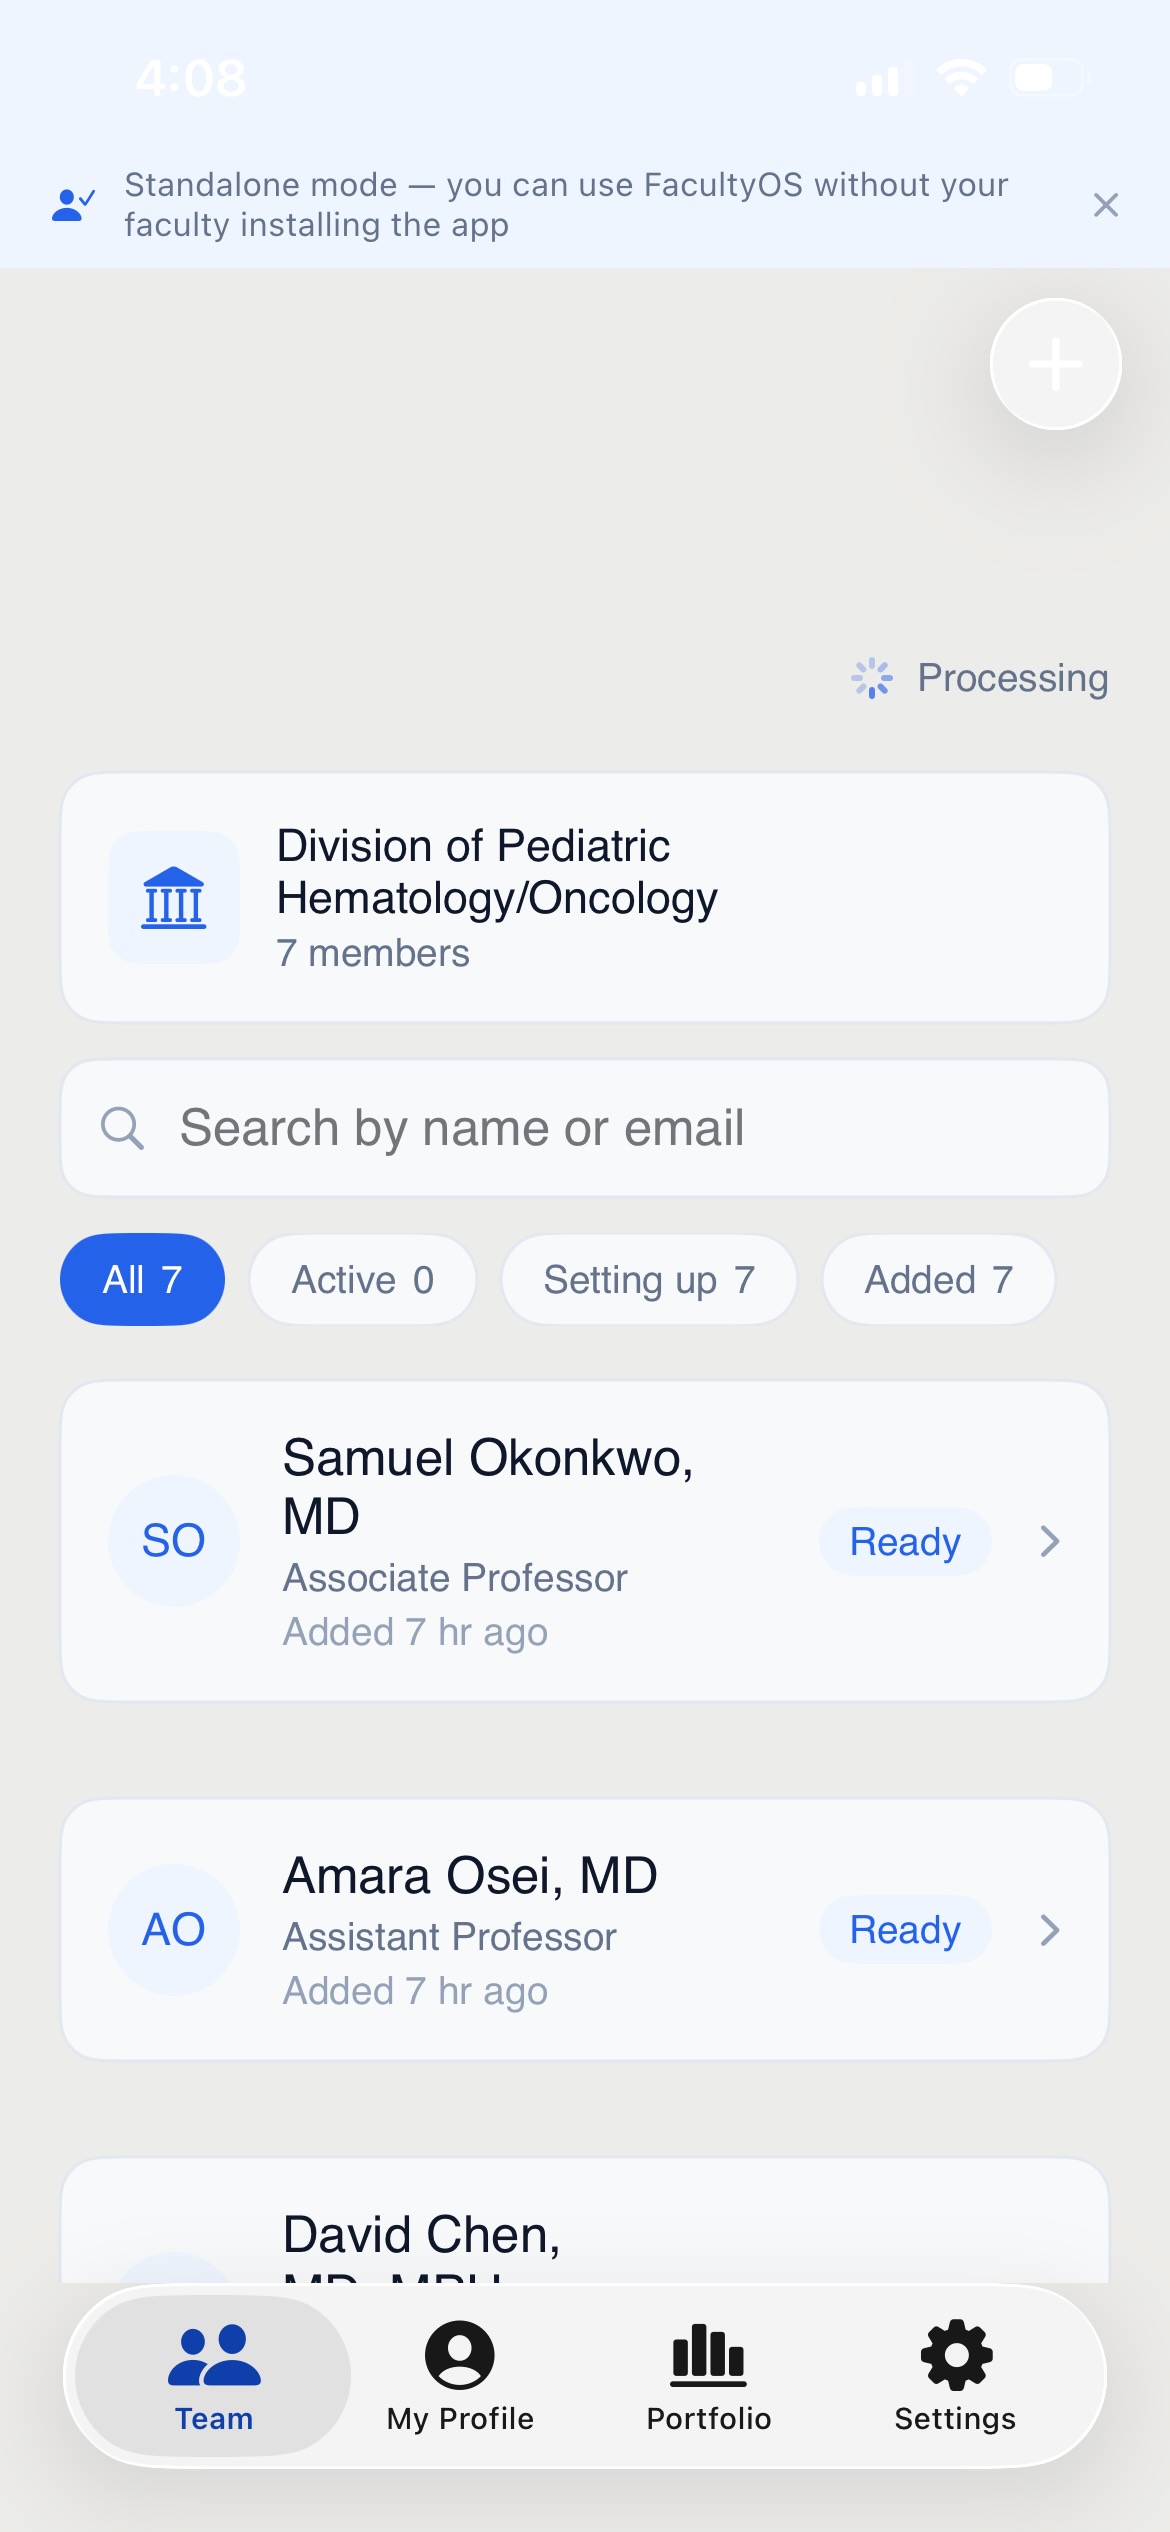
After confirmation, your Team tab updates immediately showing all newly added members with "Added" status badges and timestamps.
Important: Spreadsheet (.xlsx) note — if uploading a spreadsheet, the sheet must be named exactly "FacultyOS" with that exact capitalization. This safeguard prevents accidental ingestion of payroll or HR files.
Standalone mode: Confirmed faculty are added to your roster — no invitation emails are sent. FacultyOS begins searching public databases for their records immediately.
Collaborative mode: Confirmed faculty are added to your roster and each person receives an invitation email prompting them to download FacultyOS.
Choosing Your Operating Mode
↑When you add your first faculty members, FacultyOS asks you to choose an operating mode. This determines how faculty interact with their records:
Standalone Mode (recommended for most departments):
You manage everything. No invitations are sent. You build faculty records from public databases and documents you scan, then send browser-based review links when records are ready. Faculty review and confirm their records via a web link — no app download required. This delivers immediate value without requiring faculty to adopt a new tool.
Collaborative Mode:
Invitations are sent to faculty. They download FacultyOS, create an account, and manage their own records. You still build records from public databases and documents, and faculty can contribute their own academic records.
Important: This choice applies going forward — it's not retroactive. You can switch modes at any time from My Profile → Team Settings. If you switch from standalone to collaborative, any faculty who haven't used a review link will receive invitations.
Sending & Tracking Invitations
↑Collaborative mode only. When you add faculty in collaborative mode, FacultyOS generates invitation emails automatically. You can review the list before they go out and track delivery status afterward.
Reviewing before sending:
After adding faculty via roster import, a review screen shows each person who will receive an invitation. Uncheck anyone you don't want to invite yet, then tap Send Invitations.
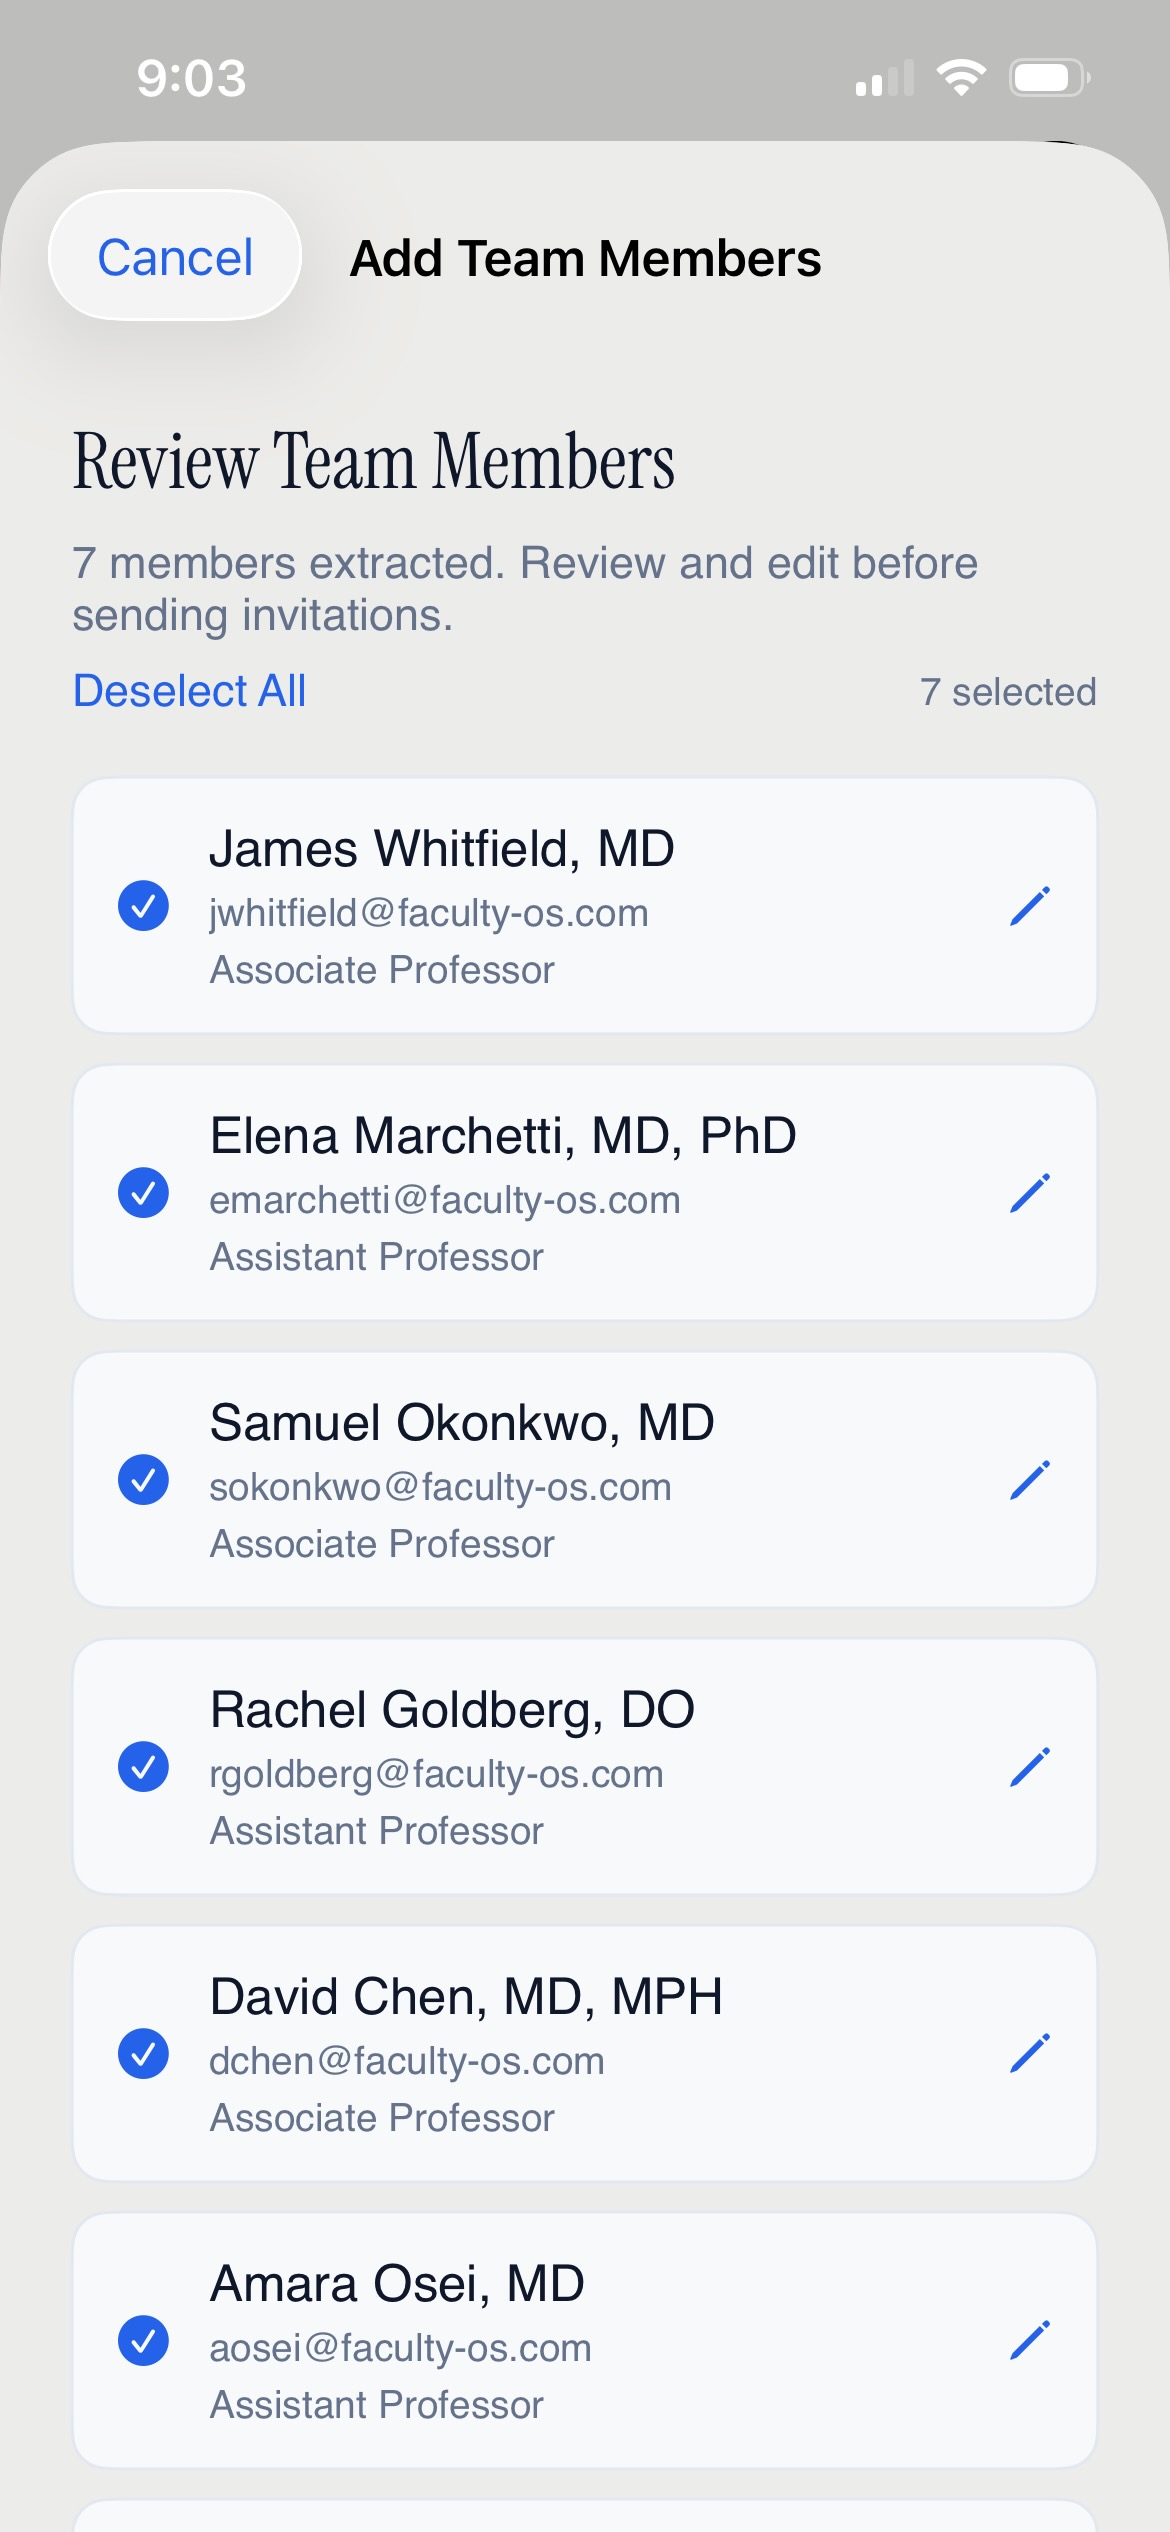
After sending, FacultyOS confirms how many invitations were dispatched. Each invitation is valid for 90 days.
Tracking invitation status:
On the Team tab, faculty show a status badge indicating where they are in the process:
| Status | Meaning |
|---|---|
| Invite pending | Invitation sent, not yet accepted |
| Setting up | Accepted and completing onboarding |
| Active | Fully set up with records available |
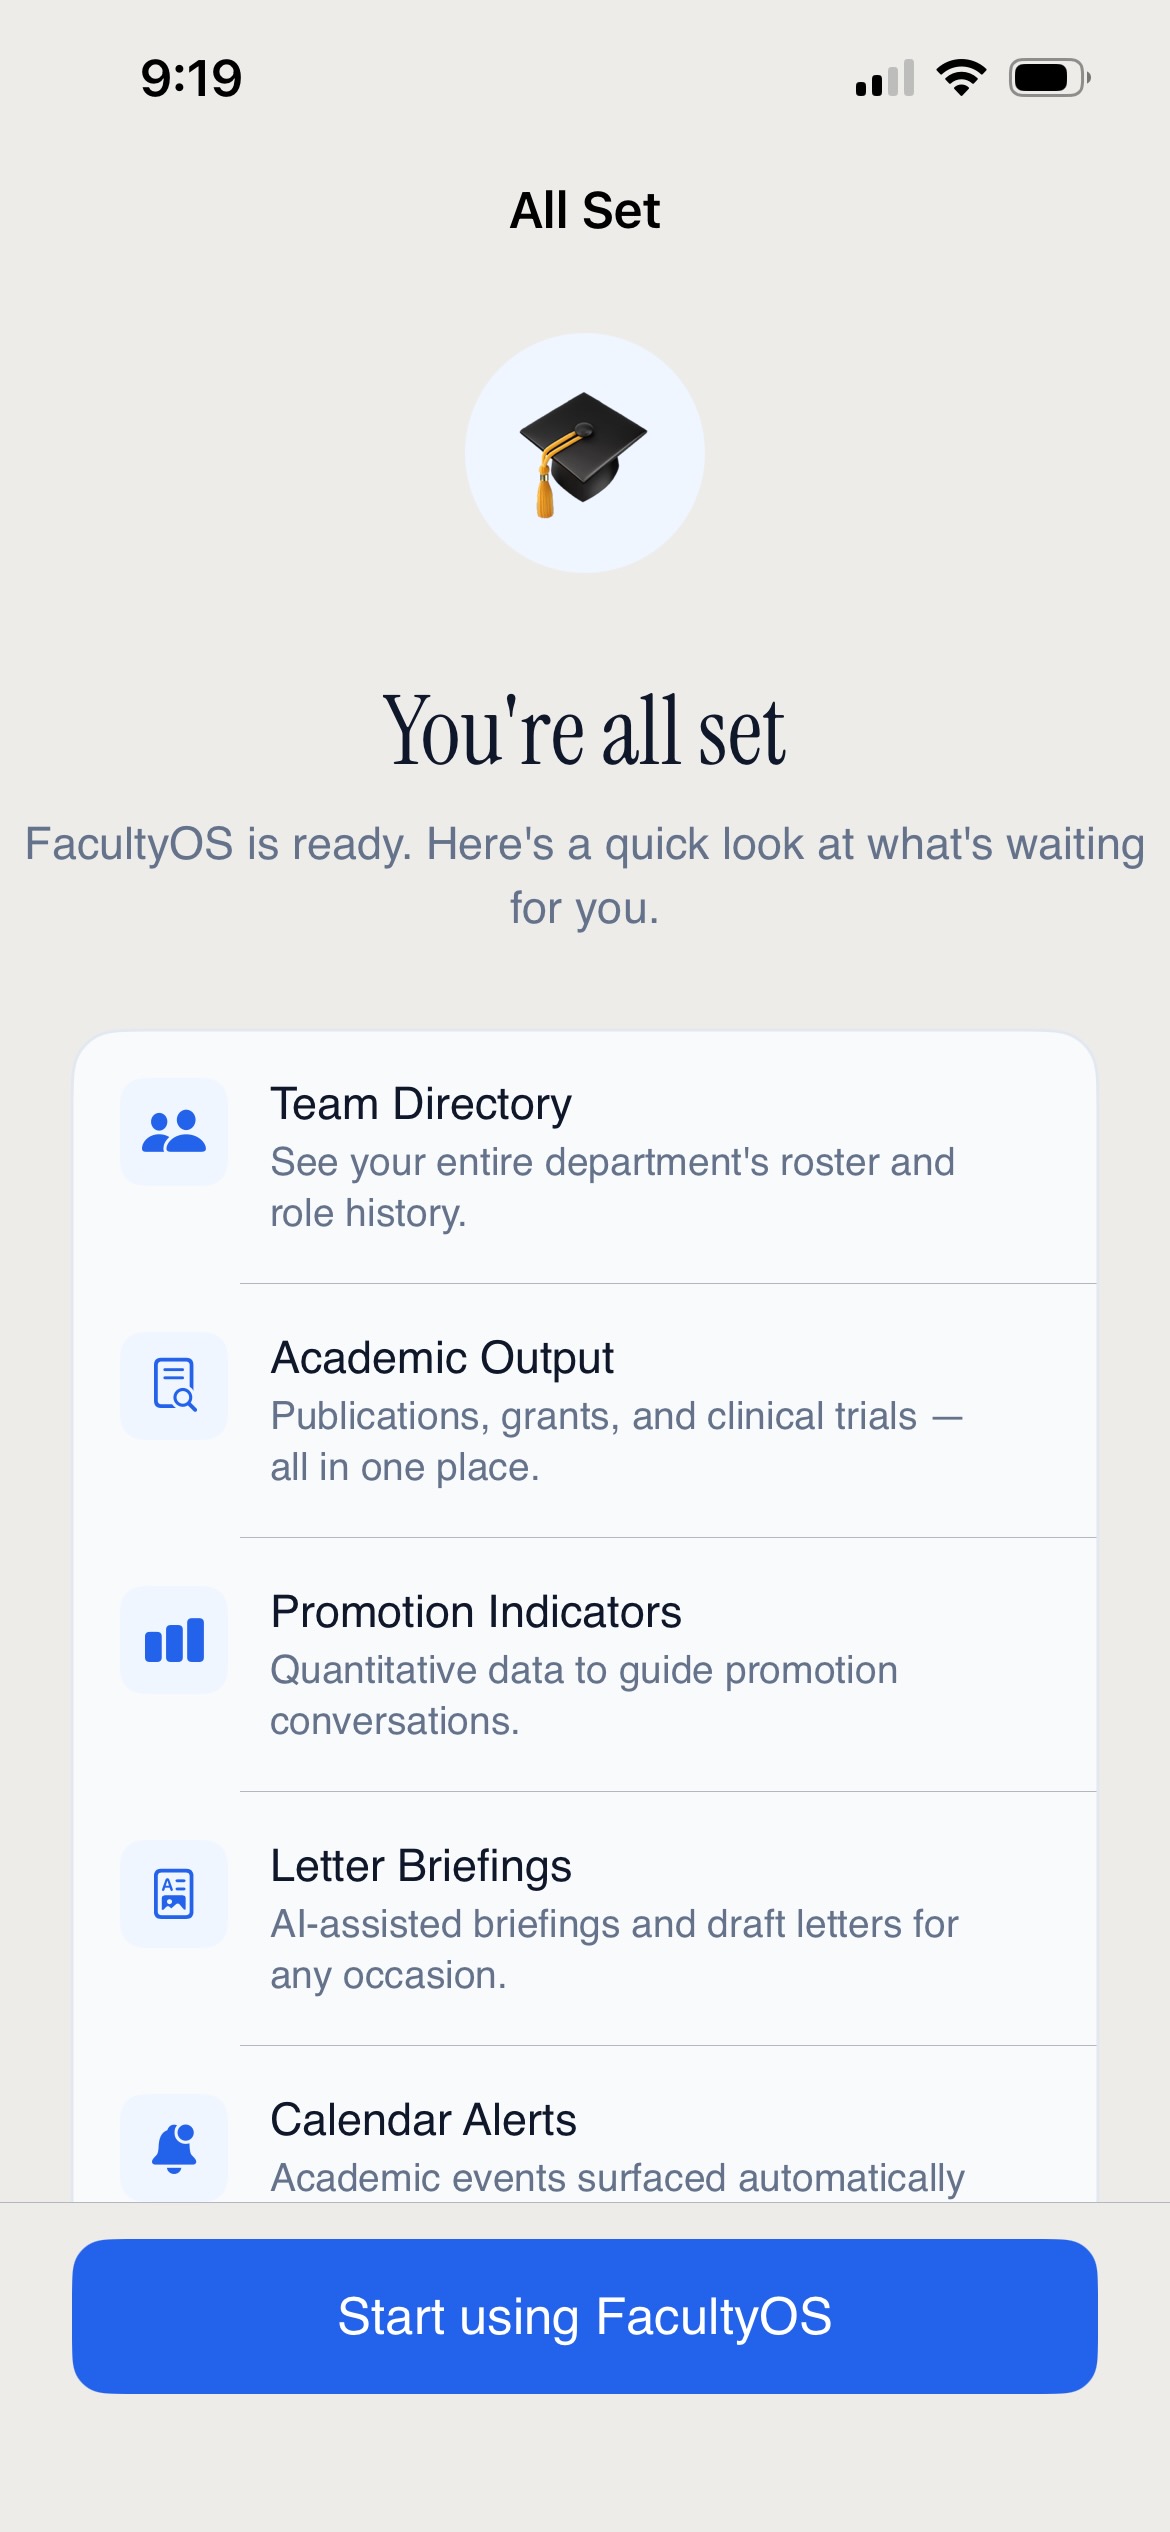
You can resend an invitation from the faculty member's detail view at any time. If an invitation expires, you'll see the option to send a fresh one.
Importing Academic Documents
↑Once faculty members are on your team, you can enrich their records by scanning or uploading CVs, annual reports, activity sheets, and similar documents. FacultyOS extracts publications, grants, clinical trials, activities, and education/credentials from these documents.
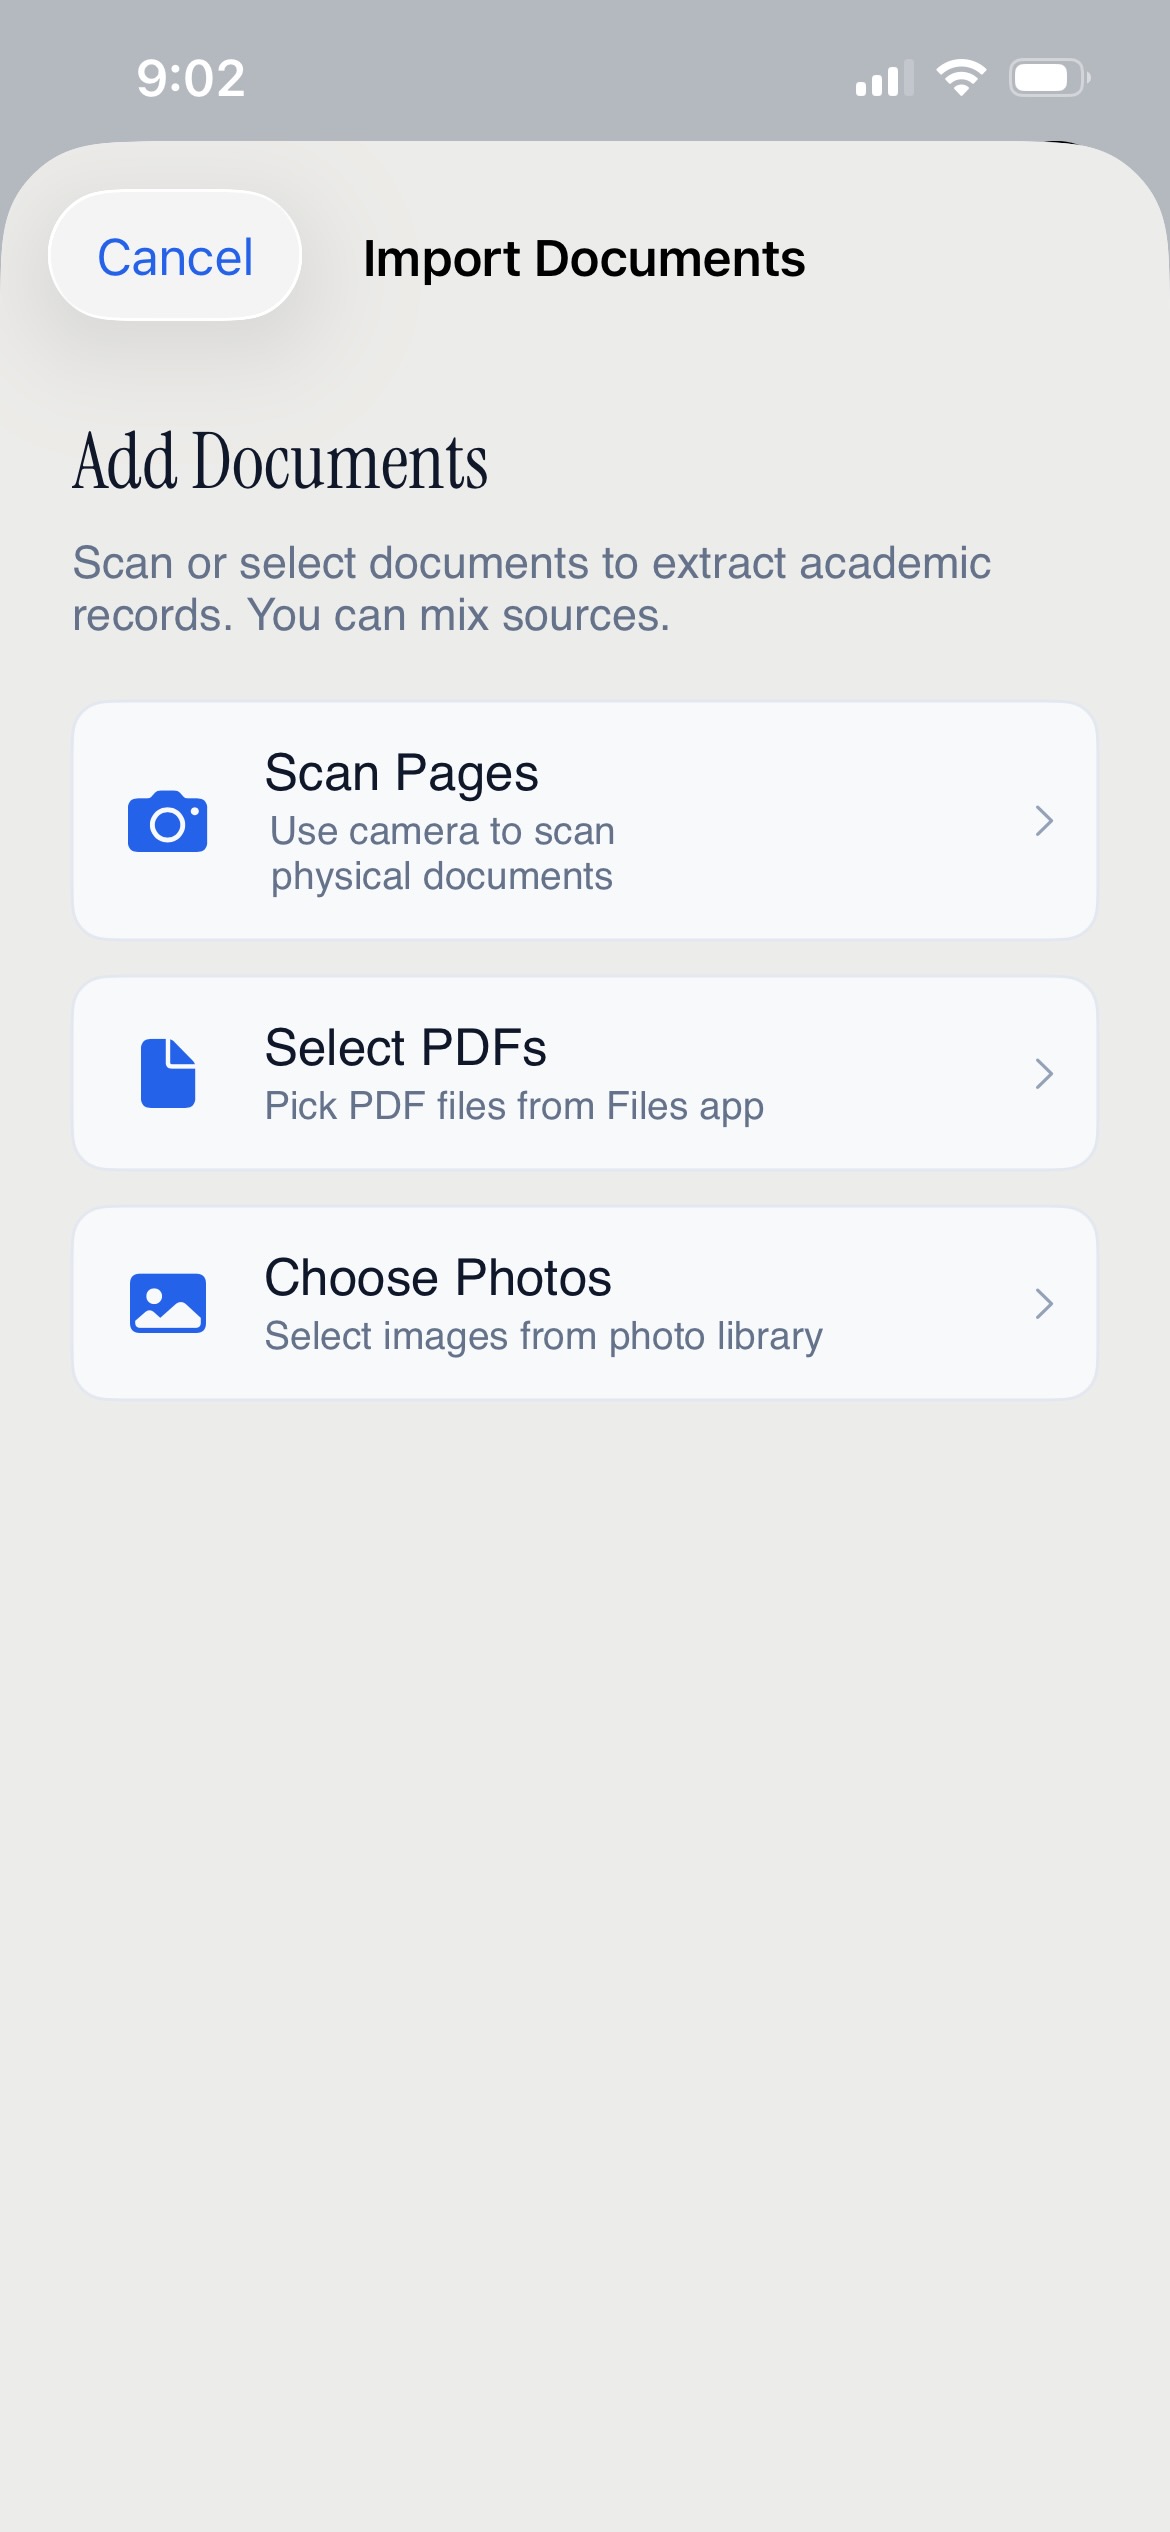
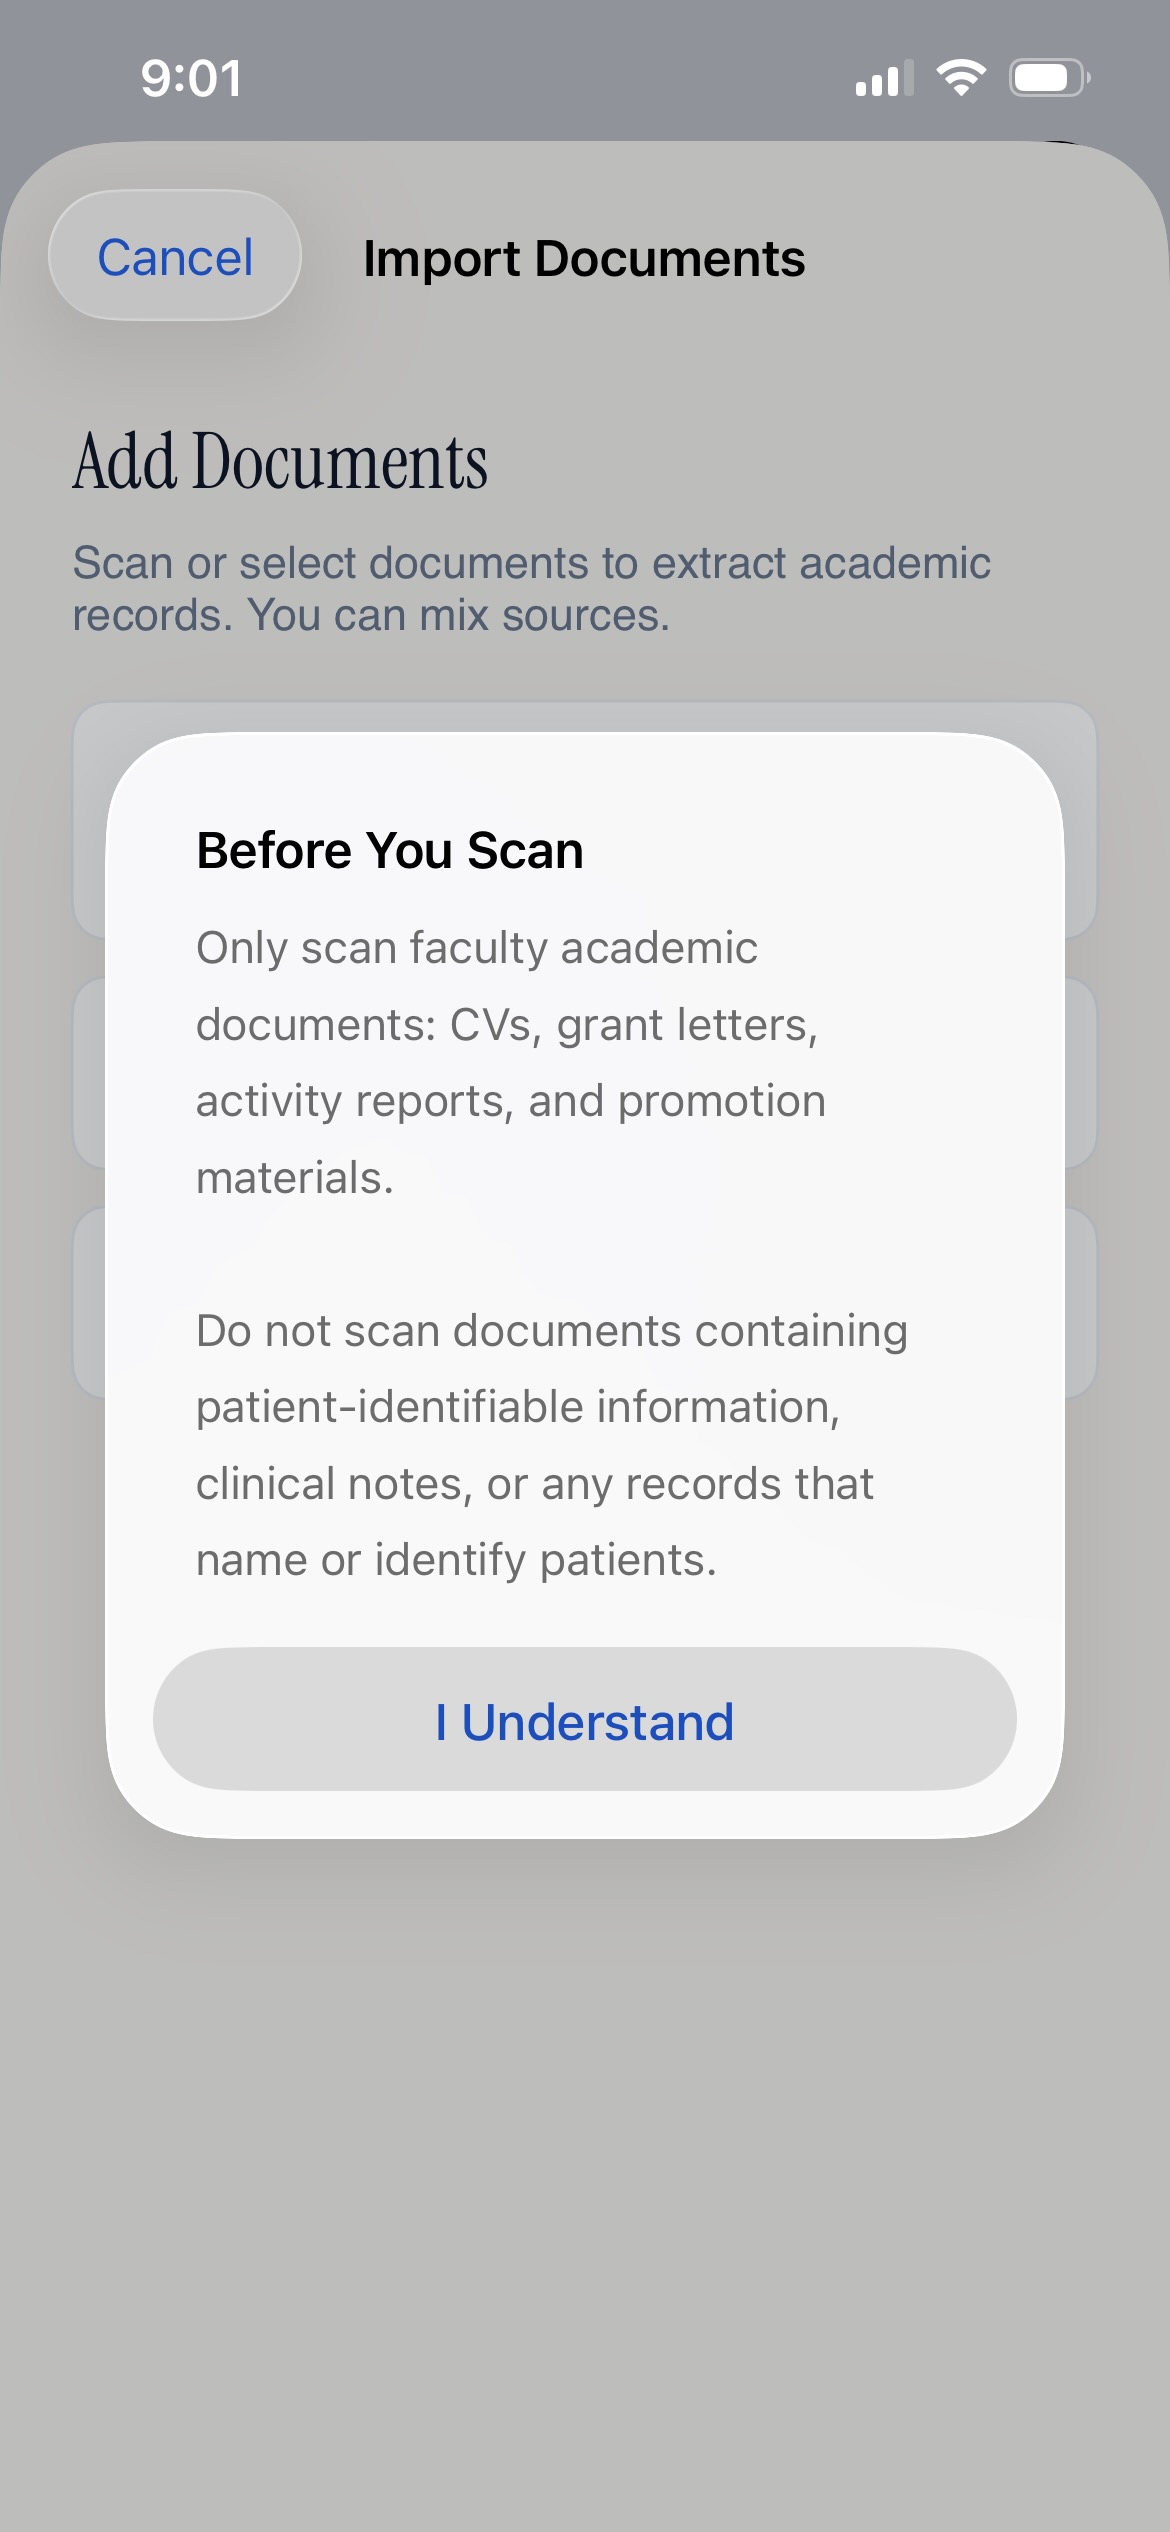
Tap Add Faculty → Import documents (also available as Scan CV on any faculty member's detail view)
Choose your source: Scan Pages (camera), Select PDFs, or Choose Photos
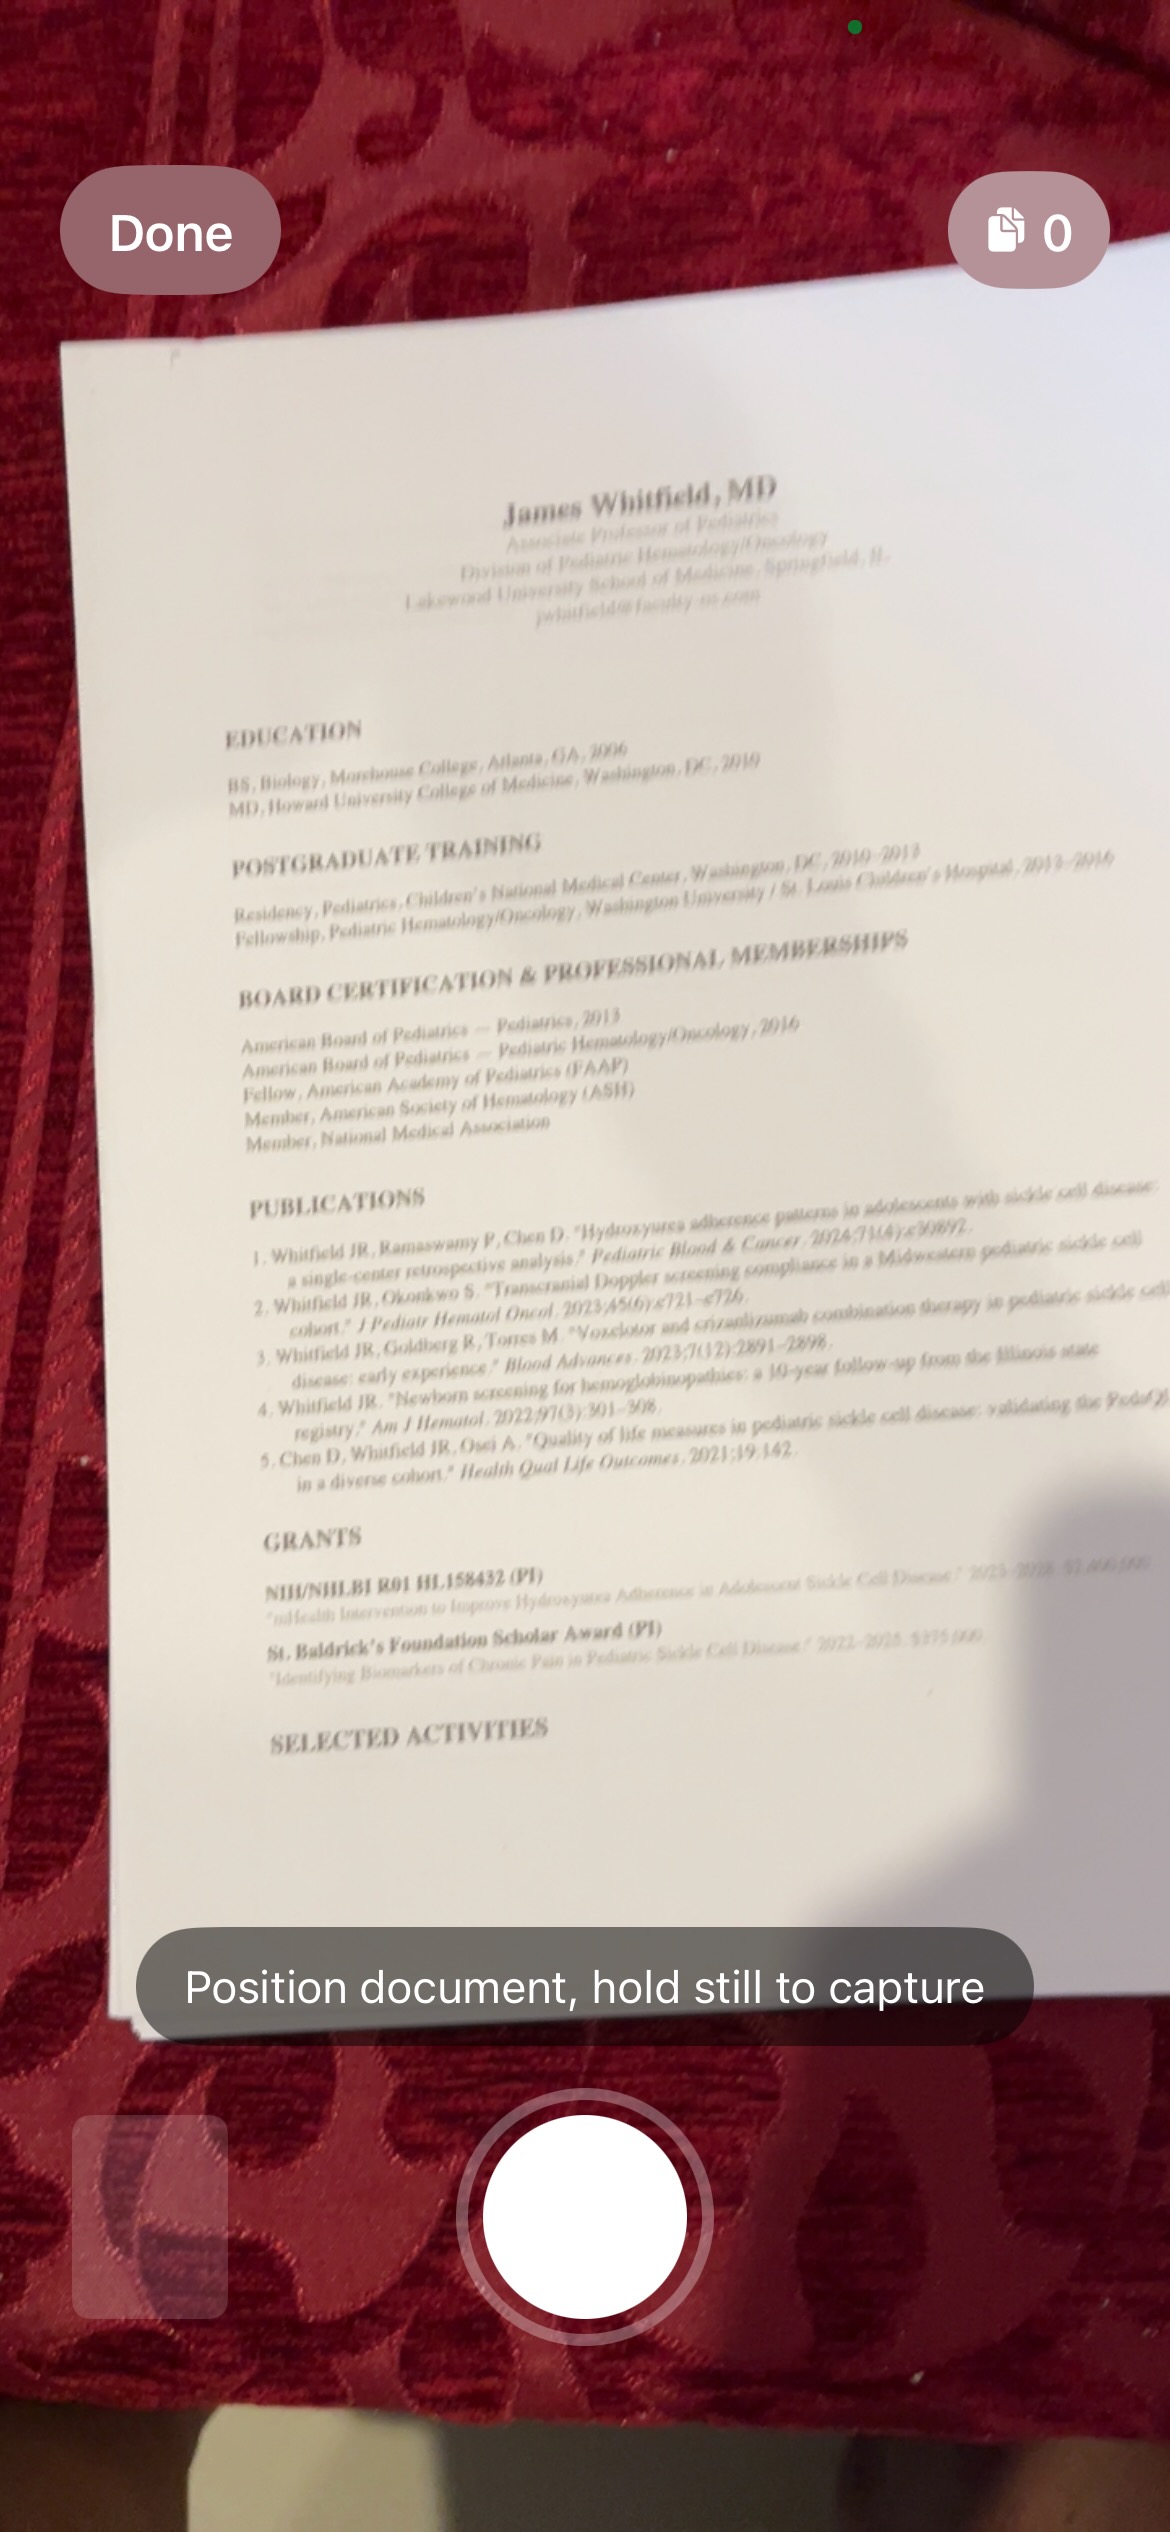
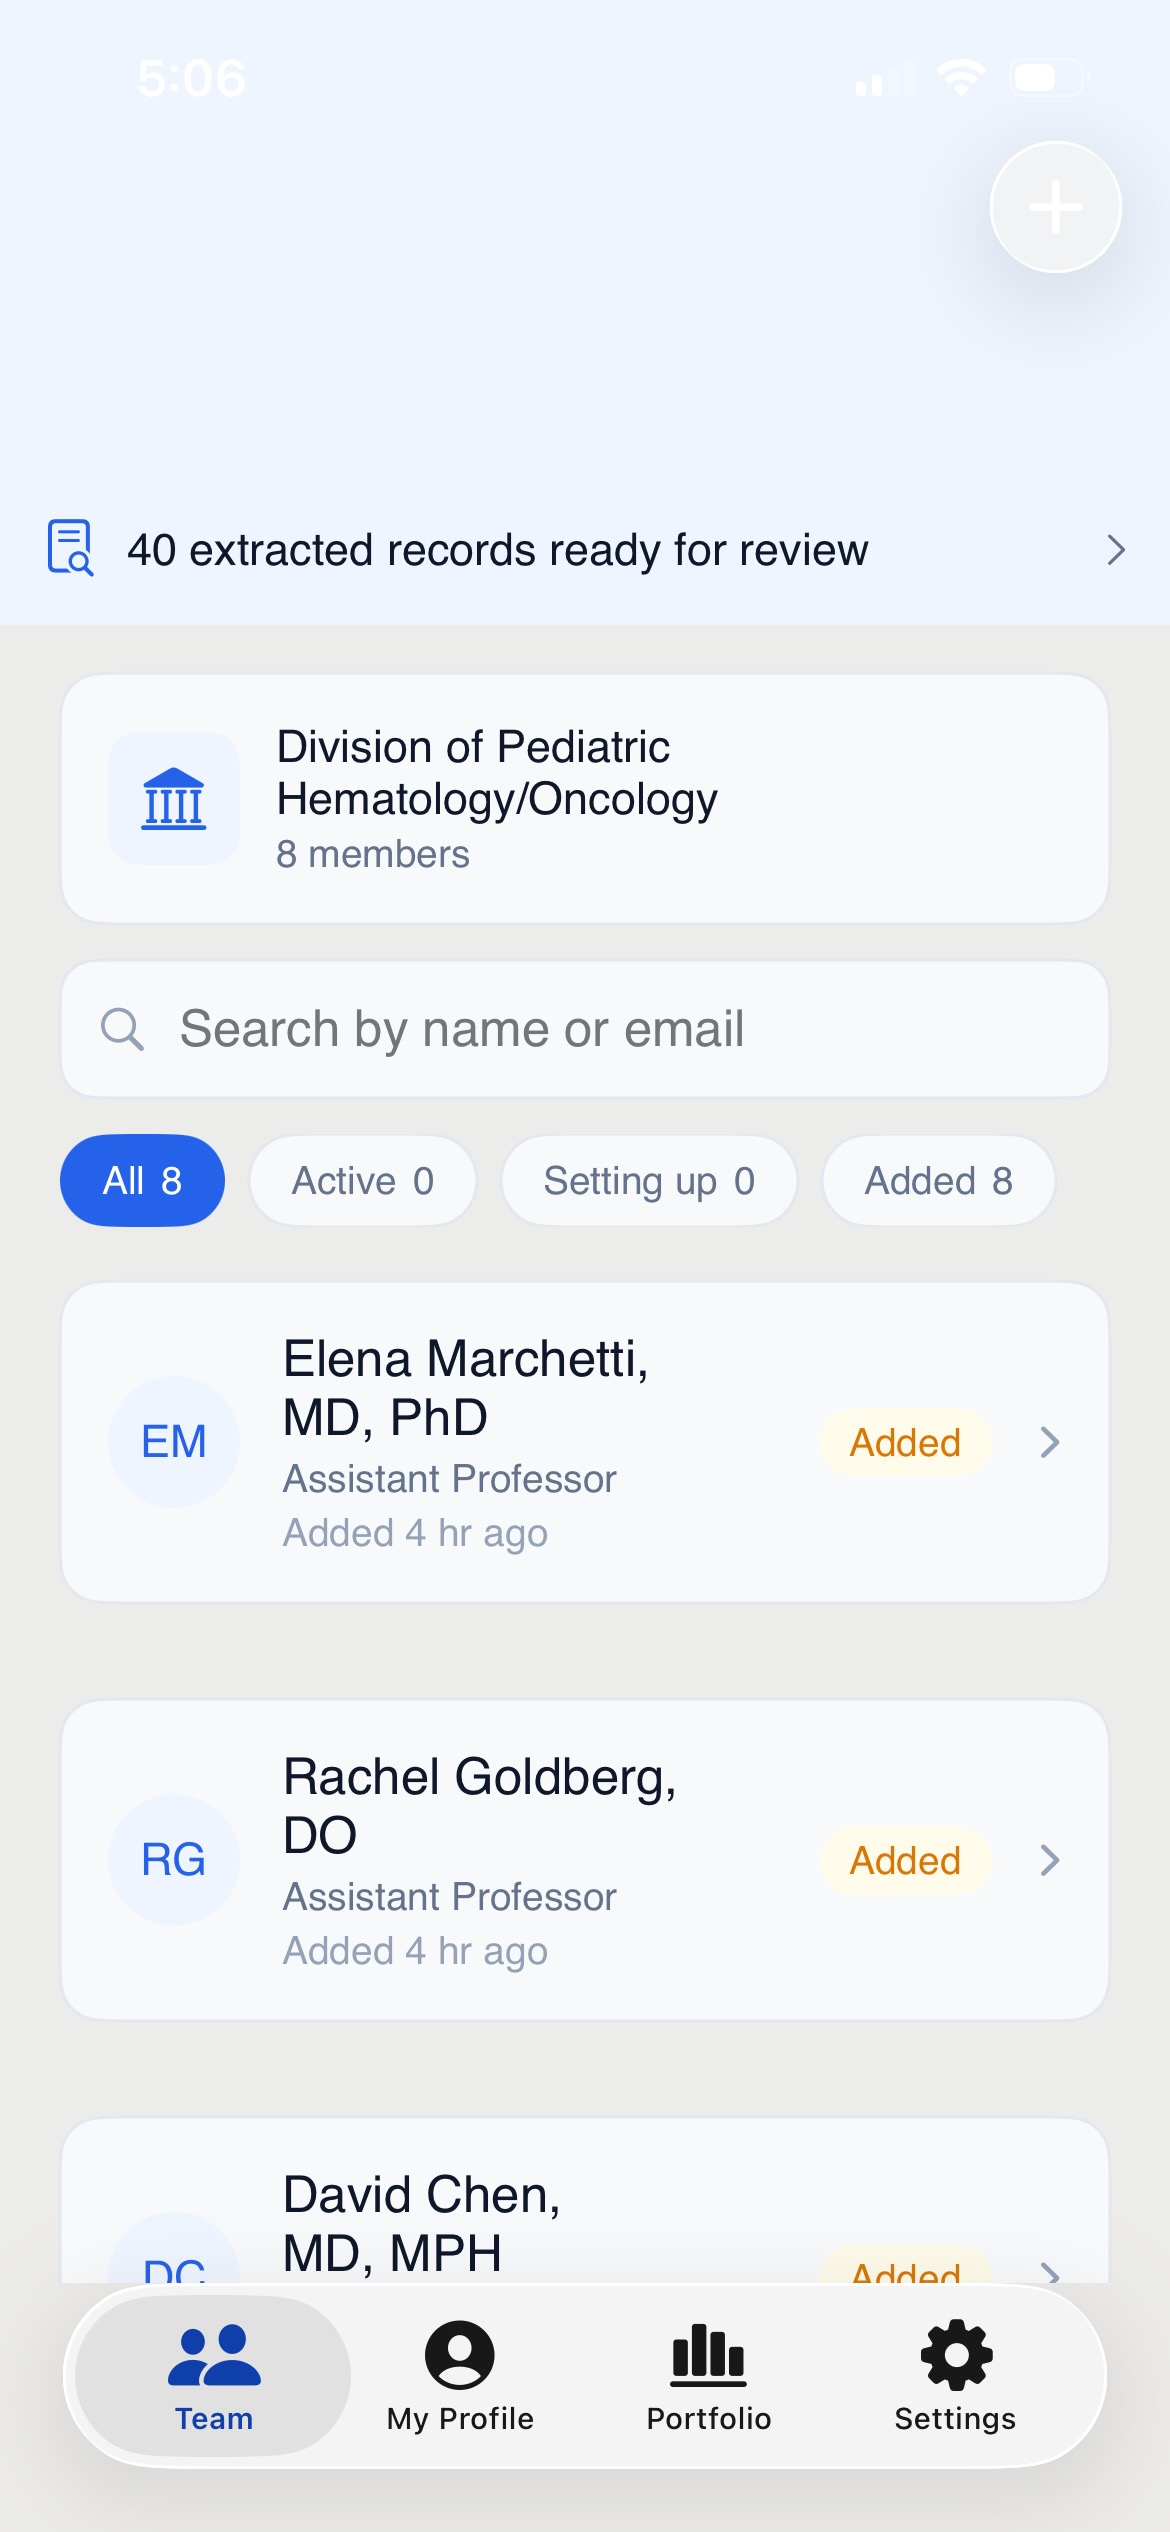
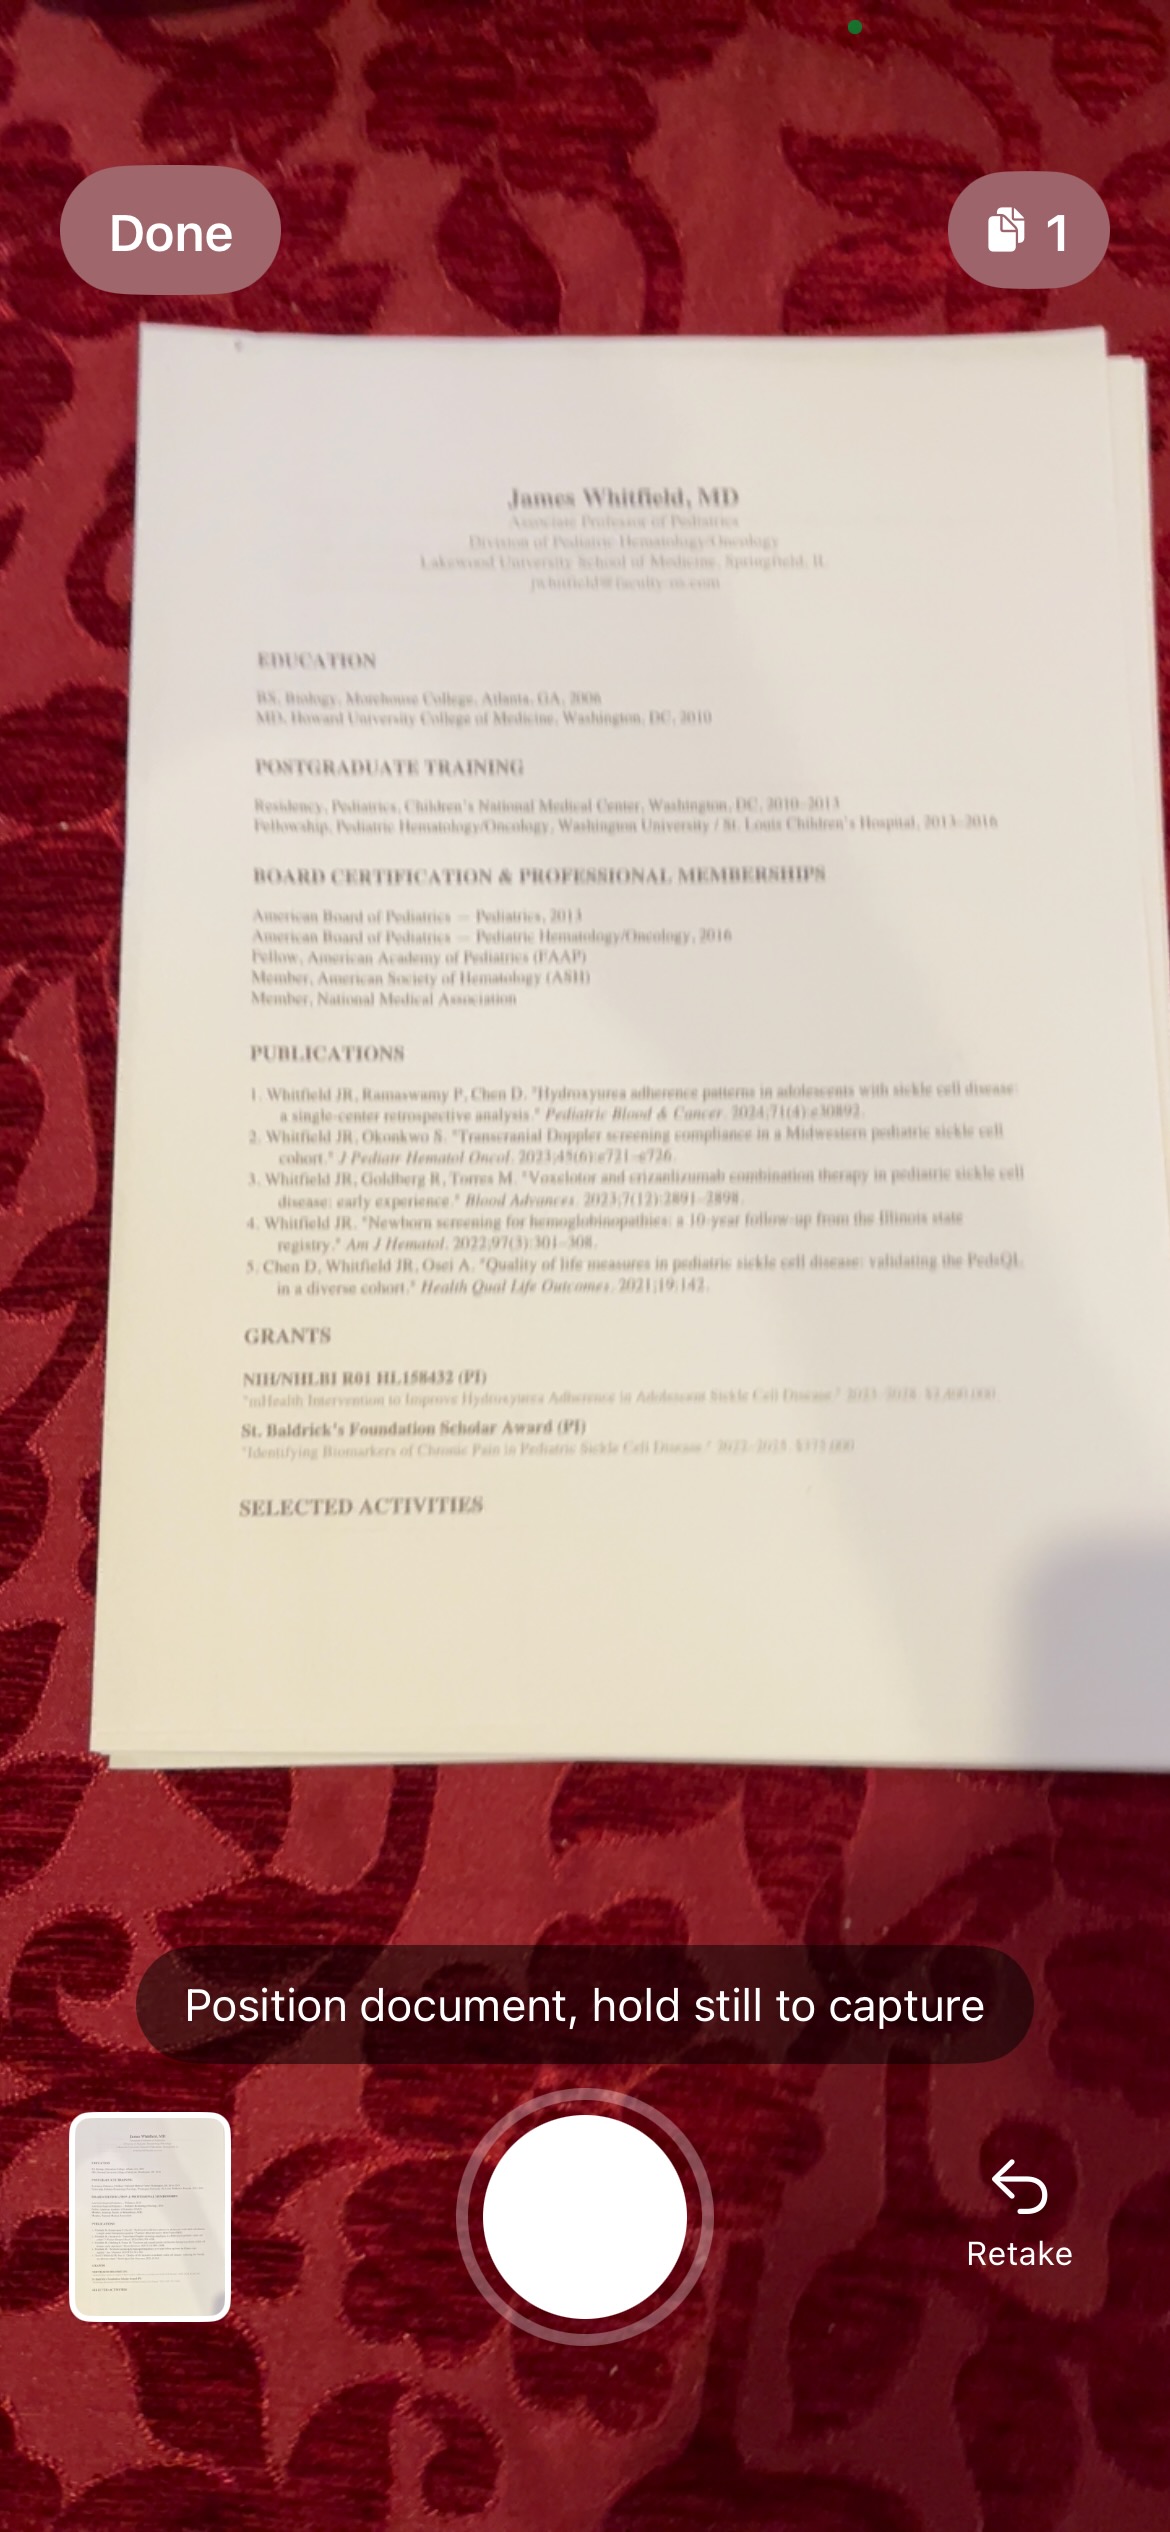
If using the camera, photograph each page of the document — you can scan multi-page documents with no page limit
FacultyOS processes the pages and extracts academic records and credentials using AI vision
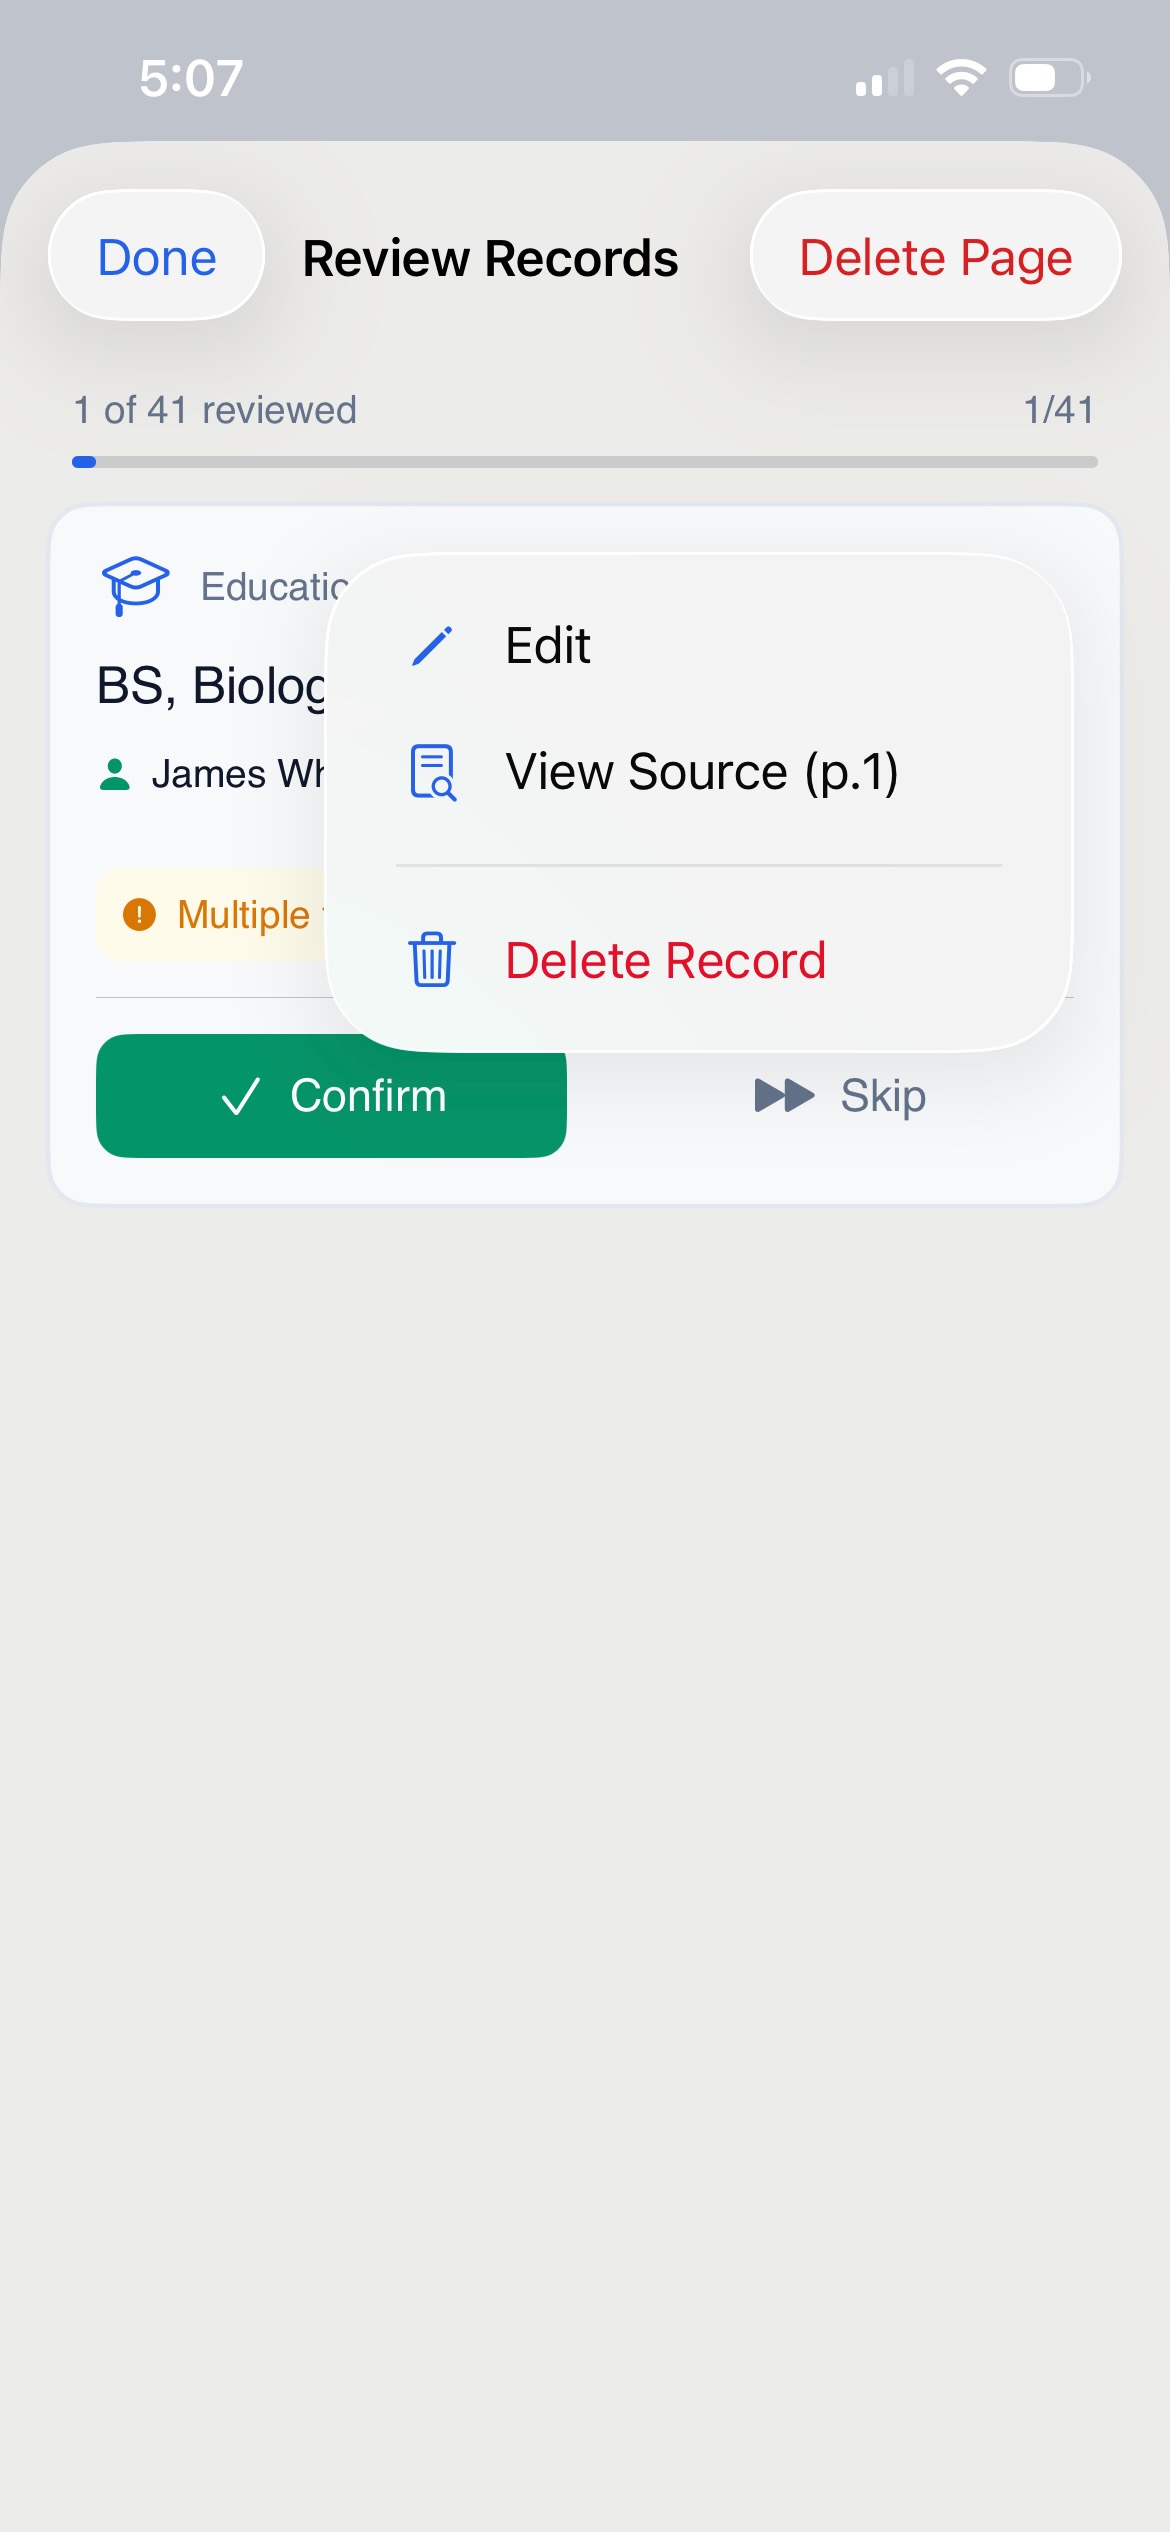
Review the extracted records as a card stack. Each card shows:
- The record type and extracted content
- A confidence indicator (green 85%+, amber 50–84%, red <50%)
- A source link showing which page of the document it came from
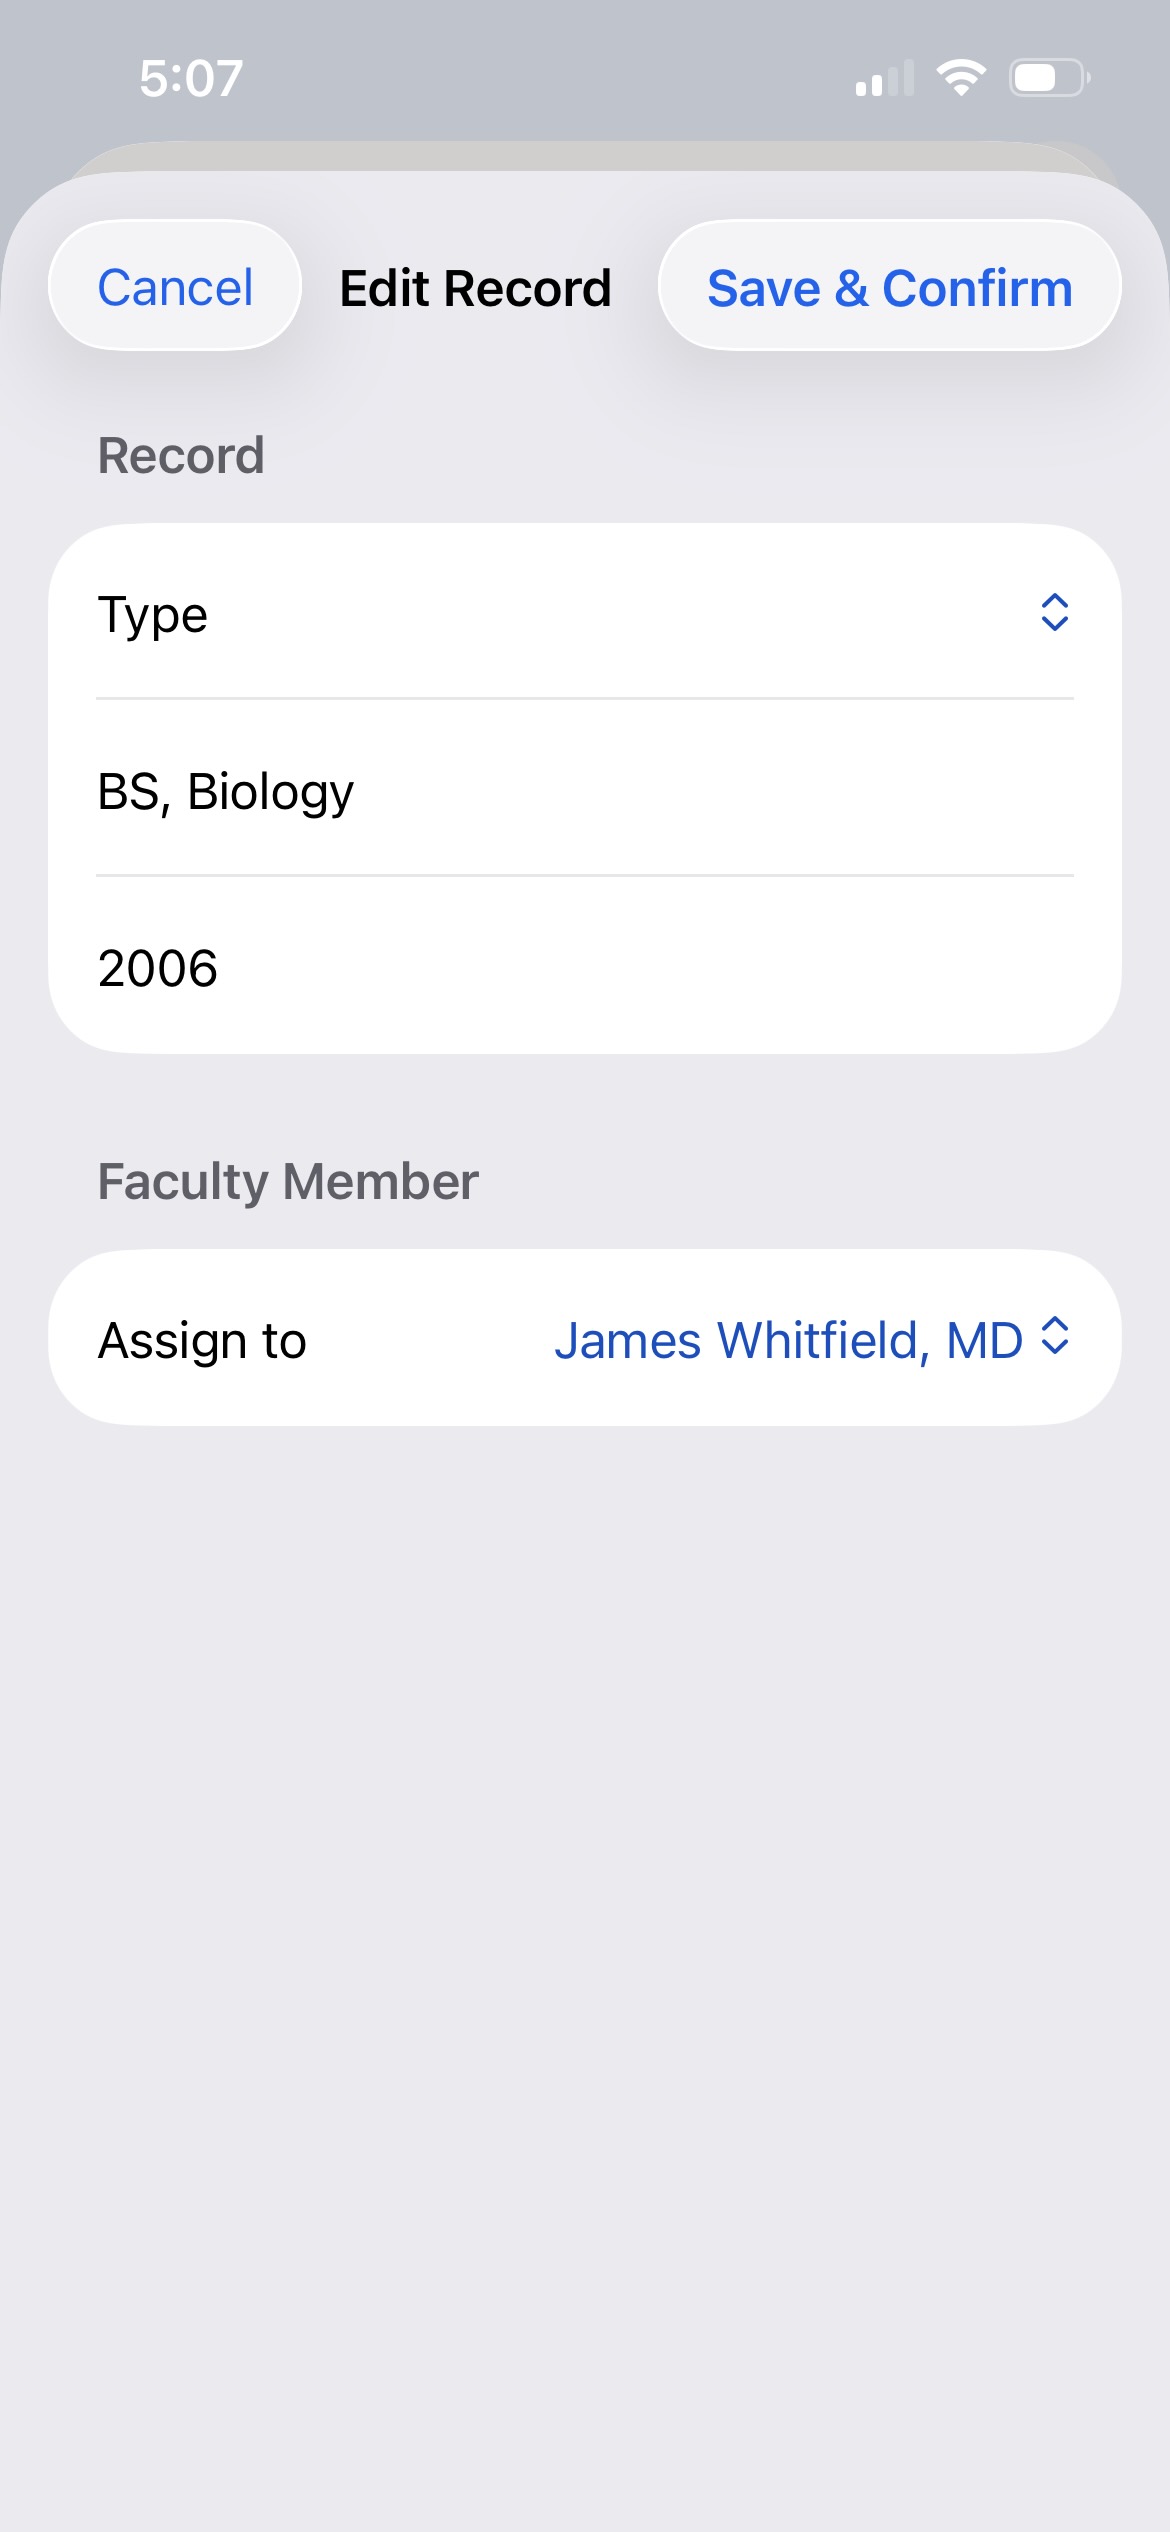
- Options: Confirm, Skip, Edit, View Source, or Delete Record
- Records are matched to faculty members on your team automatically — each card shows which faculty member it belongs to
- A counter at the top tracks your progress (e.g., "1 of 41 reviewed")
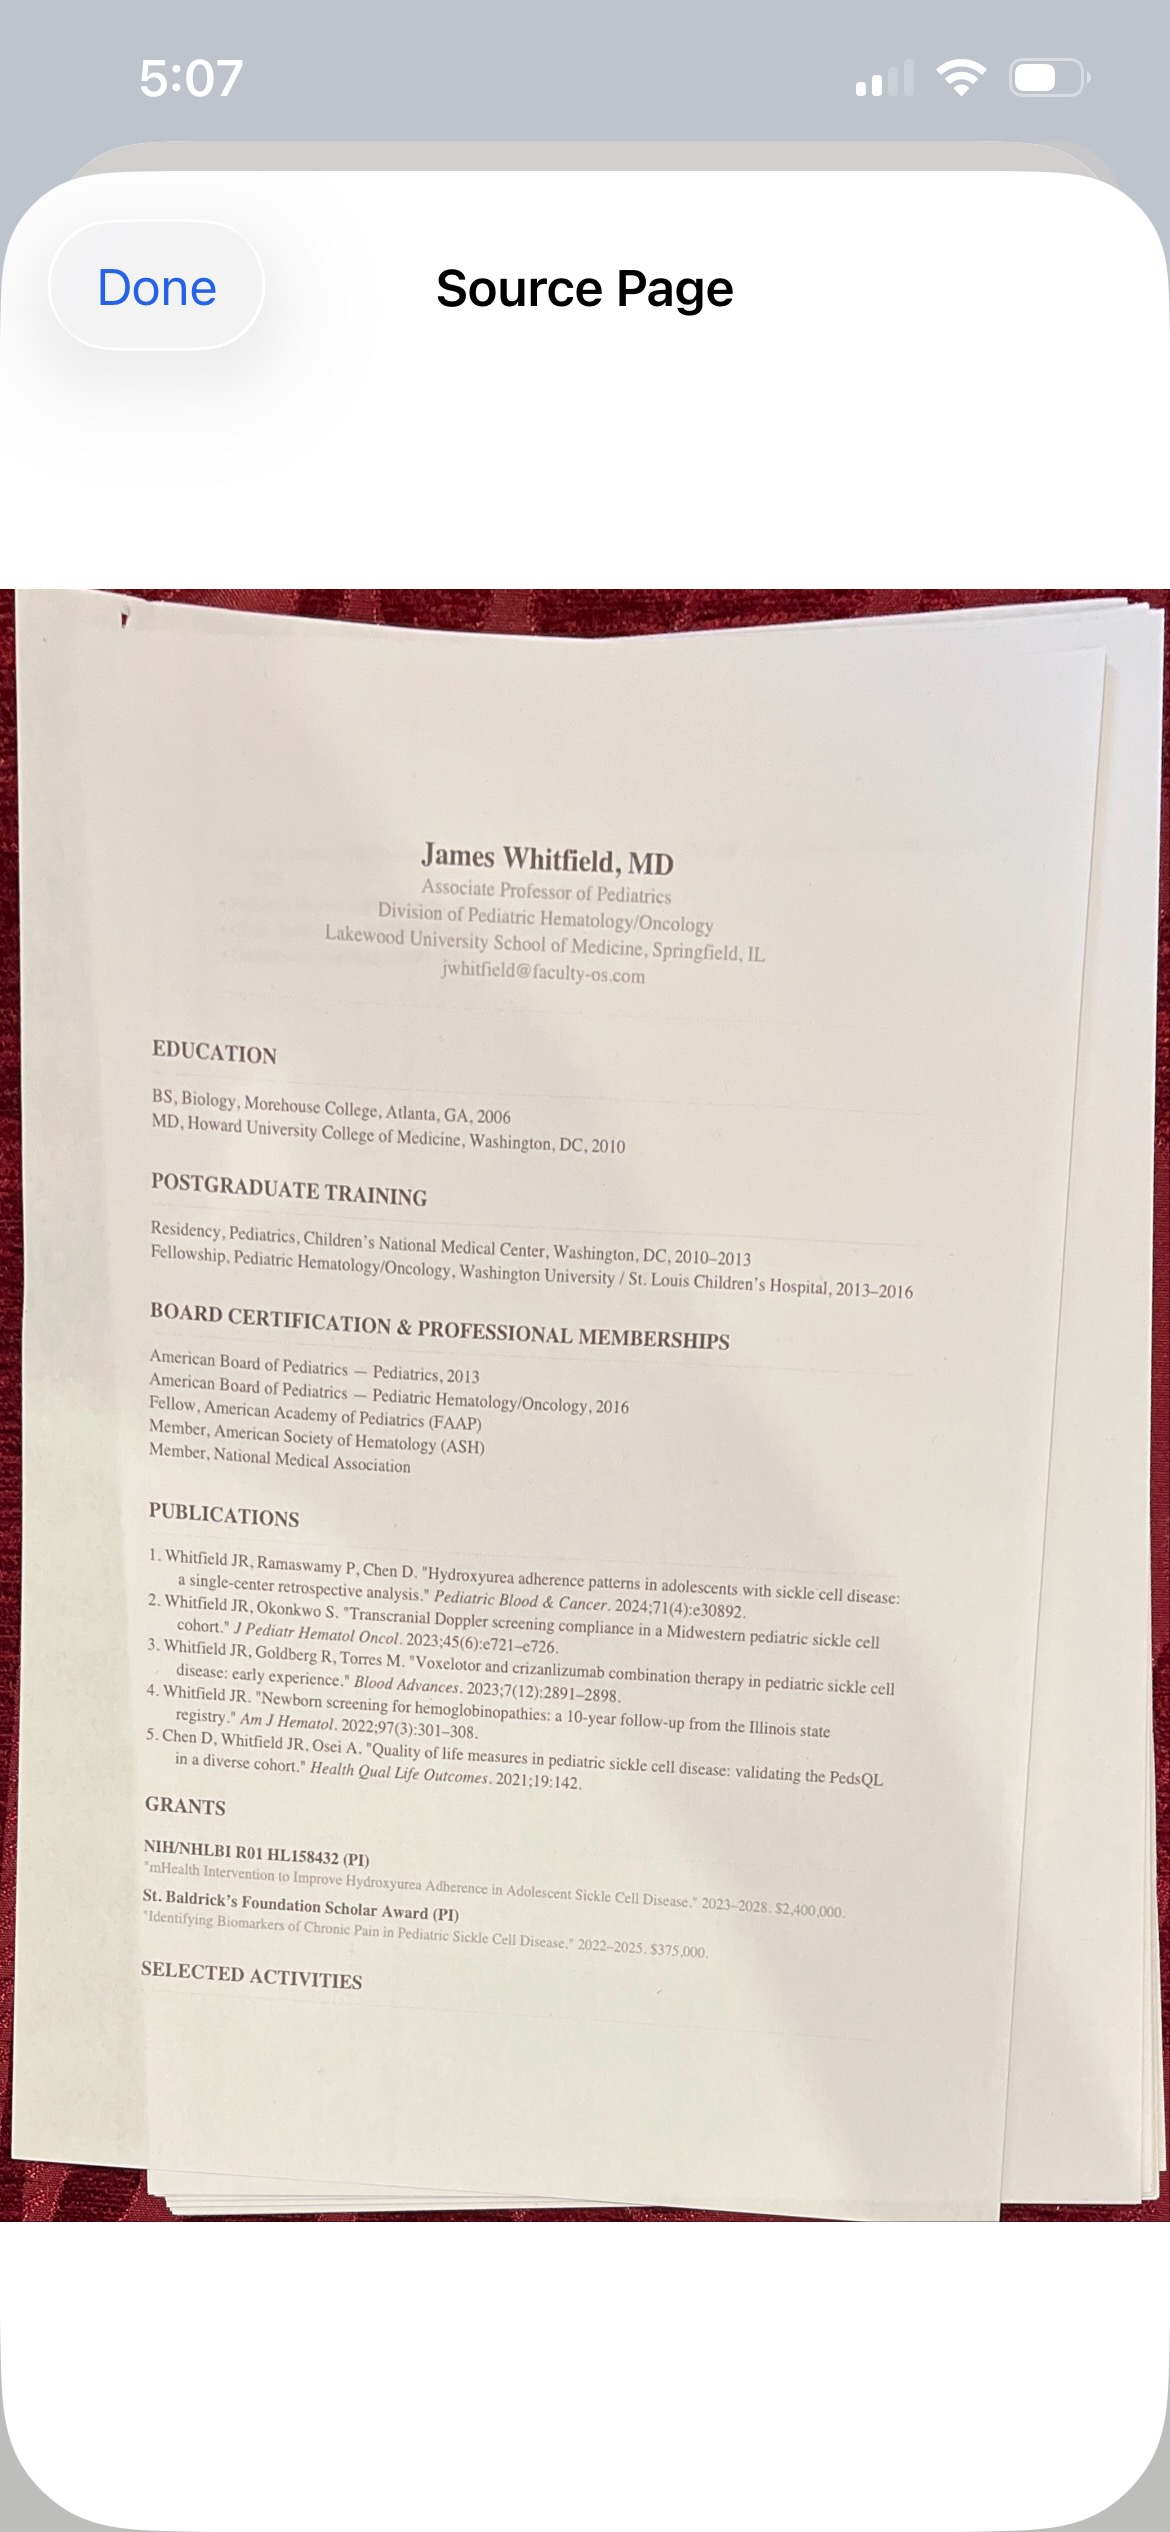
- Tap View Source to see the original scanned page if you need to verify a detail
You can scan documents containing records for multiple faculty members at once — FacultyOS identifies which records belong to which person and adds them to the correct profiles.
Your Team Dashboard
↑Your Team tab shows all faculty members as a list. Each entry displays:
- Faculty member's name and title
- Number of publications (pill badge)
- Number of grants (pill badge)
- Status indicator
Status badges by mode:
| Status | Meaning |
|---|---|
| Active | Records exist and are ready. In standalone mode, this means records have been built and are available for review. |
| Added | Faculty member was just added and FacultyOS is searching for their records. |
| Invite pending | Invitation sent but not yet accepted (collaborative mode only). |
| Setting up | Faculty member has accepted their invitation and is completing onboarding (collaborative mode only). |
Tap any name to open the Faculty Member Detail View where you can see their full record, write notes, generate letters, and manage their academic data.
Searching & Filtering Your Team
↑Use the search bar at the top of the Team tab to find a faculty member by name. The list filters in real time as you type.
The filter tabs below the search bar let you narrow the list by status:
| Tab | Shows |
|---|---|
| All | Every faculty member |
| Active | Members with confirmed records ready |
| Setting up | Members still completing onboarding (collaborative mode) |
| Added | Members just added, records being built |
Tap and hold a faculty member's row to reveal quick actions (collaborative mode: resend invite, remove from team).
Refreshing Faculty Records
↑FacultyOS can re-search public databases (PubMed, OpenAlex, NIH Reporter, ClinicalTrials.gov) to find new publications and grants for any faculty member at any time.
- Single faculty refresh: Open the faculty member's detail view → tap Refresh Records in the Academic Records card
- Bulk team refresh: Go to Team tab and look for a "Refresh all records" option in the menu
New records found appear as pending candidates for you to review and confirm.
Reviewing Candidate Records
↑When new academic records are found (from the initial database search, a refresh, or a document scan), they appear as candidates organized by confidence level:
- Green (85%+): High confidence — the record is very likely a correct match
- Amber (50–84%): Moderate confidence — likely correct, but worth reviewing
- Red (<50%): Low confidence — review carefully before confirming
For each candidate record, you can:
- Confirm — add it to the faculty member's permanent record
- Edit — correct the details (e.g., if the title was extracted incorrectly)
- Skip — discard it (you can always find it again in a future refresh)
When records match your faculty member with high confidence and have verified identifiers (DOI, PMID, NCT number), FacultyOS may offer Confirm Safe to batch-accept multiple high-confidence records at once.
Faculty Member Detail View
↑Tap any faculty member from the Team list to open their detail view. This is where you see their complete academic record, write notes, and manage their data.
The detail view has two main tabs:
| Tab | Contents |
|---|---|
| Record | The faculty member's full academic record — publications, grants, clinical trials, activities, education & credentials, and promotion indicators |
| Notes | Your private advising notes about this person — never visible to the faculty member |
Academic Records Card (at top of Record tab):
- Refresh Records — re-search public databases for new publications and grants
- Pending candidate count badge — shows how many new records await your review
- Import Calendar (.ics) — import an exported calendar file to find academic events
- Send Review Link — send a browser-based link to this faculty member so they can review and confirm their records in a web browser (standalone mode: primary engagement method)
- Send Invite (collaborative mode, shown when invitation not yet sent) — sends the faculty member an invitation email to download FacultyOS
- Scan CV — scan or upload their CV or annual report to extract new academic records
Confirmed Academic Records (scrollable sections below the card):
- Publications — journal articles, conference papers, with source attribution
- Grants — funded awards with agency, amount, year, and PI role
- Clinical Trials — registered trials from ClinicalTrials.gov
- Activities — presentations, teaching, awards, committee service
- Education & Credentials — degrees, certifications, memberships. Tap + to add entries manually; entries extracted from CV scans appear here automatically.
Each record shows its source (PubMed, OpenAlex, NIH Reporter, ClinicalTrials.gov, document scan, manual entry).
Promotion Indicators — a grid of 30 indicators across five domains (Research, Clinical, Teaching, Leadership, Dissemination). See Promotion Indicators for details.
Letters & Briefings
↑Generating a Letter Draft
↑From any faculty member's detail view, scroll down and tap Letter Briefing → New Letter. Choose the letter type:
- Promotion
- Award
- Appointment
FacultyOS generates a structured letter draft using the faculty member's confirmed publications, grants, clinical trials, activities, education, and your private advising notes. The draft appears in an editable text field.
The generated draft appears in an editable text field with the faculty member's confirmed record populated throughout.
You can:
- Edit the text directly
- Use voice playback to have the letter read aloud — tap the play button to hear the draft narrated. Useful for catching awkward phrasing or errors.
- Use voice dictation to add or modify content by speaking
- Share as Text or Share as PDF from the share menu
- Save the draft for later
Letter Briefings
↑Before writing a letter, you can generate a briefing — a structured summary of the faculty member's key achievements across research, clinical work, teaching, leadership, and dissemination.
Briefings can be triggered:
- From the faculty member's detail view
- By voice command to Siri: "FacultyOS briefing for [faculty name]" — if your phone is locked, the briefing is read aloud automatically
Briefings highlight the most significant achievements to help you write letters efficiently.
Saved Drafts
↑Saved letter drafts are stored for each faculty member. You can return to them anytime to edit, share, or refine before sending.
Promotion Indicators
↑FacultyOS tracks 30 promotion indicators across five domains for each faculty member. These indicators provide a structured, holistic view of academic contributions:
| Domain | What it measures |
|---|---|
| Research | Publication count (total, recent, first-author, senior-author), grant count and total funding, PI roles, h-index estimate |
| Clinical | Clinical trial participation, PI roles in trials, quality improvement work, clinical innovation |
| Teaching | Teaching activities, curriculum development, course direction, resident/fellow supervision, teaching awards |
| Leadership | Mentorship, committee membership, administrative roles, department/society leadership, editorial board service |
| Dissemination | Presentations, invited talks, national/international visibility, media engagement, public outreach |
Viewing Indicators
↑On any faculty member's detail view, scroll to the Promotion Indicators grid. Each indicator shows:
- Current value (e.g., "18 publications")
- Trend badge (up/down/flat/new) showing change since the last snapshot
- Progress bar (if targets are configured) showing progress toward the target
Important: Promotion indicators are informational only. FacultyOS does not compute a promotion score or recommend a promotion decision. Indicators help you see structured output data — they don't replace your professional judgment or your institution's review process.
Promotion Tracks
↑Define the promotion tracks used in your department (e.g., "Tenure Track," "Clinician-Educator," "Research Scholar") and assign faculty members to tracks:
- Go to Settings → Promotion Tracks
- Tap + to create a track. Give it a name and optional description.
- Open any faculty member's detail view and tap the track selector (in the header area) to assign them to a track.
Track assignments are versioned — the most recent assignment is current, but history is preserved.
Setting Indicator Targets
↑Once you've defined promotion tracks, you can set numeric targets for any indicator within a track:
- Go to Settings → Promotion Tracks → [track name]
- Tap any indicator to set a target value (e.g., "Publications: 15")
- When a target is set, that indicator shows a progress bar:
- Green — at or above target
- Amber — 50–99% of target
- Red — below 50% of target
Targets are optional. Unset indicators show trend badges only (no progress bar). Every institution and specialty uses different norms — set targets that match your promotion criteria.
Taking a Promotion Snapshot
↑A snapshot captures the current indicator values, enabling trend comparison over time:
- Open a faculty member's detail view
- Tap the camera icon in the header to take a snapshot
- One snapshot per faculty member per day is stored (a second snapshot on the same day replaces the first)
- Trends (up/down/flat) compare the two most recent snapshots
Use snapshots periodically (annually, before promotion reviews) to track progress.
Sending Faculty a Review Link
↑A review link lets a faculty member review and confirm their academic records through their web browser — no app installation or account creation required.
In standalone mode: This is the primary way you engage faculty with their records. Send a review link once you've built their record (publications, grants, CV scan). They click the link, verify what FacultyOS found, and optionally connect their calendar. Done in minutes, no account needed.
In collaborative mode: Review links are available as a supplement — useful for faculty who haven't accepted their app invitation, or when you want them to quickly verify records without opening the app.
Sending a Review Link
↑- Open the faculty member's detail view
- Tap Send Review Link in the Academic Records card
- FacultyOS generates a secure link and emails it to the faculty member from [email protected]
What the Faculty Member Sees
↑When the faculty member opens their review link in any browser, they see the full Academic Record Review page — their name, department, stat cards for each category, and all their records in collapsible sections.
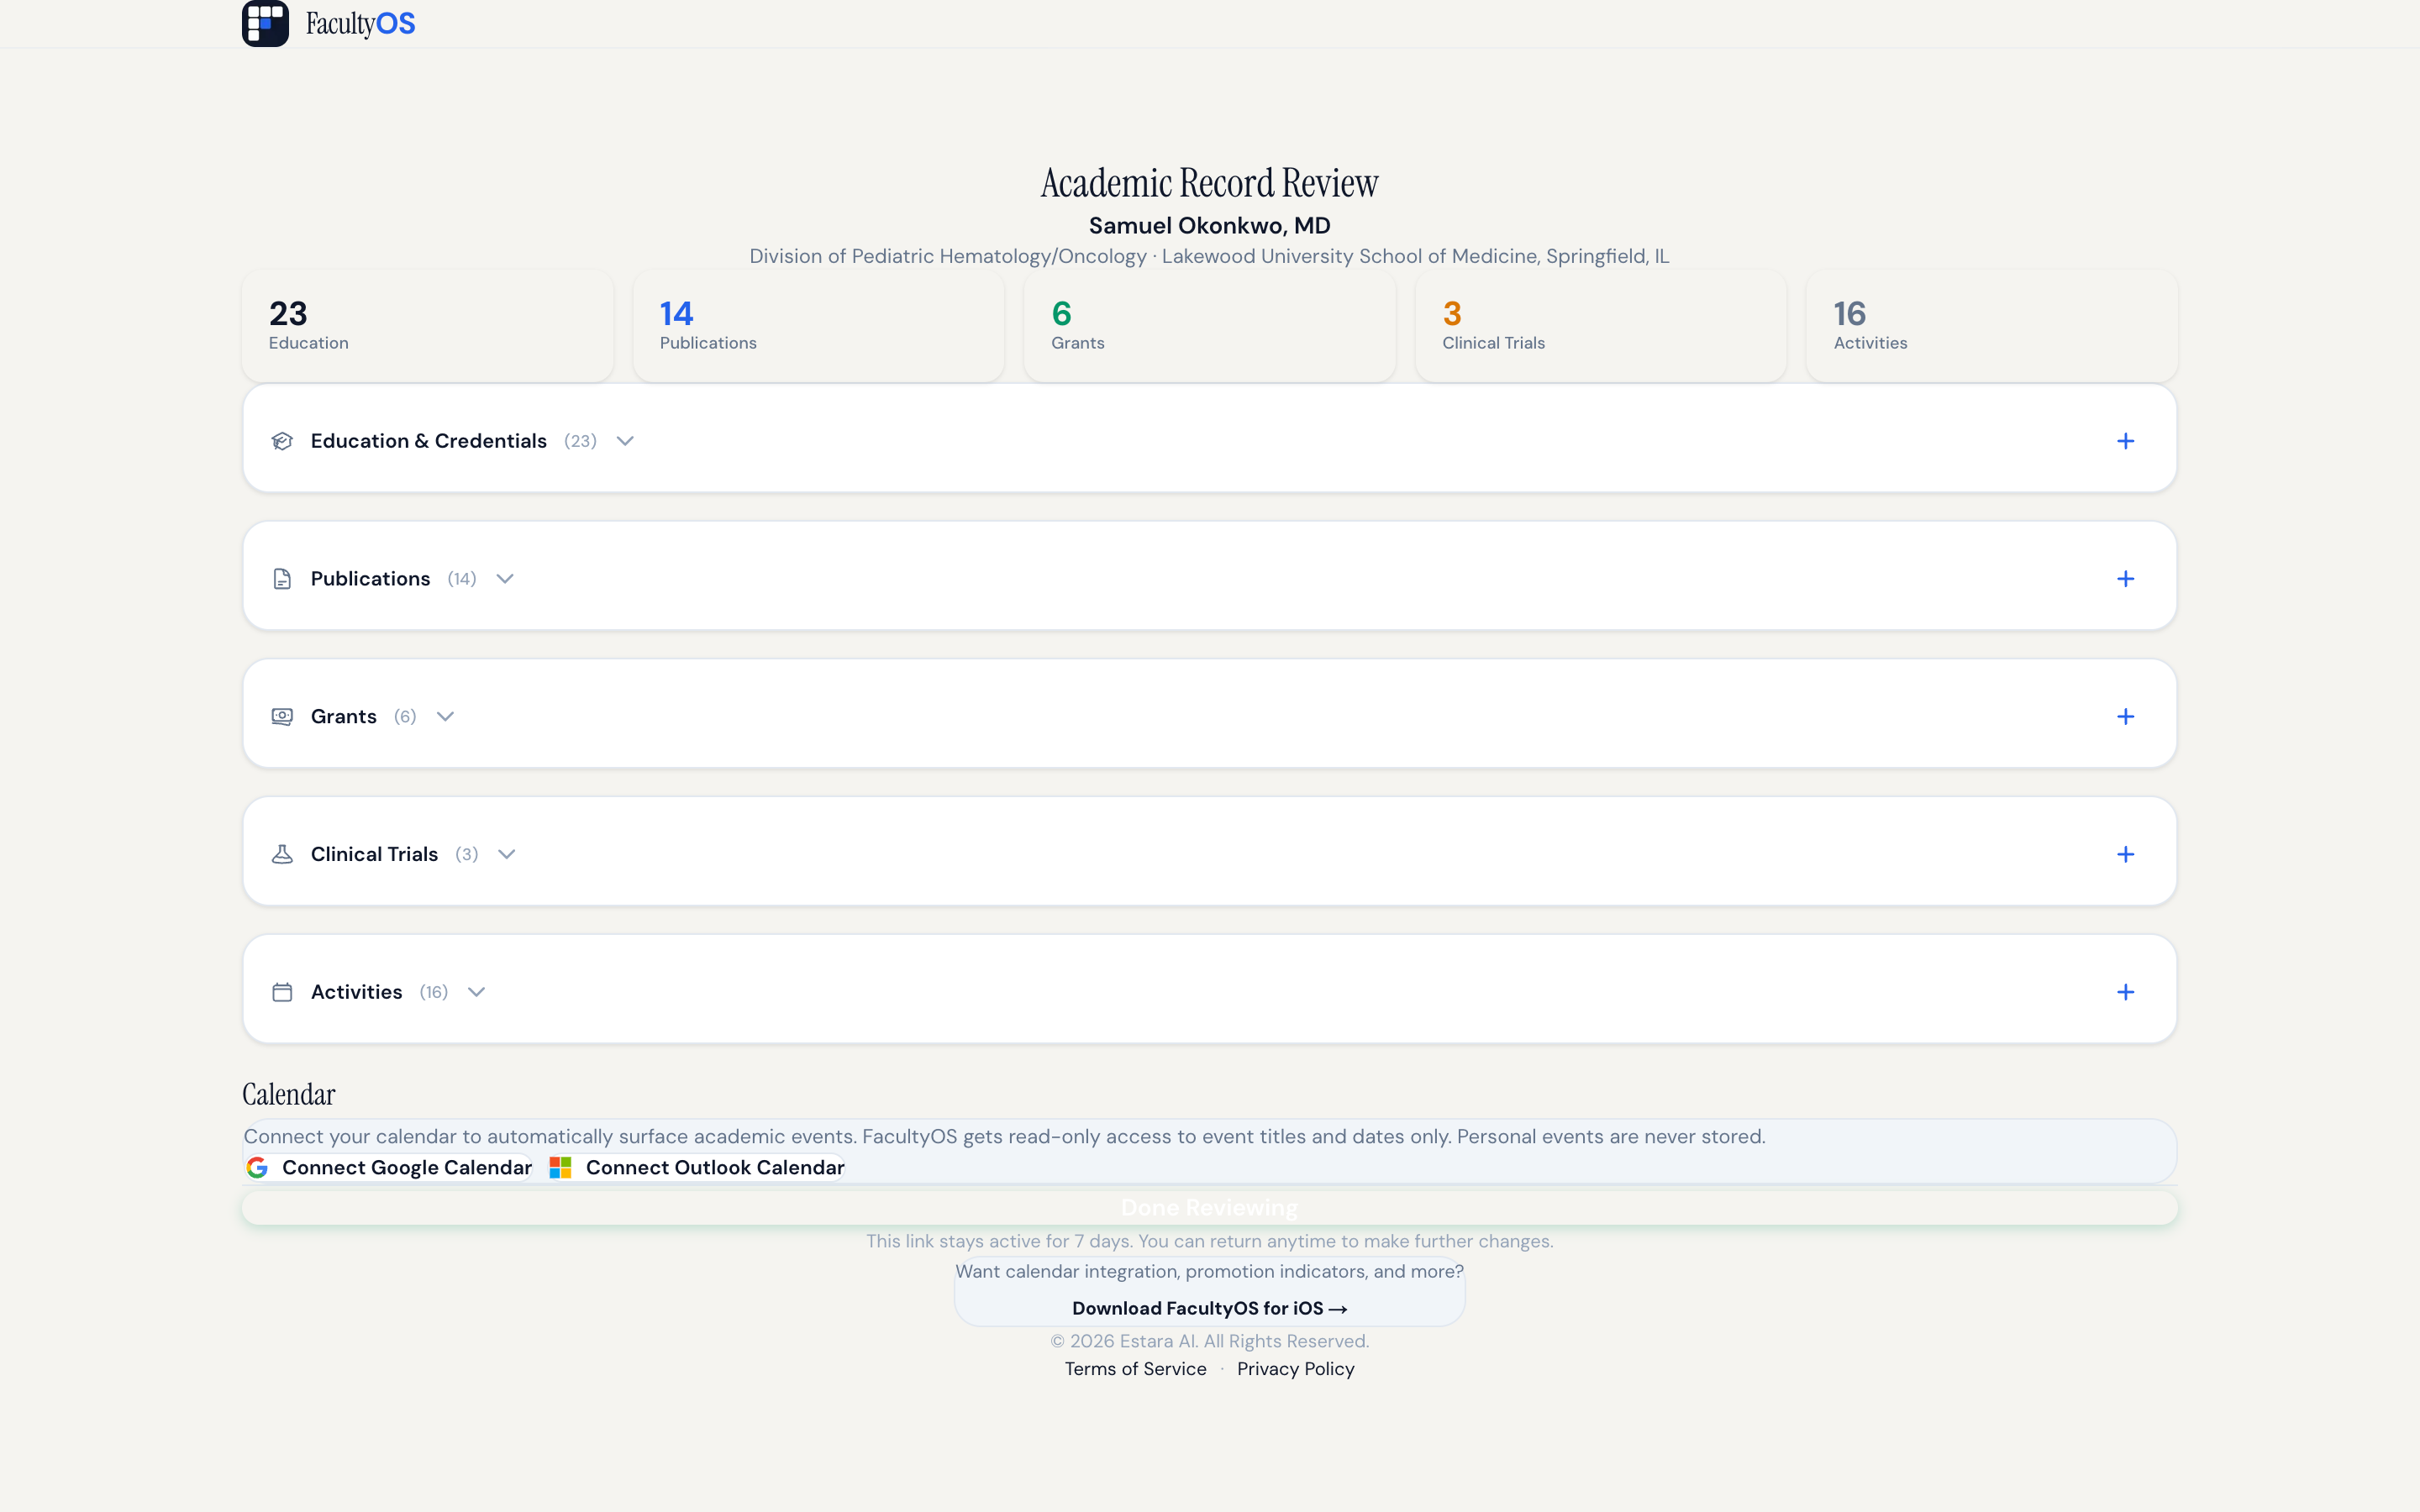
The review link is valid for 7 days and allows the faculty member to:
- Review and confirm their records — publications, grants, clinical trials, activities, education, and credentials
- Confirm, skip, or remove any record
- Add new records manually if FacultyOS missed something
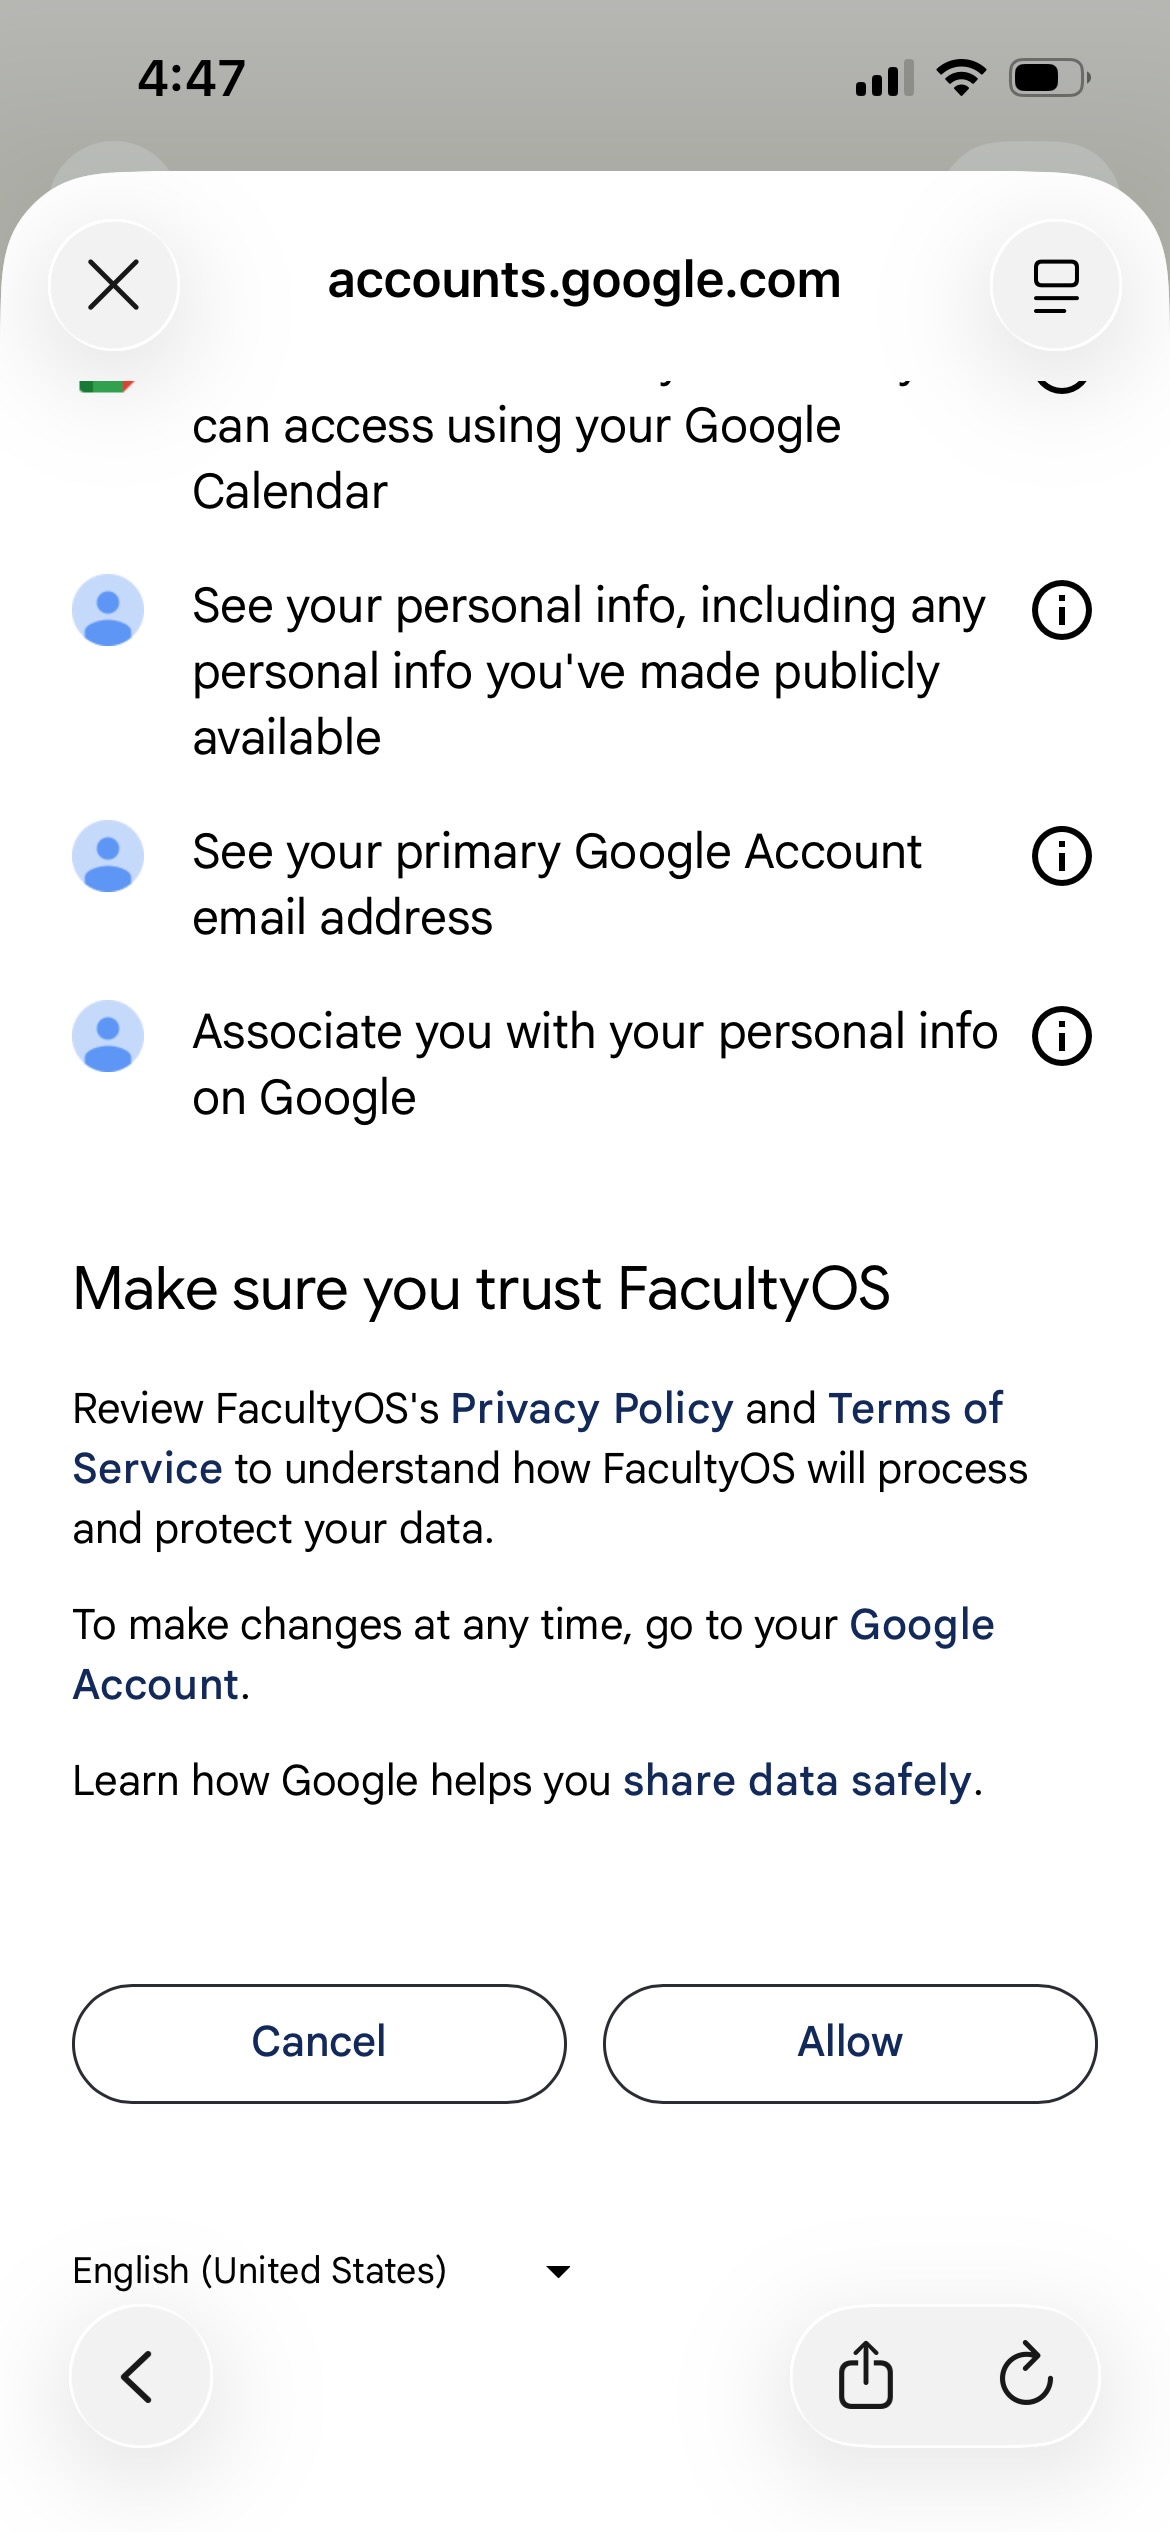
- Connect their Google Calendar or Outlook Calendar directly (no app required) to find additional academic events
- Return multiple times — they can save their progress and come back anytime within the 7-day window
Important: The faculty member does not need to create an account or install the app. The review link works entirely in their web browser.
Calendar Connection from the Review Portal
↑When the faculty member opens their review link, they see a Calendar section. They can tap to connect their Google or Outlook Calendar:
- FacultyOS gets read-only access to event titles and dates (no descriptions, attendees, or personal details)
- The positive-match-only classifier finds academic events (conferences, grand rounds, lectures, etc.)
- Matched events appear in the review portal for the faculty member to confirm or skip
- Once connected, the calendar syncs automatically daily — even after the 7-day review link expires
This is the most efficient way to capture calendar-based events at scale — better than collecting .ics files one by one.
Link Status
↑On the faculty member's detail view, you can see:
- "Review link sent [date]" — link issued, not yet used
- "Records reviewed [date]" — faculty member completed their review
- "Calendar connected (Google)" or "Calendar connected (Outlook)" — they've connected their calendar
- "Review link expired" — the 7-day window has passed
You can revoke an active link if needed.
Calendar Integration
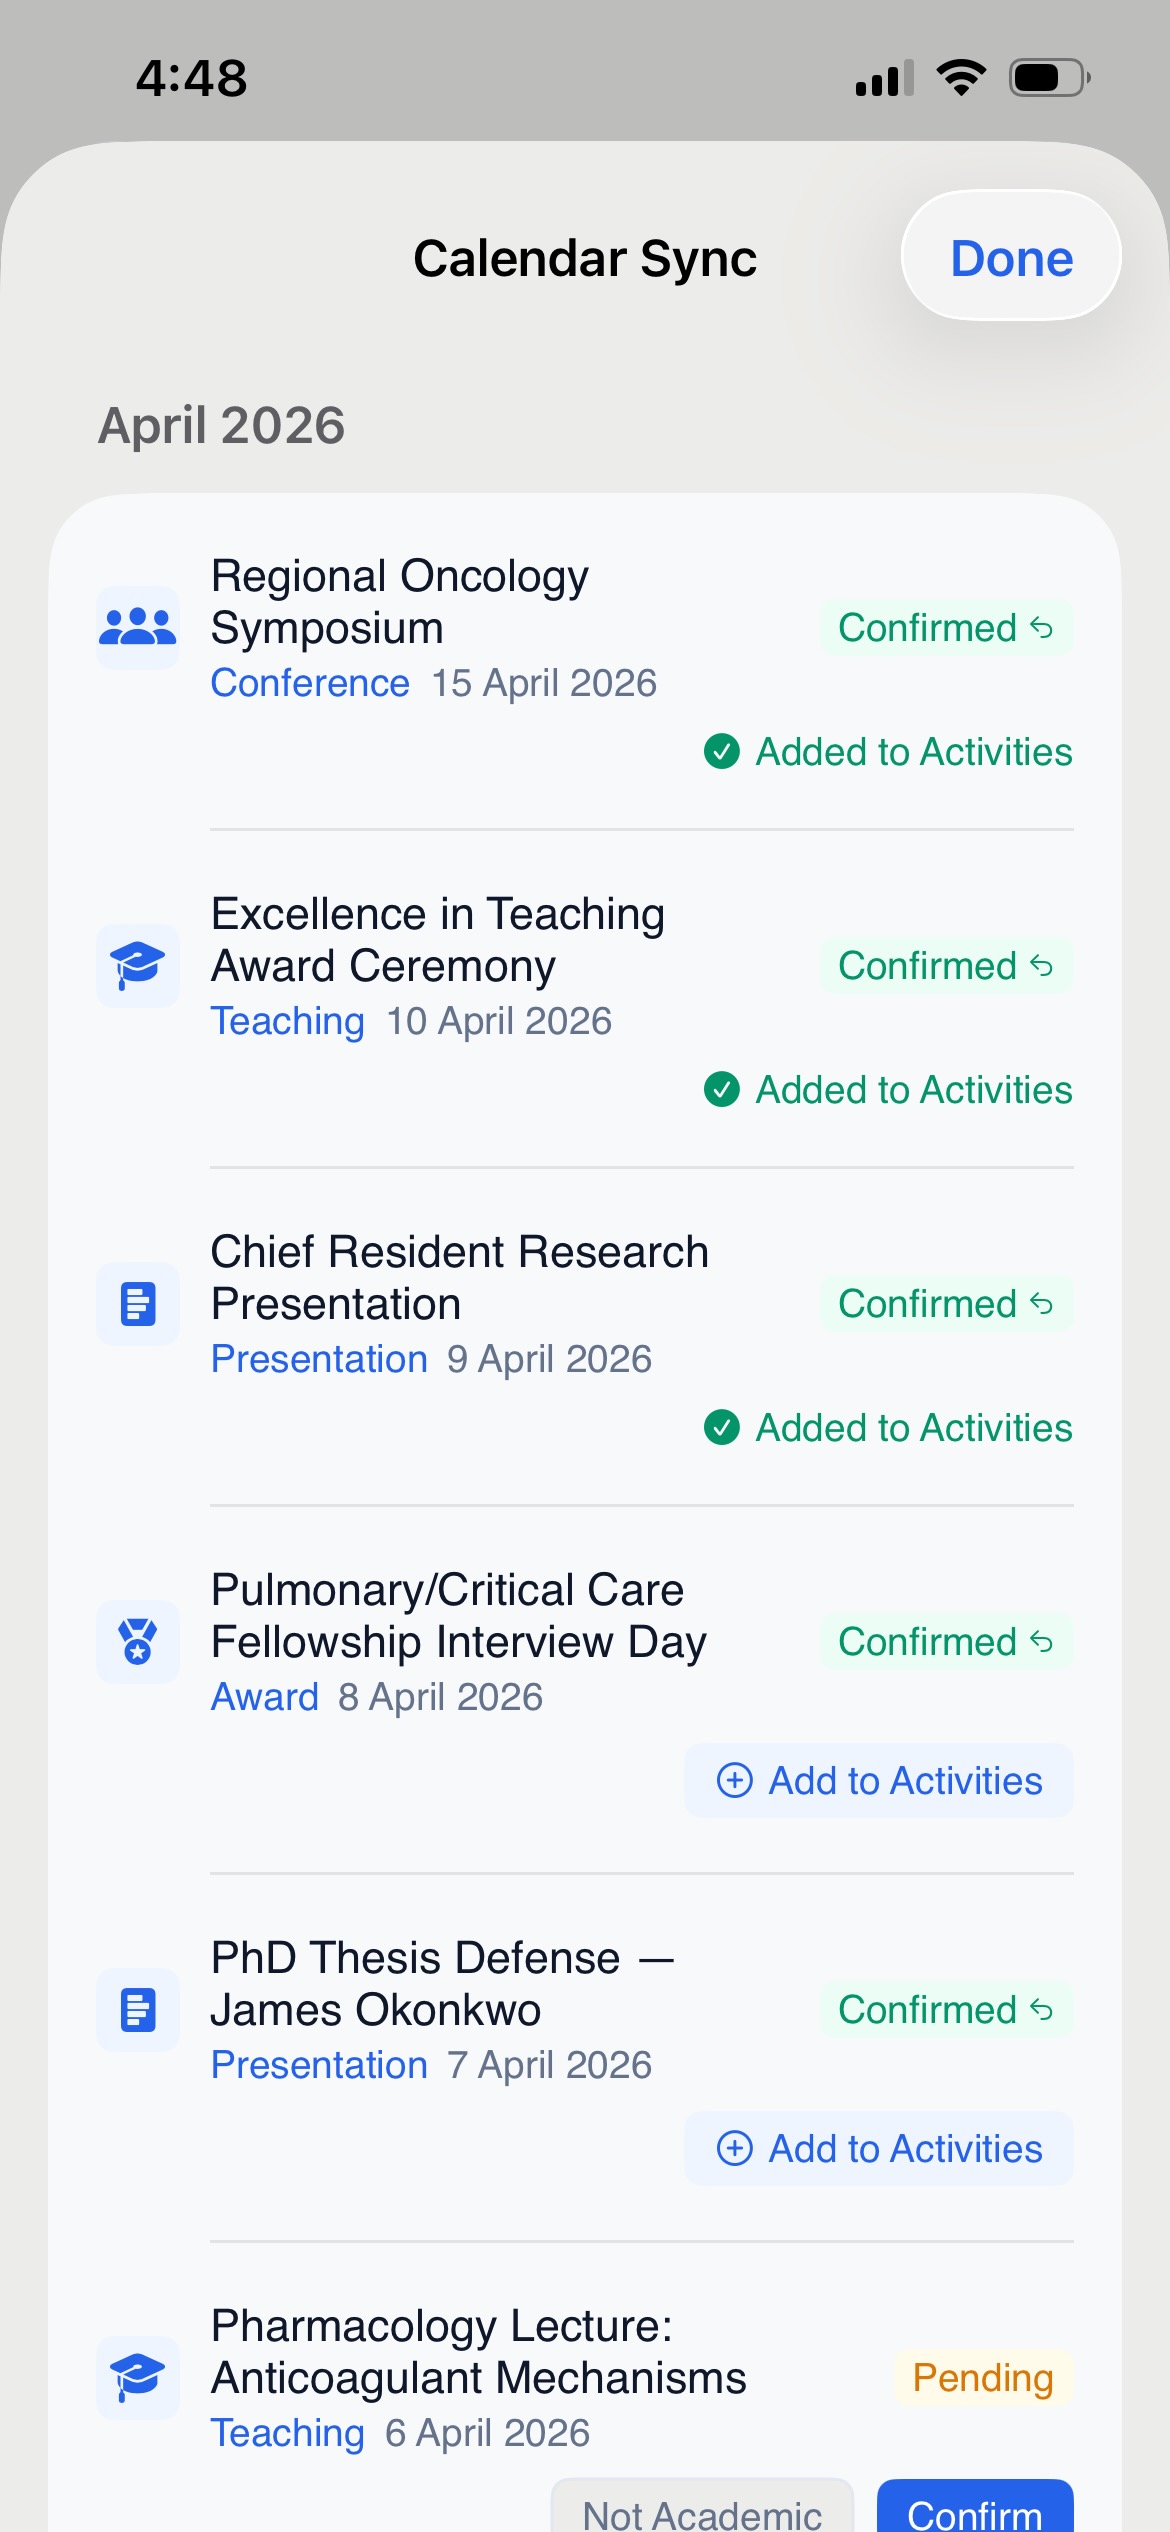
↑FacultyOS identifies academic events (conferences, grand rounds, lectures, presentations, teaching, committee meetings, and similar activities) from calendar data. It uses positive-match-only classification: only events matching academic keywords are recorded. Personal, medical, and administrative events are never stored.
Best Practice: Review Link Calendar Connection
↑The most efficient way to collect calendar data from your entire team is to send faculty review links (see Sending Faculty a Review Link). When faculty open their review link, they can connect their Google or Outlook calendar directly in the browser:
- No app installation required
- Faculty approve the connection once
- Calendar syncs automatically daily
- Academic events are extracted and added to the review portal
- Calendar stays connected even after the 7-day review link expires
This approach is faster and more reliable than collecting .ics exports.
Importing a Calendar File (.ics)
↑If a faculty member exports their calendar as an .ics file and sends it to you (an alternate path):
- Open their detail view
- Tap Import Calendar (.ics) in the Academic Records card
- Select the .ics file
- FacultyOS processes the file and reports how many academic events were found
For faculty who have already connected via a review link or the app, their calendar syncs automatically — you don't need to re-import .ics files.
Department Portfolio
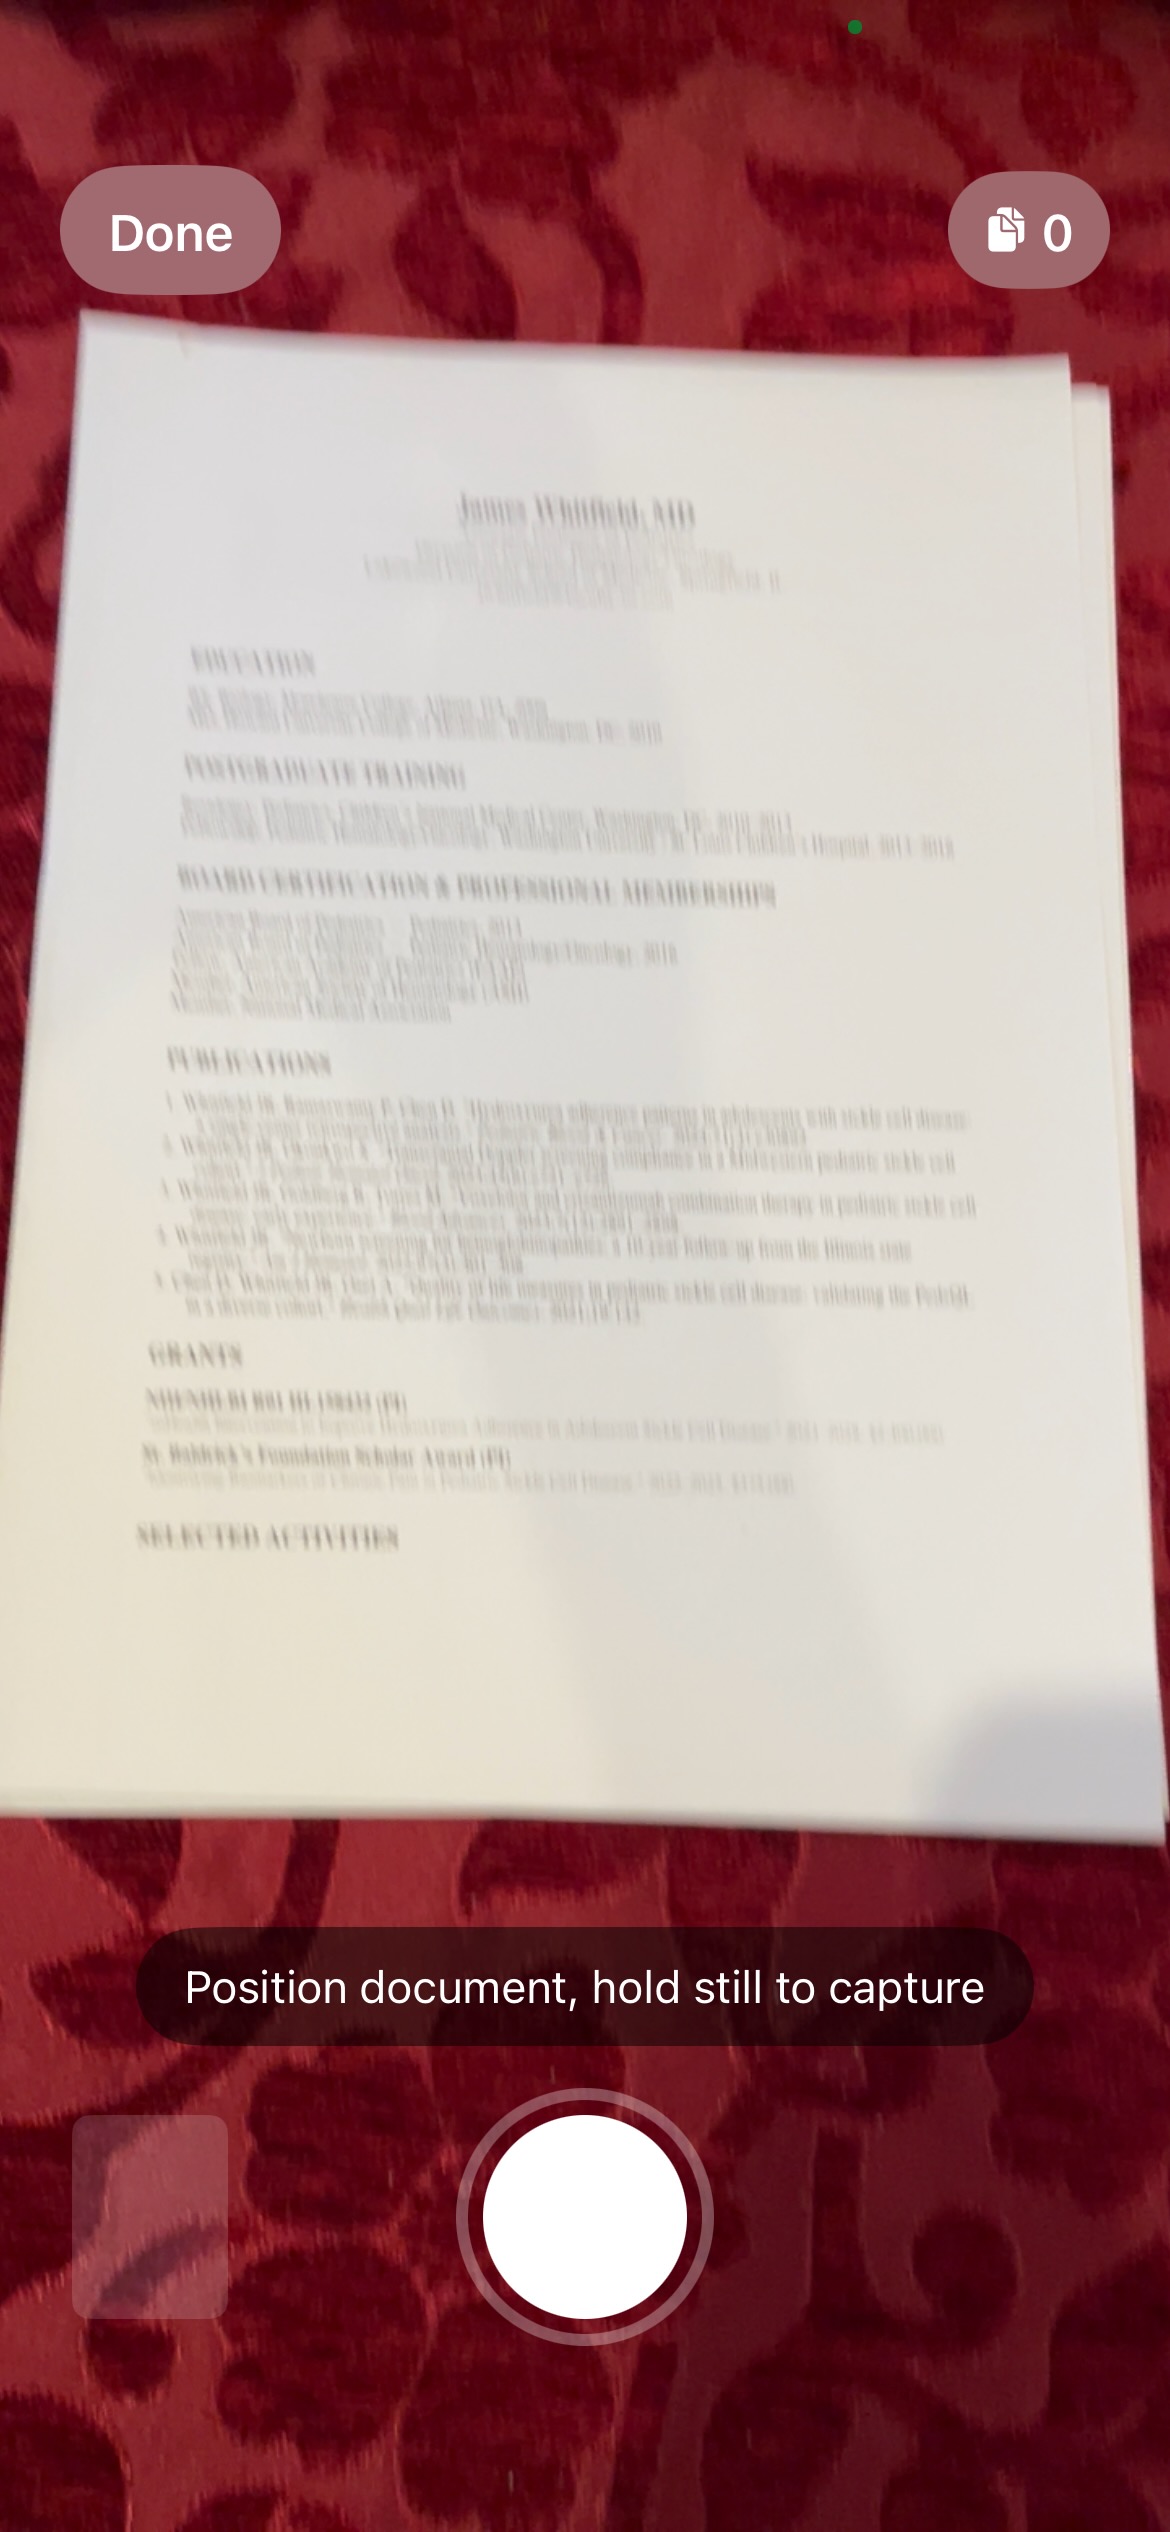
↑The Portfolio tab provides an aggregate view of your entire department's academic output. It becomes available once 3 or more faculty members have confirmed records.
This is a read-only view showing department-wide totals and trends:
- Total publications, grants, and clinical trials across the department
- Distribution across faculty
- Trends over time (if multiple snapshots have been taken)
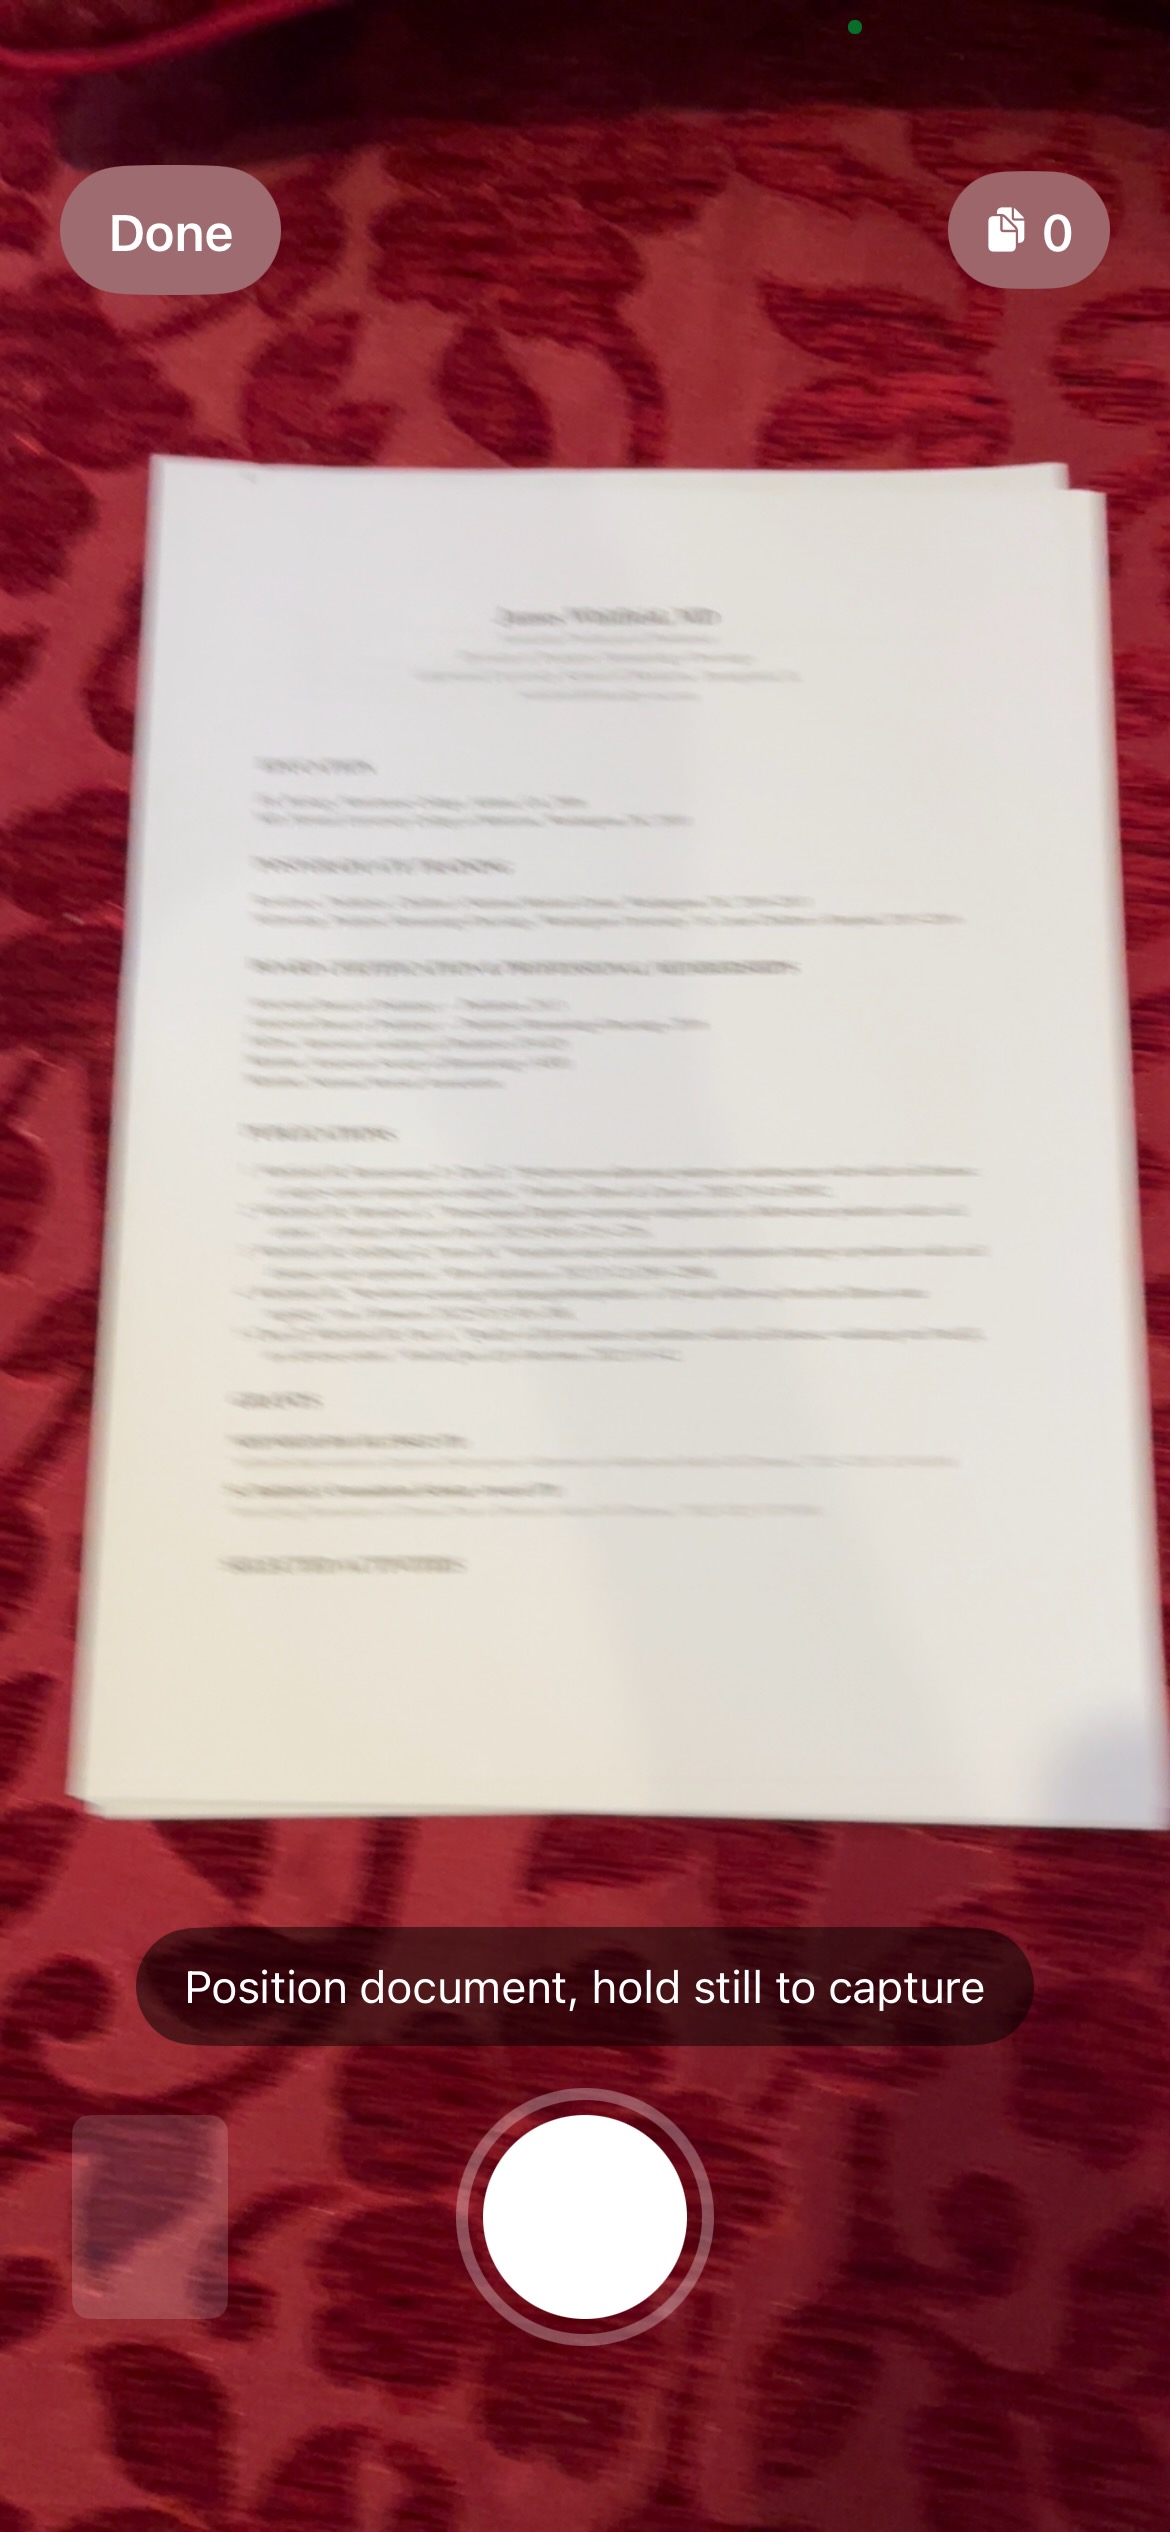
Use this to report on departmental research productivity, identify collaboration opportunities, and demonstrate academic impact to leadership.
Your Own Profile
↑The My Profile tab displays your own academic record within FacultyOS:
Your Academic Record includes:
- Publications — journal articles and conference papers, with source attribution
- Grants — funded awards with count and details
- Clinical Trials — registered trials
- Activities — presentations, teaching, awards, and service (tap the Activities count to see the full list)
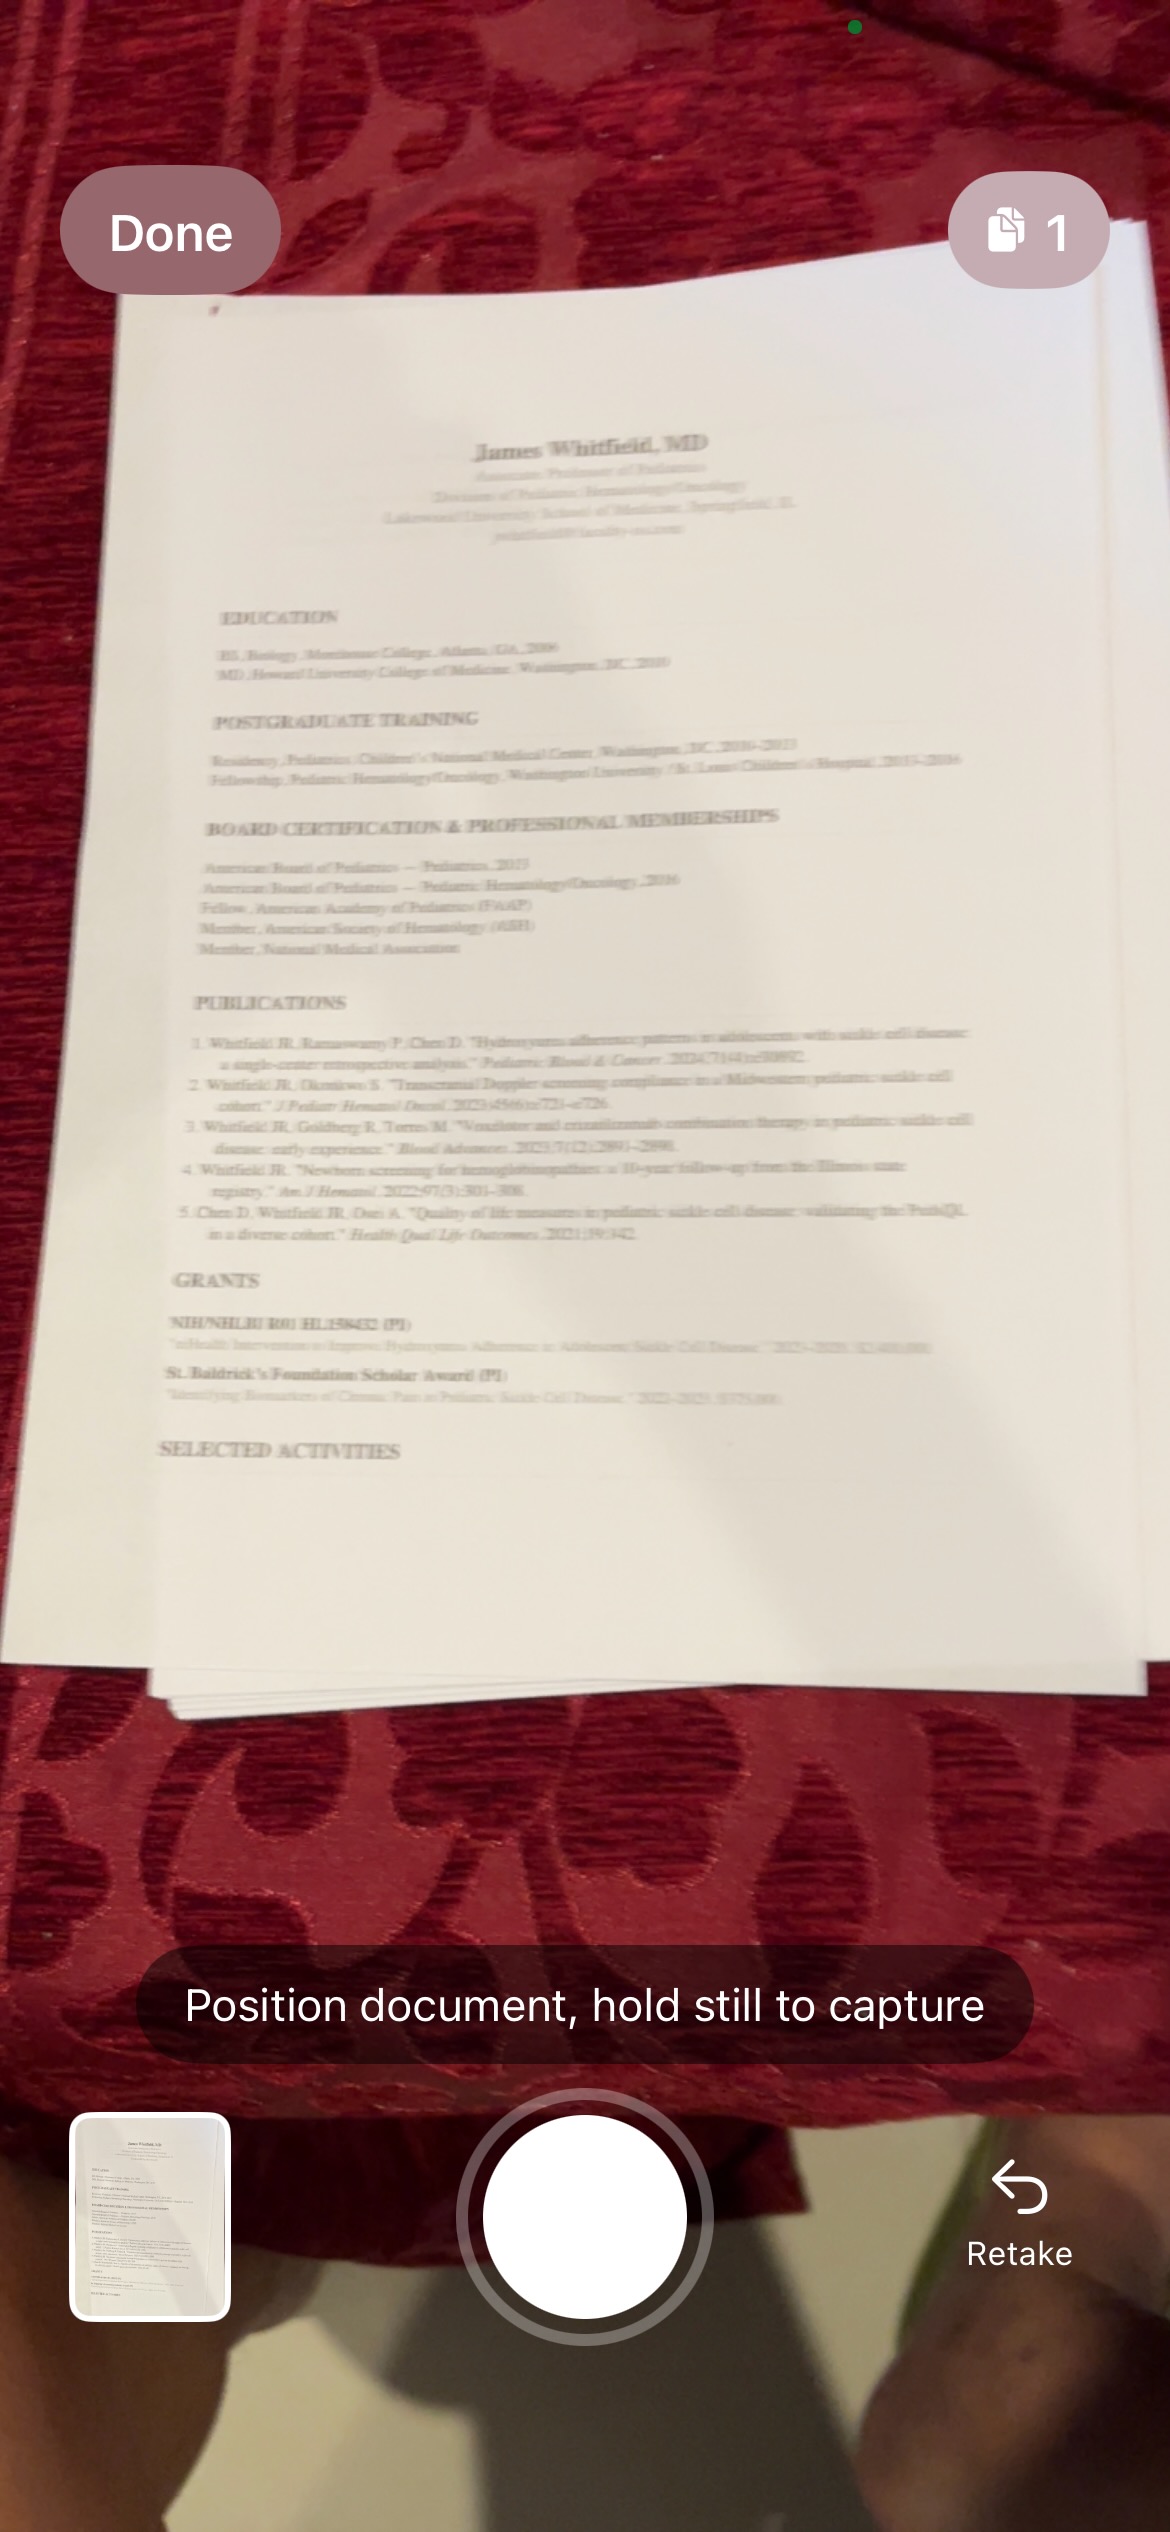
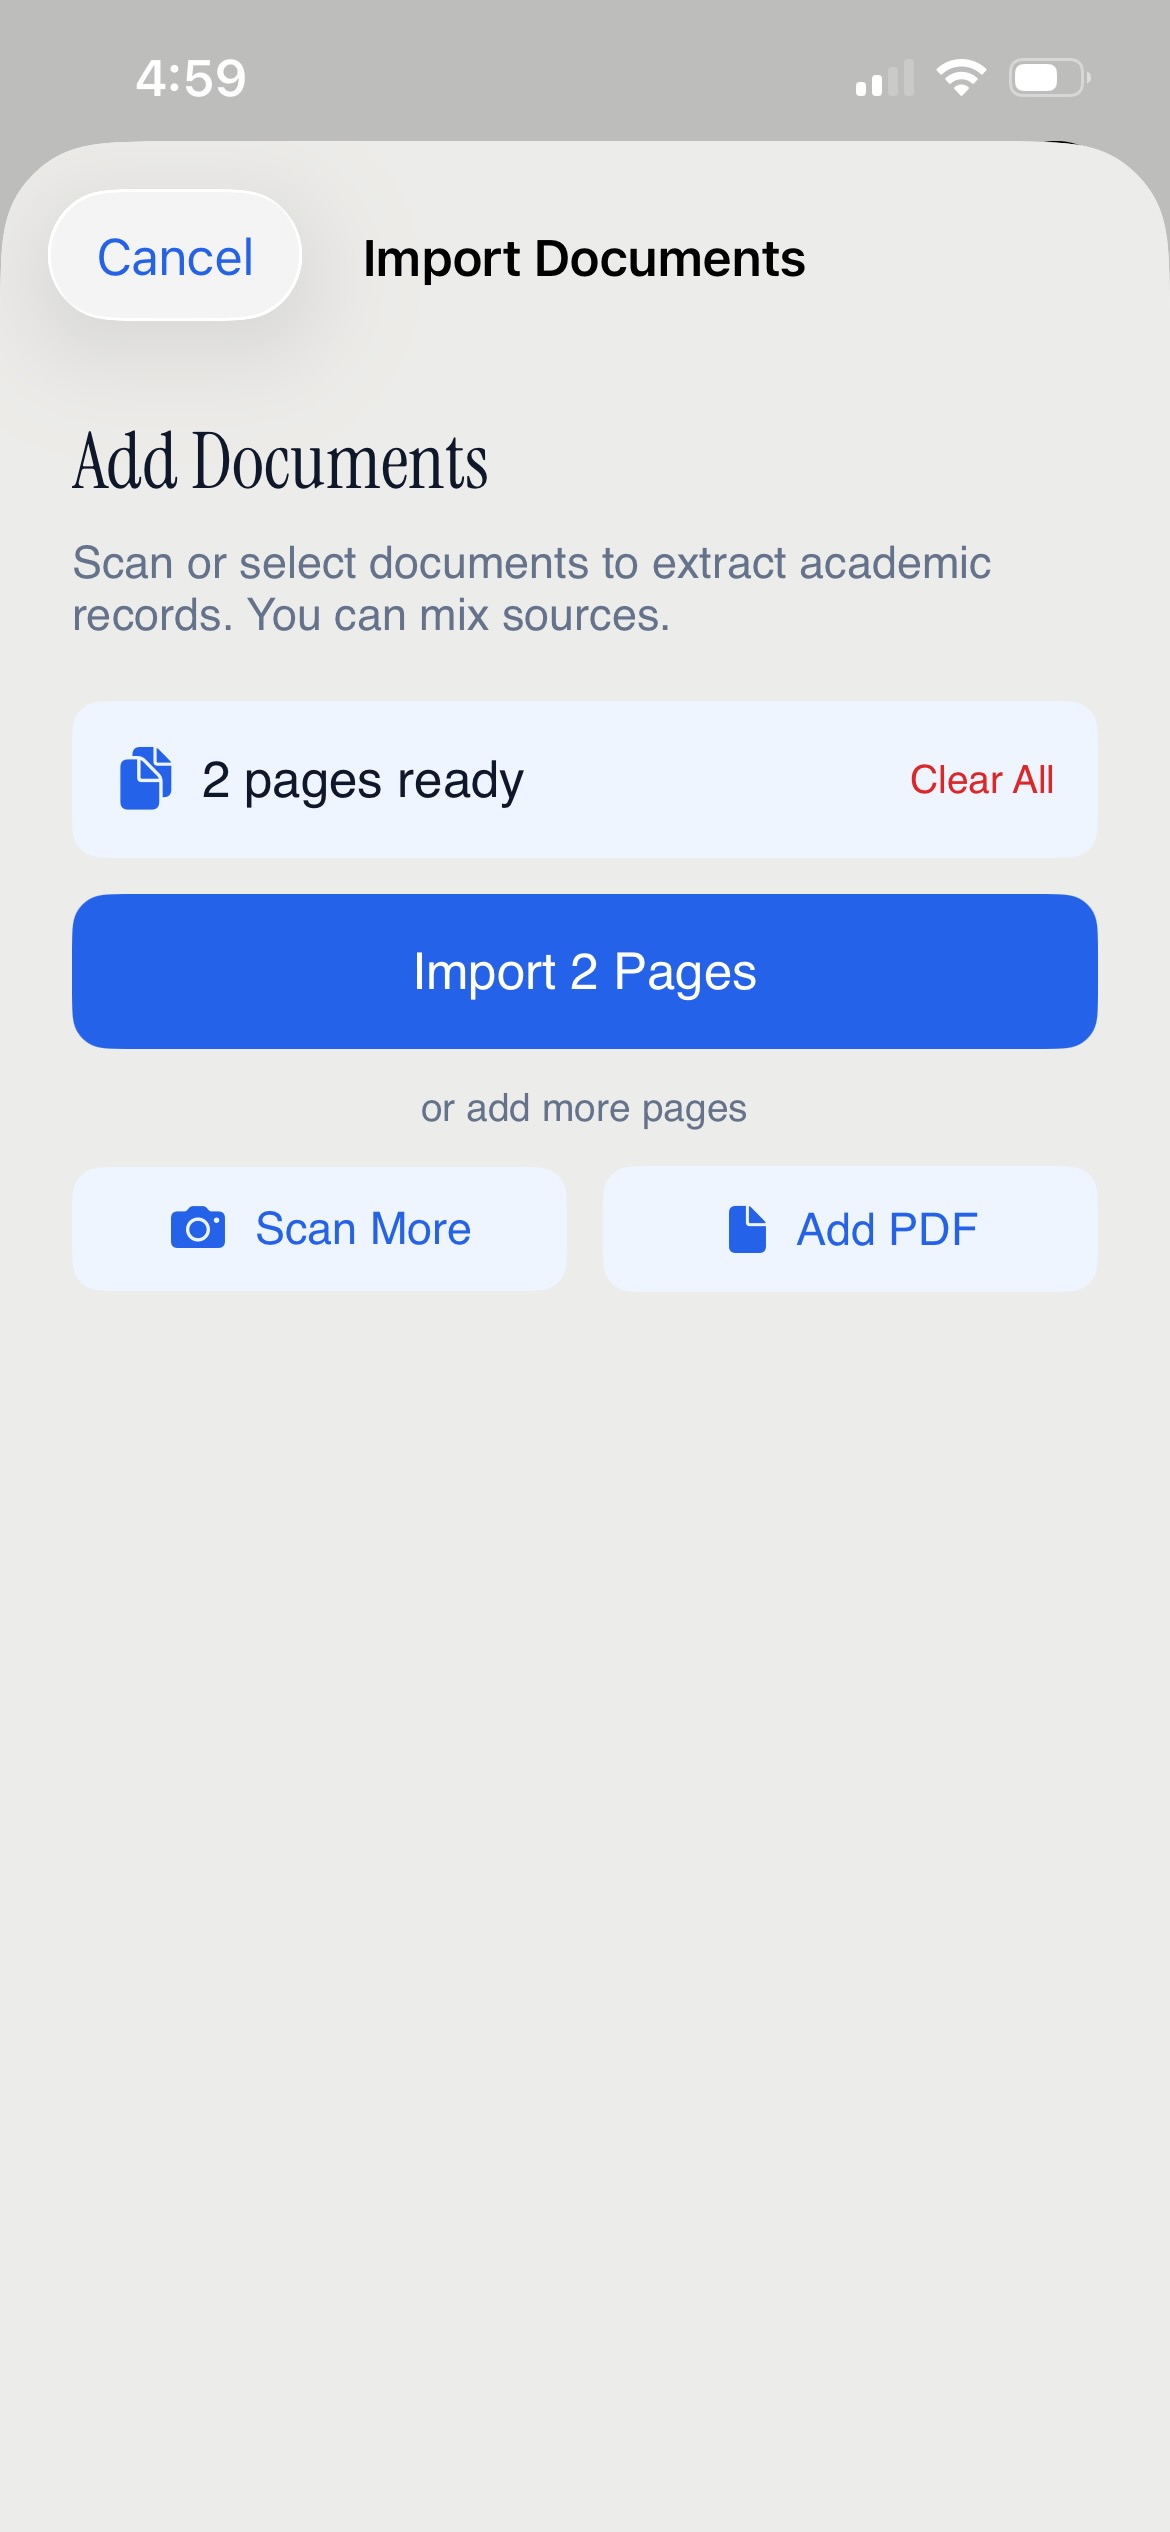
- Education & Credentials — degrees, postgraduate training, board certifications, and professional memberships (extracted from your CV during onboarding or added manually)
Calendar Synchronization:
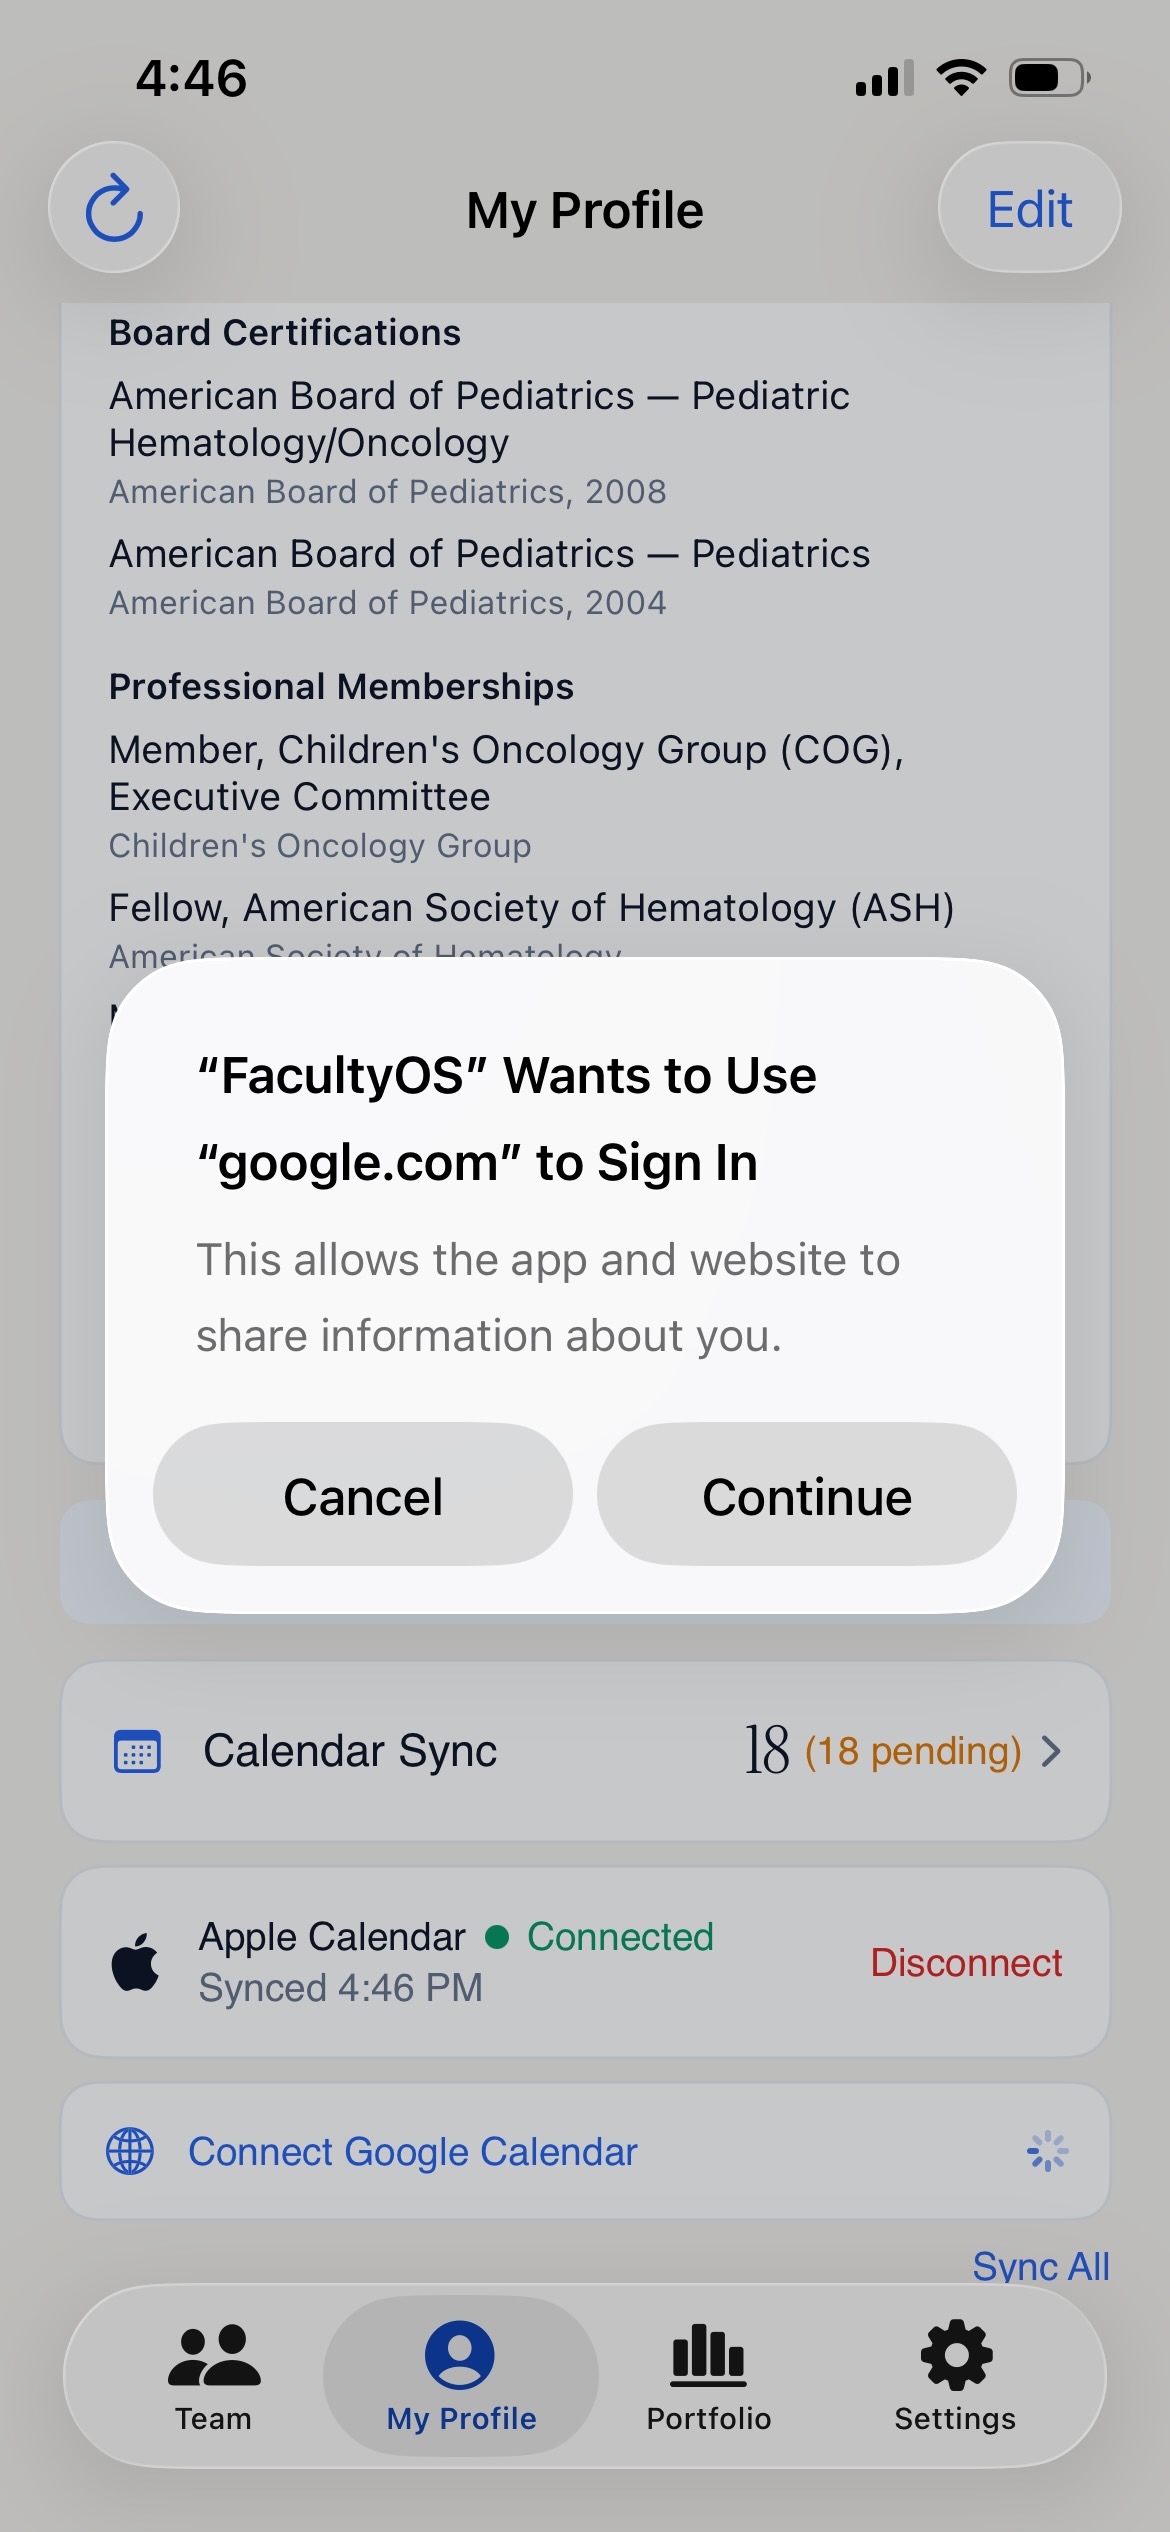
Your profile shows connected calendars (Google Calendar, Apple Calendar) and the count of pending academic events found during sync.
Update Your CV:
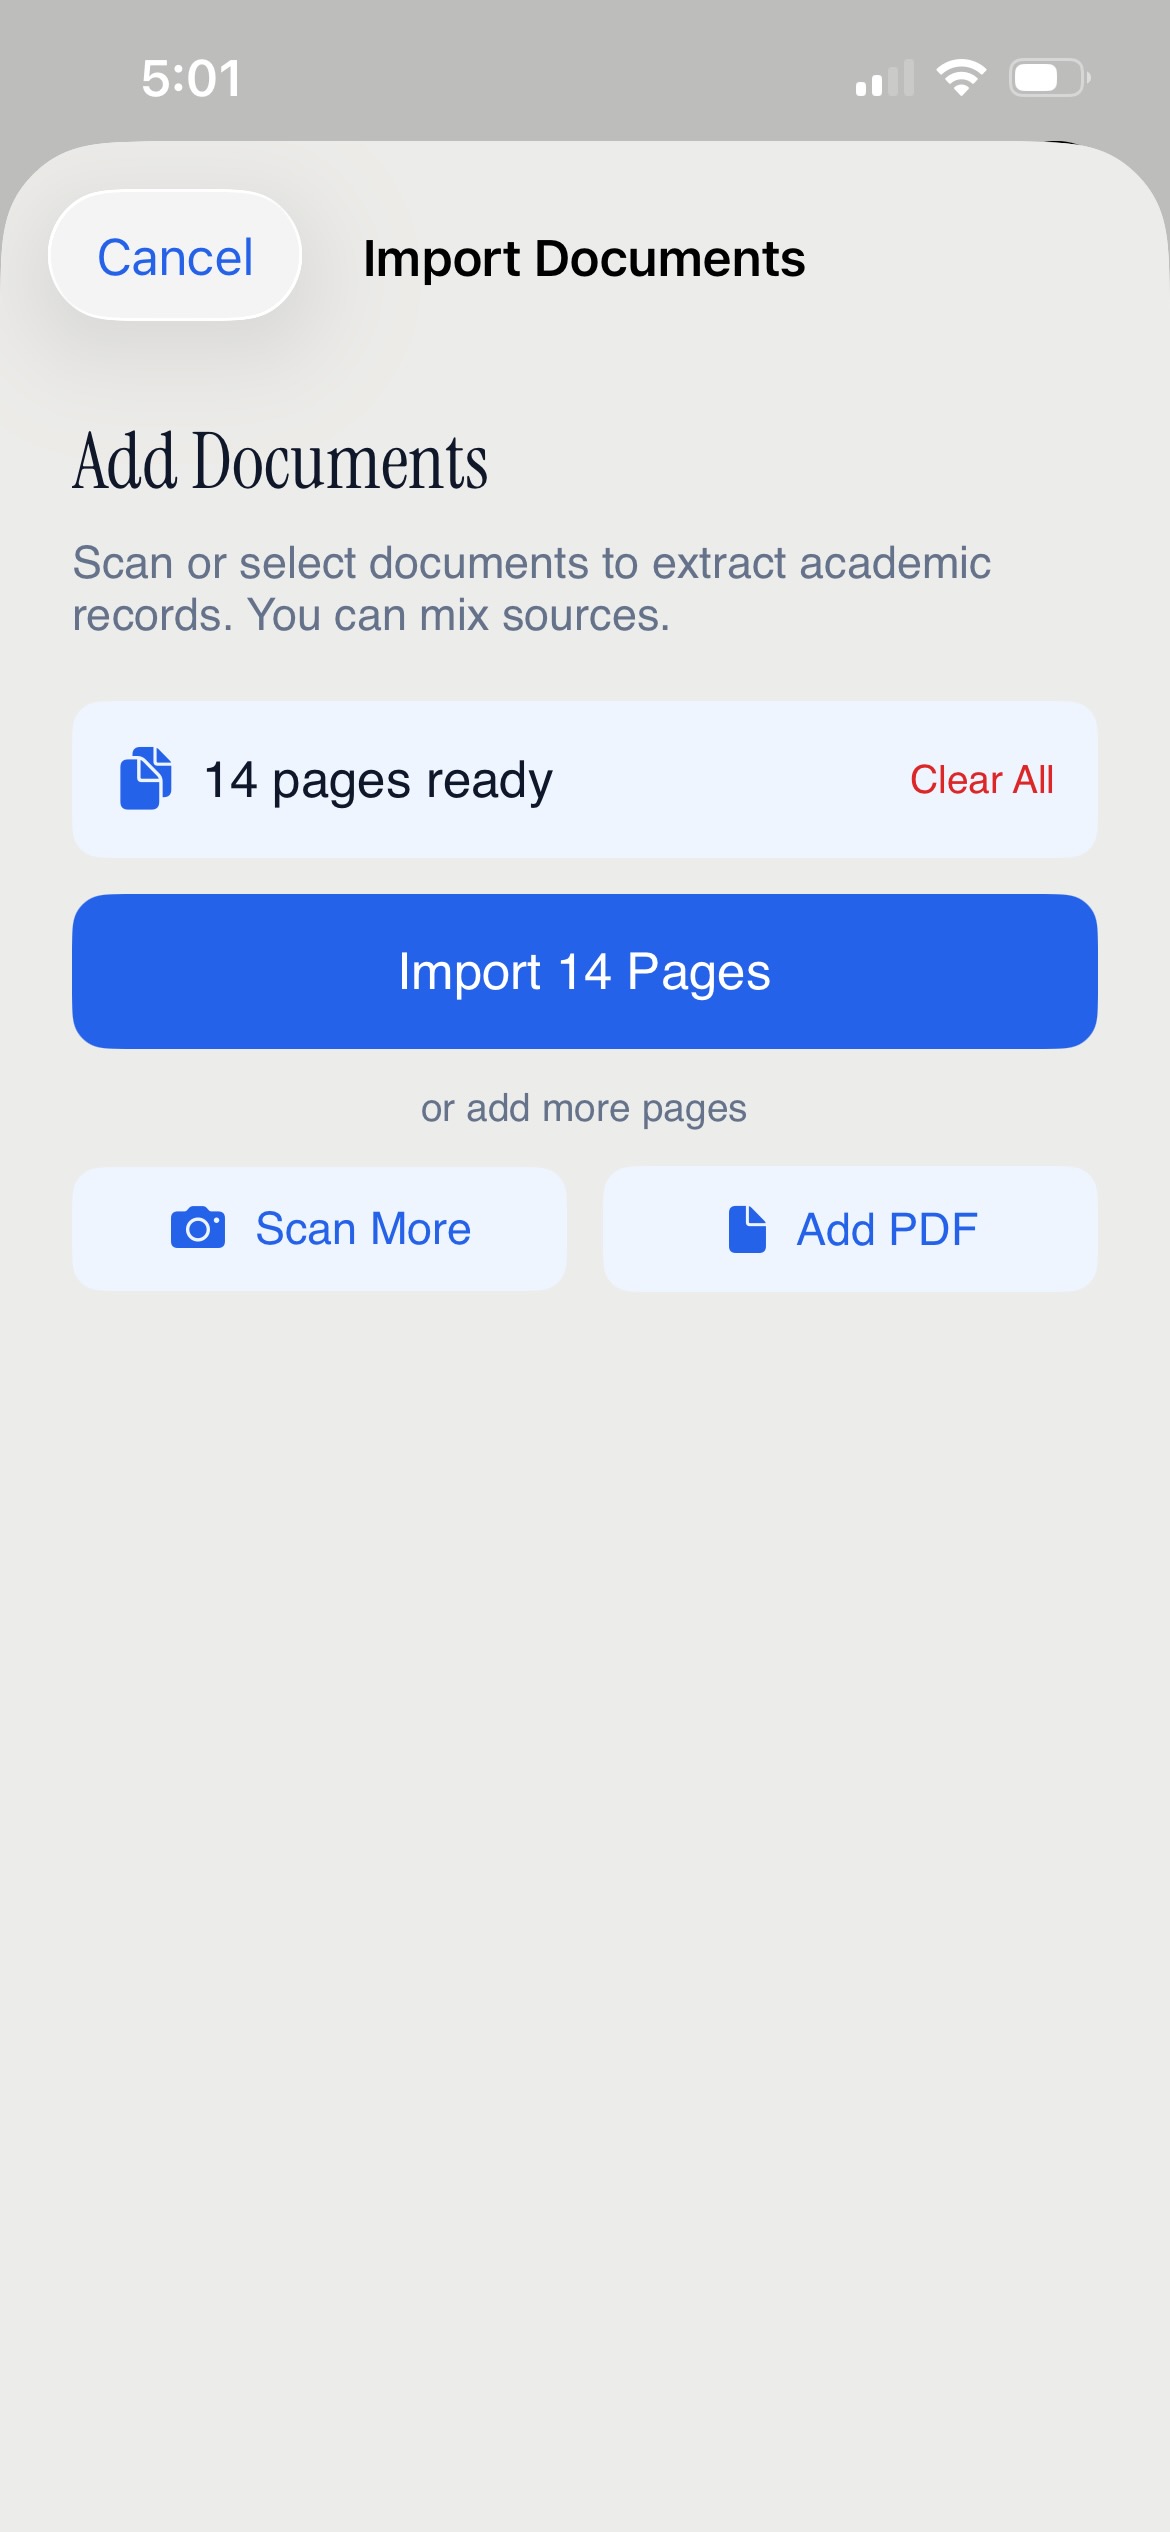
Tap Update CV to scan or upload your latest CV at any time. FacultyOS extracts new publications, grants, credentials, and activities and adds them to your profile. This is the same process you used during onboarding.
Team Settings:
Tap Team Settings to:
- Switch between Standalone and Collaborative mode
- Control whether faculty members see "Reviewed by dept. head" labels on records you confirmed for them
- View and change other team-wide preferences
Settings
↑The Settings tab provides account management, subscription, and advanced configuration.
Account & Subscription
↑- Subscription status — view your current plan (free trial, monthly, or annual) and trial expiration date
- Manage subscription — upgrade, downgrade, or cancel your subscription
- Account details — update your institution name and other account information
Academic Records Preferences
↑- Refresh reminder — set how often FacultyOS should remind you to refresh faculty records (30, 60, 90, or 180 days)
- Show review attribution — toggle whether faculty members see "Reviewed by dept. head" labels on records you confirmed for them
Promotion Tracks
↑Create and manage the promotion tracks used in your department. See Promotion Indicators — Promotion Tracks for full setup instructions.
Note: A track can only be deleted if no faculty members are currently assigned to it.
Resident Milestones (Optional Feature)
↑If your department includes ACGME or AOA-accredited trainees and you want to track resident milestones:
- Go to Settings → Features → Resident Milestones
- Review and sign the FacultyOS Data Use Agreement (DUA)
- Once signed, you can create and track milestone records for residents
This module is optional and off by default. Once enabled, resident milestone records are treated as FERPA-covered education records and are protected accordingly.
Succession & Account Transfer
↑Your FacultyOS account represents your department, not you personally. If you transition out of the department head role:
- Planned transition: Go to Settings → Account → Transfer Account. Enter your successor's email. They receive an invitation with a 30-day overlap window during which you both have access to the account.
- Unplanned transition: Contact FacultyOS support. An operator will verify the incoming department head's identity and reassign the account.
All faculty data, records, advising notes, and promotion snapshots persist through the transition.
Faculty Member App Experience
↑Collaborative mode only. When a faculty member accepts their invitation and installs FacultyOS, they see a version of the app tailored to their own record — not to the team.
What they can see:
- Team tab — a read-only view of the department roster. They can see their colleagues' names and roles but not their records, advising notes, or private data.
- My Profile — their own academic record (publications, grants, clinical trials, activities, education, credentials).
- Portfolio — the aggregate department-level view, same as what you see.
- Settings — their own account settings.
What they cannot see:
- Your advising notes about them
- Letter drafts you've prepared
- Promotion indicator targets or snapshots
- Any other faculty member's records
Self-reporting academic records:
Faculty members can import their own CVs and documents directly. From their My Profile tab, they tap Import Documents and scan or upload their CV. Extracted records go through their own candidate review — they confirm, edit, or skip each one. Confirmed records from their self-import become visible to you in their Faculty Member Detail View.
This means faculty can keep their own record current without needing to send you documents — records stay in sync automatically.
Key Concepts
↑Three Data Systems
↑FacultyOS separates data into three systems with strict access controls:
| System | Contains | Who can see it |
|---|---|---|
| System A | Publications, grants, clinical trials, activities, calendar events | You and the faculty member |
| System B | Your advising notes, letter drafts, resident milestones | You only — never visible to the faculty member |
| System C | Account, subscription, team structure | Platform operations only |
Two Modes: Standalone and Collaborative
↑Standalone Mode (default, recommended)
↑In standalone mode, all features work without your faculty members installing the app or creating accounts:
- Faculty are added as roster entries — no invitation emails are sent
- FacultyOS searches public databases automatically for publications and grants
- You scan their CVs and documents to populate their records
- You write advising notes and generate letters privately (faculty never see these)
- You send review links when you want faculty to verify their own records (web browser, no app required)
- Faculty can connect calendars through the review link to surface academic events
If a faculty member later installs FacultyOS (after you switch modes or they download it independently), their already-confirmed records carry over seamlessly — nothing is duplicated.
Standalone mode delivers immediate value without requiring faculty adoption of a new tool.
Collaborative Mode
↑In collaborative mode:
- Adding a faculty member sends them an invitation email immediately
- Faculty download FacultyOS and create an account
- Faculty manage their own records — they can confirm or reject publication/grant candidates
- Your DH-built records and faculty-confirmed records coexist — no duplication
- Review links are still available as an optional supplement
Collaborative mode is useful if you want faculty to actively participate in record curation from day one.
Switching Modes: You can switch between modes at any time from My Profile → Team Settings. Switching from standalone to collaborative allows you to send invitations to any faculty who haven't yet engaged via a review link.
Data Sources
↑FacultyOS searches four public academic databases:
| Source | What it finds |
|---|---|
| PubMed | Biomedical journal publications |
| OpenAlex | Broad academic publications across all fields |
| NIH Reporter | Federally funded grants |
| ClinicalTrials.gov | Registered clinical trials |
Records from these sources are matched to your faculty using name, institution, and co-author analysis. High-confidence matches are flagged green; lower-confidence matches require your review.
Quick Reference
↑| Task | How |
|---|---|
| Import your own CV | Onboarding → "About You" → Import your CV (or My Profile → Update CV) |
| Update your CV | My Profile tab → Update CV |
| Add a single faculty member | Team tab → Add Faculty → Add manually |
| Import a roster at once | Team tab → Add Faculty → Import roster (camera, PDF, or photos) |
| Import academic documents | Team tab → Add Faculty → Import documents (or Faculty detail → Scan CV) |
| Refresh records for one faculty | Faculty detail view → Refresh Records |
| Refresh all records at once | Team tab → menu → Refresh all records |
| Review new candidate records | Faculty detail → tap pending badge → review cards |
| Add education/credentials manually | Faculty detail → Education section → + |
| Write a letter | Faculty detail → Letter Briefing → New Letter |
| Generate a briefing | Faculty detail → Letter Briefing → Generate Briefing (or Siri) |
| Send a review link (primary in standalone) | Faculty detail → Send Review Link |
| Send an app invitation (collaborative only) | Faculty detail → Send Invite (if available) |
| Import a calendar file (.ics) | Faculty detail → Import Calendar (.ics) |
| View a faculty member's academic records | Faculty detail → Record tab |
| Write advising notes | Faculty detail → Notes tab → tap to edit |
| Set up promotion tracks | Settings → Promotion Tracks → + |
| Assign faculty to a track | Faculty detail → track picker (in header) |
| Set numeric targets for indicators | Settings → Promotion Tracks → [track name] → tap indicator |
| Take a promotion snapshot | Faculty detail → camera icon (in header) |
| Switch between standalone/collaborative | My Profile → Team Settings |
| View department portfolio | Portfolio tab |
| Transfer account to successor | Settings → Account → Transfer Account |
| Enable Resident Milestones | Settings → Features → Resident Milestones |
Privacy & Security
↑- All data is encrypted in transit and at rest
- Calendar integration uses positive-match-only classification — personal events are never stored
- Advising notes (System B) are never visible to the faculty member under any circumstance
- OAuth calendar tokens are encrypted server-side and never returned to your device
- Your account is protected by email verification and optional biometric authentication
- FacultyOS complies with FERPA requirements for education records when Resident Milestones is enabled
Getting Help
↑If you need assistance, contact FacultyOS support through the app's Settings screen or email support at the address provided in your welcome email.
FacultyOS is a product of Estara AI. This guide covers version 1.0+ (April 2026). Last updated 2026-04-01.